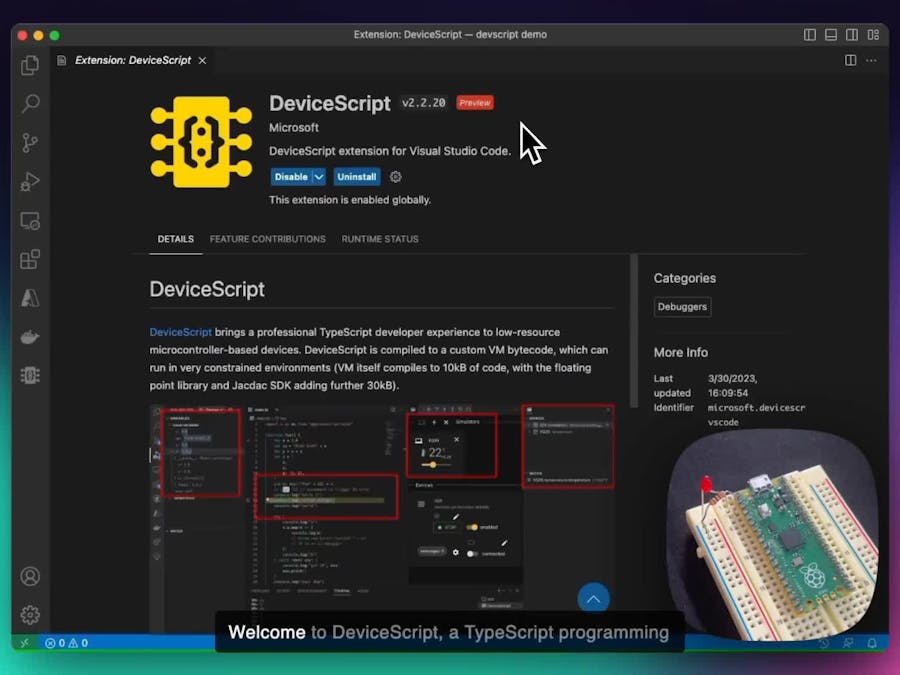
This post introduces DeviceScript, a professional TypeScript developer experience microcontrollers such as the RP2040 or the ESP32 (full list).
DeviceScript is compiled to a custom VM bytecode, which can run in very constrained environments on portable runtime. It uses Jacdac services as the hardware abstraction layer.
A Visual Studio Code Extension provides rich developer experience with debugging, simulators, logging, and cloud deployment.
What is TypeScript?TypeScript is JavaScript with syntax for types. It's become very popular in web and node.js development... but it is also a great language to build embedded applications! It has a rich type system for static analysis and tooling, async/await for asynchronous execution, tree shaking, ...
TypeScript development is also very well supported in Visual Studio Code, with great auto-completion, debugging and other goodies.
DeviceScript = TypeScript on your MCUThe goal of DeviceScript is to allow developer familiar with TypeScript development to start building embedded applications. Keep most of the goodness of TypeScript, but keep things small and efficient to run on small MCUs.
BlinkyLet's take a look at classic blinky program on the RP2040 (full project).
A DeviceScript program typically starts by importing the necessary functions. In this case, we import the pin mapping of the pico and a function `startLightBulb` that will be used to map a light bulb service on a pin
import { pins } from "@dsboard/pico"
import { startLightBulb } from "@devicescript/servers"
Note that one does not typically type these in, Visual Studio Code will suggest them and insert them automatically.
The next step is to mount a light bulb server on top of pin P1. DeviceScript uses Jacdac services as its hardware abstraction layer (HAL). In this case, the light bulb service is defined in the Jacdac service catalog. The startLightBulb function returns a client that can interact with the light bulb server.
const led = startLightBulb({
    pin: pins.P1,
})
In Visual Studio Code, you'll benefit from autocompletion, hover help or Copilot to help you with writing your code.
Next we start an interval every second. If you are familiar with JavaScript, this is done using the setInterval global function. Notice also that the lambda (arrow) function passed to setInterval is marked as async. This allows us to use the await keyboard in TypeScript.
setInterval(async () => {

}, 1000)
We read the state of the lightbulb by accessing the intensity register, which maps to brightness [0..1] for the lightbulb. Interacting with a Jacdac service is always an asynchronous operation (the service might be on a different device connected with a cable, or it might require an I2C message, etc...) so it has to be awaited using await. This allow other fibers to run while we are waiting for the read to return.
setInterval(async () => {
    ...
    const brightness = await led.intensity.read()
    ...
}, 1000)
When developing in Visual Studio Code, you can use simulators, for the Pico and sensors, and the debugger with breakpoints, variables views, etc... The screenshot below shows the program halted in the debugger with a pico simulator and a light bulb simulator.
Based on the value of brightness, we toggle the value and write the new value.
const brightness = await led.intensity.read()
    const newbrightness = brightness > 0 ? 0 : 1
    await led.intensity.write(newbrightness)
The full annotated source code is here. We'll get into each part separately.
import { pins } from "@dsboard/pico"
import { startLightBulb } from "@devicescript/servers"

// start a lightbulb server on pin GP1
// and store client in `led` variable
const led = startLightBulb({
    pin: pins.P1,
})

// start interval timer every 1000ms
setInterval(async () => {
    // read current brightness
    const brightness = await led.intensity.read()
    // toggle on/off
    const newbrightness = brightness > 0 ? 0 : 1
    // apply new brightness
    await led.intensity.write(newbrightness)
}, 1000)So far, we've been working and debugging using simulators. It's time to move on to hardware and try things out on the metal. Grab a Raspberry Pico, an LED and a resistor to assemble the hardware (remember that GP1 is labelled 2 on the silk, though you'll notice GP1 on the bottom of the board).
Now that we have the LED in place and the Pico connected to the computer we can start by flashing the DeviceScript runtime on the Pico. This is one-time operation, you will only have to update the DeviceScript compiled bytecode in the future.
Once the firmware is flashed, hit Connect -> Serial again and you'll see your device in the Devices tree. The device tree gives you a live glimpse about the state of the services and also allows you to drill in into each of them.
Use the same "Run/Debug" menu item on the file menu to work with the Raspberry Pi Pico as you did with the simulators. That's it, you just programmed your first blinky app!
Better tooling, better productivityAt the time of writing this article, it turns out I had plugged the LED backwards and nothing worked of course. The debug this issue I was able to use several tools provided by DeviceScript: console output, live inspection through the Devices tree, debugger. I was able to assert that my code was correct and the wiring was probably wrong very quickly.
The developer documentation for DeviceScript contain more example of usage. We are looking for feedback from the community about DeviceScript in the project Discussion page. Thank you for reading?


Comments