

Hardware components | ||||||
 |
| × | 1 | |||
 |
| × | 1 | |||
 |
| × | 1 | |||
 |
| × | 1 | |||
| × | 1 | ||||
 |
| × | 1 | |||
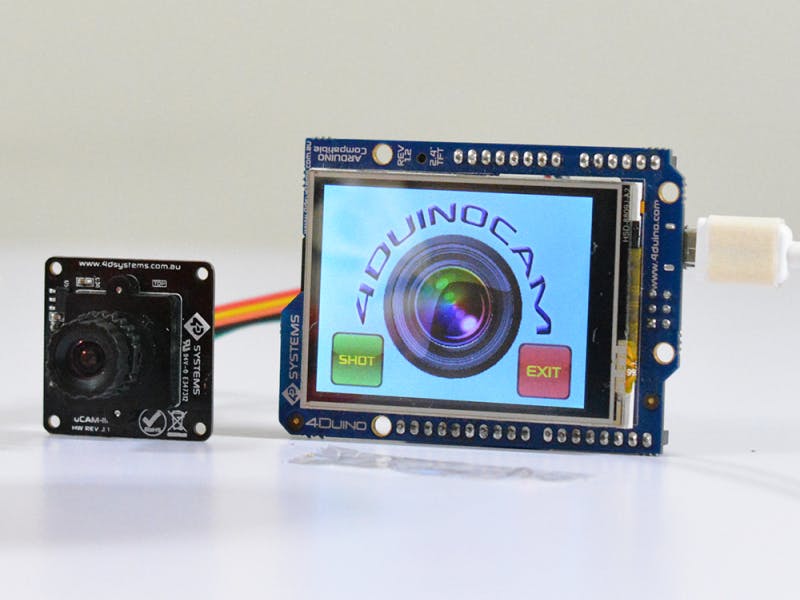
This project demonstrates the use of uCam3 on 4Duin-24. This simple project can be used as simple as single capture camera or a continuous image recorder. In this project, we will show you how to capture compressed images using the ucam3.
You can use this project as a start for all other security projects, image capturing or monitoring projects and other meaningful cool projects.
How it worksAs soon as you connect the 4Duino-24 and the uCAM3 with the right connection and upload the code on the SD card and put a power. You are now ready to capture single image. You can also setup to multiple capture if you want to monitor or capture multiple images using the setup button. Images are save on the uSD card with jpeg format and can only be viewed when you unmount the uSD card and use a computer or a phone.
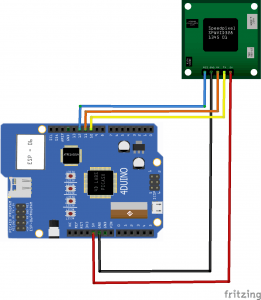
ImplementationStep 1: BuildBuild the circuit as shown in the diagram.
Step 2: ProgramWorkshop 4 – 4Duino Extended Graphics environment is used to program this project.
Workshop requires that the Arduino IDE installed, as it calls the Arduino IDE for compiling the Arduino sketches. The Arduino IDE, however, is not required to be opened or modified to program the 4Duino.
Open this file using Workshop 4.
Note: Download the project here.
Step 3: CompileClick on the “Compile” button.
Note: This step could be skipped. However, compiling is essential for debugging purposes.
Step 4: Comms PortConnect the 4Duino to the PC using µUSB cable.
Then navigate to the Comms tab and select the Comms port to which the 4Duino connected.
Step 5: Compile and UploadGo back to “Home” tab. This time, click on the “Comp’nLoad” button.
Workshop 4 will prompt you to select a drive to copy the image files to a uSD Card. After selecting the correct drive, click OK.
The module will prompt you to insert the uSD card. Properly unmount the uSD Card from the PC and insert it to the uSD Card slot of the display module. The image below must appear on your display after completing the steps above. After uploading, 4Duino will start running the code.
You should be directed to the single capture setup mode. You can change the setting using the setup button.
DemonstrationDefault Mode: Single Capture
Exit to Setup Options
Setup Page
Auto Mode: Multiple images
View image Files Instruction
Power Option
Capturing Sequence
Images Captured by Recording Cam


Comments