Hardware components | ||||||
 |
| × | 1 | |||
| × | 1 | ||||
| × | 1 | ||||
| × | 1 | ||||
| × | 1 | ||||
| × | 1 | ||||
Background
Step 1: Build
Step 2: Program
Step 5: Mount μSD Card
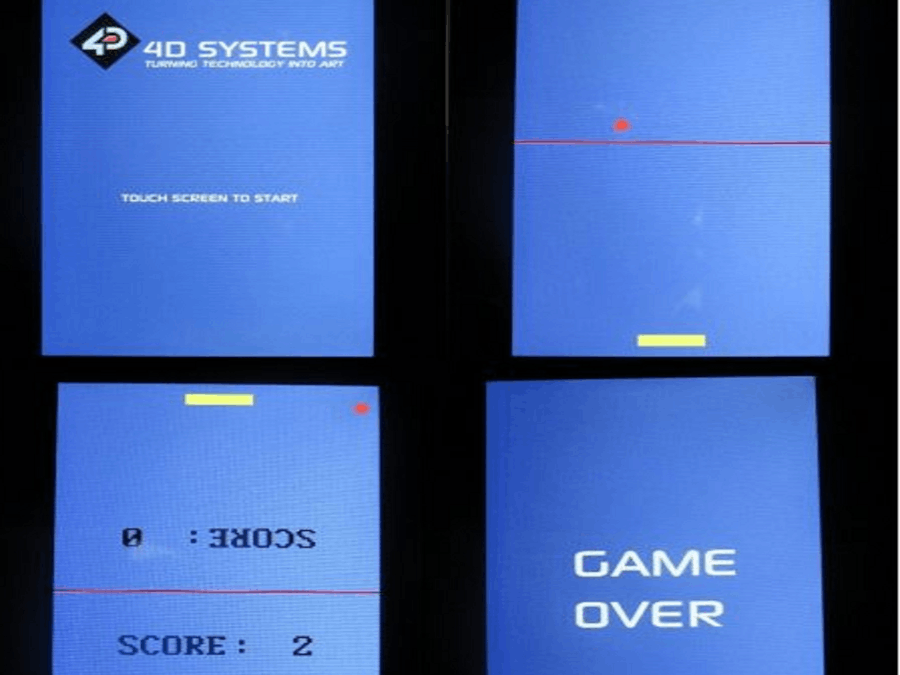
Read morePong is one of the earliest arcade video games. It features 2-D graphics and simulates a basic table tennis game. In this project, you will be able to create a simple Pong game in a gen4-uLCD-DCT-CLB. You will be able to use primitive objects in this project and mimic the appearance of the classic game. The touch feature of the display module will be used to allow users to provide input.
The processor will simply check for the position of the ball to determine if a player has won, lost of if the ball should bounce off the edges of the display.
How it Works- If you are using gen4-IB and μUSB PA-5, connect the display to your computer as shown in the image below.
- If you are using gen4-PA board,connect the display to your computer as shown in the image below.
- Download the project file here.
- You can download Workshop 4 IDE and the complete code for this project from our website.
- Open the project using Workshop 4. This project uses the ViSi Environment.
- You can modify the properties of each widget.
- Click on the Compile button.
Note: This step could be skipped. However, compiling is essential for debugging purposes.
Step 4: Comp’n Load- Connect the display to the PC using μUSB-PA5 and a mini USB cable. Make sure that you are connected to the right port. Red Button indicates that the device is not connected, Blue Button indicates that the device is connected to the right port.
- Now click on the “Comp’nLoad” button.
- Workshop 4 will prompt you to select a drive to copy the image files to a μSD Card. After selecting the correct drive, click OK.
- The module will prompt you to insert the μSD card.
- Properly unmount the μSD Card from the PC and insert it to the μSD Card slot of the display module. The image below must appear on your display after completing the steps above.
Demo
Touch Screen to Play
124 projects • 186 followers
4D Makers is a group of curious engineers and enthusiasts who finds great satisfaction in creating and building anything from electronics.


Comments