

In this project, we will learn how to control the on board 4Duino LED via I/O port (D13) from web browser. The Built-in ESP8266 Wi-Fi module is configured as a server enabling the 4Duino to receive commands from a web browser (client).
How it worksNote: This project can be carried out only if the Client and the Server are in the same network because your home firewall will prevent the 4Duino server from being accessed by the Internet. You can allow access to the 4Duino to the Internet by enabling port forwarding. Hence, you can control the LED from anywhere around the world as long as you are connected to the Internet.
ProgrammingWorkshop 4 – 4Duino Basic Graphics environment is used to program this project. It could be implemented in the latest Arduino IDE.
This project requires the Arduino IDE to be installed as Workshop calls the Arduino IDE for compiling the Arduino sketches. The Arduino IDE however is not required to be opened or modified to program the 4Duino.
Simply change the SSID and the PASSWORD to suit your WiFi.
Note: Download the code here.
Compile and UploadConnect the first 4Duino to the PC with USB. Then click on the “Comp’nLoad” button on Program1.
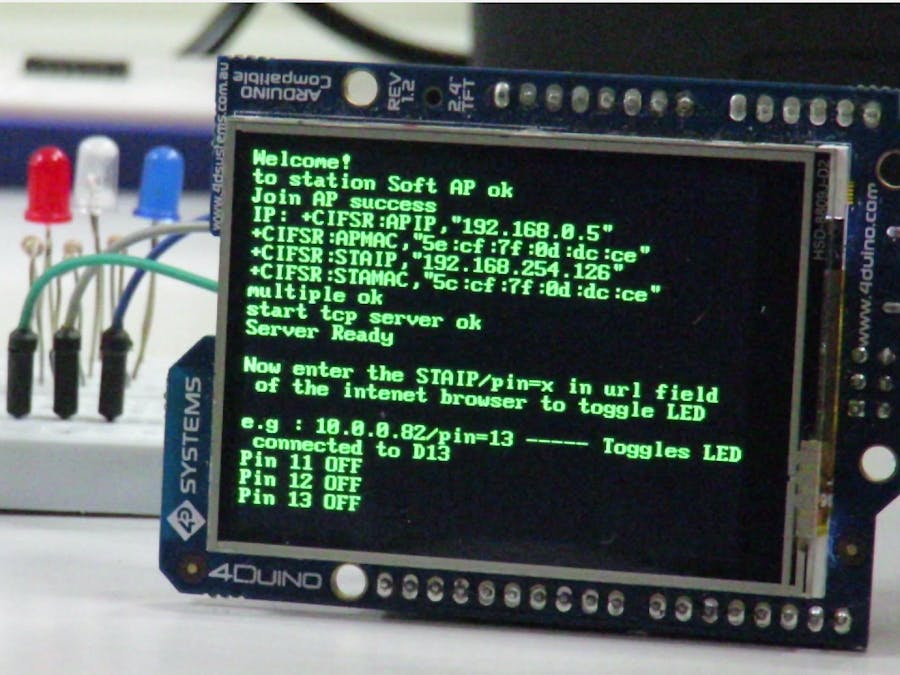
The 4Duino’s Local IP address is set to “10.0.0.82” by the program. Enter this IP address in the browser URL field to obtain the web page from 4Duino.
By typing “10.0.0.82/pin=13” in the URL field to you can toggle LED connected to D13.
You will notice that your 4Duino’s on board LED connected to pin 13 is turned ON.
The program also allows you to control Pins D10 and D11 in the similar manner.

Comments