

Hardware components | ||||||
 |
| × | 1 | |||
 |
| × | 1 | |||
| × | 2 | ||||
| × | 2 | ||||
| × | 2 | ||||
 |
| × | 1 | |||
 |
| × | 1 | |||
 |
| × | 1 | |||
 |
| × | 1 | |||
Software apps and online services | ||||||
 |
| |||||
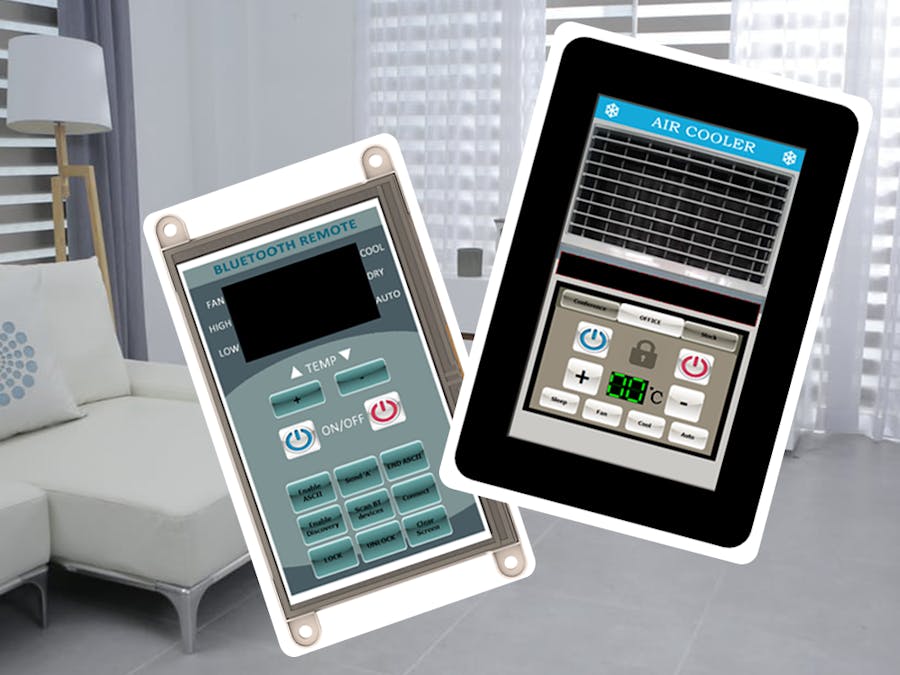
This project uses MOTG-Bluetooth by 4D Systems.
MOTG acts as data pipe which allows a smartphone app to control the current video playing on the display. This project includes two Visi Project files. One for the Bluetooth Remote Controller (TX) and one for the Air Cooler Project (RX). The Bluetooth MOTG is used as a data pipe for communication between two projects.
How It WorksThe following are used in the project: (some can be substituted)
- MOTG-Bluetooth x 2
- gen4-MOTG-AC1 x 2
- 2 pcs 30-way FFC Cable
- Optional: Connecting Wires, Resistors, LEDs
- Below is the connection or Fritzing diagram for the Bluetooth Remote (TX).
- Below is the connection or Fritzing diagram for the Bluetooth Air Cooler (RX).
Additional/Optional Circuit: (Bluetooth Air Cooler).
Download the project file here. The image below shows the programs to load to the LCD. Click the 4D Visi Project to open or edit the project.
Bluetooth Remote (TX)
Bluetooth Air Cooler (RX)
The ASCII Command “C,0,Mac-Address” Connects to the corresponding Bluetooth module. Change this to the Mac Address of the chosen MOTG to be loaded of the ‘Air Cooler’ project.
Step 3: CompileClick on the “Compile” button on both projects,
Note: This step could be skipped. However, compiling is essential for debugging purposes.
Step 4: Comp’n LoadConnect the display to the PC using uUSB-PA5 and a mini USB cable. Make sure that you are connected to the right port. Red Button indicates that the device is not connected, Blue Button indicates that the device is connected to the right port.
Now click on the “Comp’nLoad” button.
Workshop 4 will prompt you to select a drive to copy the image files to a uSD Card. After selecting the correct drive, click OK.
The module will prompt you to insert the uSD card.
Properly unmount the uSD card from the PC and insert it to the uSD card slot of the display module.
Increasing the Temperature by Pressing “+” button on the remote 3rd LED goes HIGH
Pressing Lock Button on Remote locks the buttons on the RX LCD, 4th LED HIGH.


Comments