


Hardware components | ||||||
 |
| × | 1 | |||
| × | 1 | ||||
Software apps and online services | ||||||
 |
| |||||
| ||||||
| ||||||
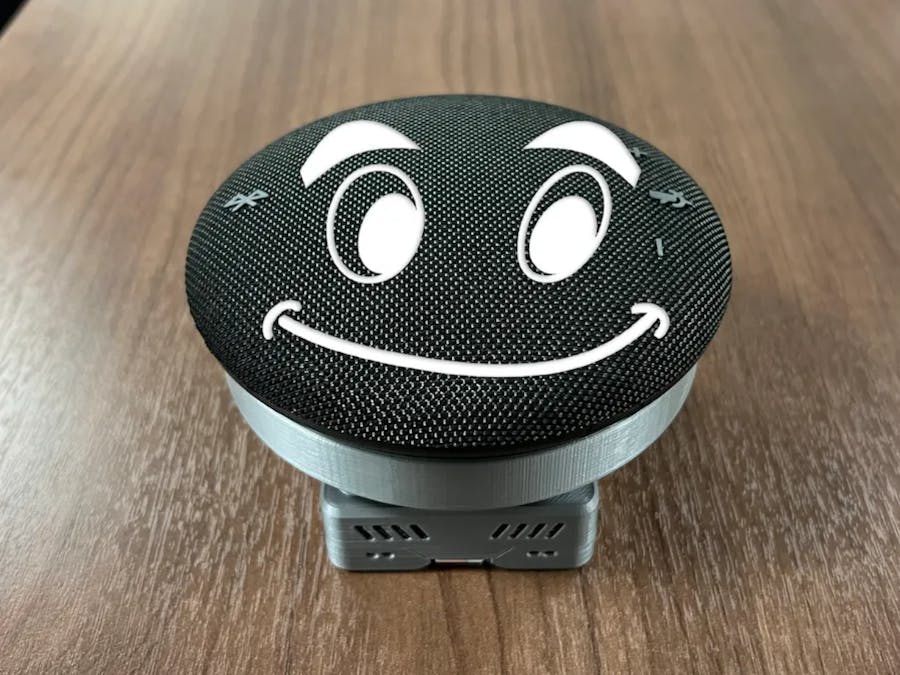
The Conversational Speaker, informally known as "Friend Bot", uses a Raspberry Pi to enable a spoken conversation with OpenAI large language models. This implementation listens to speech, processes the conversation through the OpenAI service, and responds back.
For more information on the prompt engine used for maintaining conversation context, go here: python, typescript, dotnet.
For more information about prompt design in general, checkout OpenAI's documentation on the subject: https://beta.openai.com/docs/guides/completion/prompt-design.
This project is written in.NET 6 which supports Raspberry Pi OS, Linux, macOS, and Windows.
Build time: 30 minutes
Read time: 15 minutes
Hardware: ~$50
- Raspberry PI 4 Model B
- USB Omnidirectional Speakerphone
Software:
Azure Cognitive Speech Services, the free tier supports 5 audio hours free per month and 1 concurrent request (Azure Cognitive Services pricing). New Azure accounts include $200 in free credit that can be used during the first 30 days.
- OpenAI, Davinci models (most powerful): $0.02 / ~750 words, Curie models (still pretty good with faster response time): $0.002 / ~750 words. New OpenAI accounts include $18 in free credit that can be used during your first 90 days. For more details: https://openai.com/api/pricing/
You will need an instance of Azure Cognitive Services for speech-to-text and text-to-speech, as well as an OpenAI account in which to have a conversation. You can run the software on nearly any platform, but let's start with setting up a Raspberry Pi first...
Raspberry PiIf you are new to Raspberry Pis now would be a good time to check out the getting started.
OS
1. Insert an SD card into your PC
2. Go to https://www.raspberrypi.com/software/ then download and run the Raspberry Pi Imager
3. Click `Choose OS` and select the default Raspberry Pi OS (32-bit).
4. Click `Choose Storage`, select the SD card
5. Click `Write` and wait for the imaging to complete.
6. Put the SD card into your Raspberry Pi and connect a keyboard, mouse, and monitor.
7. Complete the initial setup, making sure to configure Wi-Fi.
USB Speaker/Microphone
1. Plug in the USB speaker/microphone if you have not already
2. Right-click on the volume icon in the top-right of the screen and make sure the USB device is selected.
3. Right-click on the microphone icon in the top-right of the screen and make sure the USB device is selected.
AzureThe conversational speaker uses Azure Cognitive Service for speech-to-text and text-to-speech. Below are the steps to create an Azure account and an instance of Azure Cognitive Services.
Create an Azure account (if you have not already)
1. In a web browser, navigate to https://aka.ms/friendbot/azure and click on Try Azure for Free.
2. Click on Start Free to start creating a free Azure account.
3. Sign in with your Microsoft or GitHub account.
4. After signing in, you'll be prompted to enter some information.
5. Even though this is a free account, Azure still requires credit card information. You will not be charged unless you change settings later.
6. After your account setup is complete, navigate to https://aka.ms/friendbot/azureportal.
Create an instance of Azure Cognitive Services
1. Sign into your account at https://aka.ms/friendbot/azureportal.
2. In the search bar at the top, enter Cognitive Services and under Marketplace select Cognitive Services (it may take a moment to populate).
3. Verify the correct subscription is selected, then under Resource Group select Create New and enter a resource group name (e.g. conv-speak-rg)
4. Select a region and a name for your instance of Azure Cognitive Services (e.g. my-conv-speak-cog-001). I recommend using either East US, West Europe, or Southeast Asia as those regions tend to support the greatest number of features.
5. Click on Review + Create and after validation passes, click Create.
6. When deployment has completed you can click Go to resource to view your Azure Cognitive Services resource.
7. On the left side navigation bar, select Keys and Endpoint under Resource Management. Copy either of the two Cognitive Services keys and save in a secure location for later.
Windows 11 users: If the application is stalling when calling the text-to-speech API, make sure you have applied all current security updates (link).OpenAI
The conversational speaker uses OpenAI's models to hold a friendly conversation. Below are the steps to create a new account and access the AI models.
Create an OpenAI account (if you have not already)
1. In a web browser, navigate to https://openai.com/api and click `Sign up`
2. You can use a Google account, Microsoft account, or email to create a new account.
3. Complete the sign-up process (e.g., create a password, verify your email, etc.). If you are new to OpenAI, please review the usage guidelines (https://beta.openai.com/docs/usage-guidelines).
4. In the top-right corner click on your account, then View API keys.
5. Click + Create new secret key, copy it and save it in a secure location for later.
- If you are curious to play with the large language models directly, check out the `Playground` at the top of the page.
Get and configure the code.
1. On the Raspberry Pi or your PC, open a command-line terminal
2. Install.NET 6 SDK
- For Raspberry Pi and Linux:
curl -sSL https://dot.net/v1/dotnet-install.sh | bash /dev/stdin --channel 6.0After installing is complete (it may take a few minutes), add dotnet to the command search paths
echo 'export DOTNET_ROOT=$HOME/.dotnet' >> ~/.bashrc
echo 'export PATH=$PATH:$HOME/.dotnet' >> ~/.bashrc
source ~/.bashrc
You can verify that dotnet was installed successfully by checking the version
dotnet --version- For Windows, go to https://dotnet.microsoft.com/download, click `Download.NET SDK x64`, and run the installer.
3. Clone the repo and checkout the appropriate branch.
git clone --recursive --branch hackster-tutorial-1 https://github.com/microsoft/conversational-speaker.git4. Set your API keys, replacing {MyCognitiveServicesKey} with your Azure Cognitive Services key, {MyCognitiveServiceRegion} with your Azure Cognitive Service region (e.g., EastUS), and {MyOpenAIKey} with your OpenAI API key from the sections above.
cd ~/conversational-speaker/src/ConversationalSpeaker
dotnet user-secrets set "AzureCognitiveServices:Key" "{MyCognitiveServicesKey}"
dotnet user-secrets set "AzureCognitiveServices:Region" "{MyCognitiveServiceRegion}"
dotnet user-secrets set "OpenAI:Key" "{MyOpenAIKey}"
5. Build and run the code!
cd ~/conversational-speaker/src/ConversationalSpeaker
dotnet build
dotnet run
(Optional) Setup the application to start on boot
There are several ways to run a program when the Raspberry Pi boots. Below is my preferred method which runs the application in a visible terminal window automatically. This allows you to not only see the output but also cancel the application by clicking on the terminal window and pressing CTRL+C.
1. Create a file /etc/xdg/autostart/friendbot.desktop
sudo nano /etc/xdg/autostart/friendbot.desktop2. Put the following content into the file
[Desktop Entry]
Exec=lxterminal --command "/bin/bash -c '~/.dotnet/dotnet run --project ~/conversational-speaker/src/ConversationalSpeaker; /bin/bash'"
Press CTRL+O to save the file and CTRL+X to exit. This will run the application in a terminal window after the Raspberry Pi has finished booting.
3. To test out the changes you can reboot simply by running
rebootFor more details on how the code words, check out the README.
Usage- It is recommended to set context by starting with "Hello, my name is Jordan and I live in Redmond, Washington."
- Take a look at the
~/conversational-speaker/src/ConversationalSpeaker/configuration.json. - Change the AI's name (
PromptEngine:OutputPrefix), - Change the AI's voice (
AzureCognitiveServices:SpeechSynthesisVoiceName) - Change the AI's personality (
PromptEngine:Description) - The current state of the prompt engine usually remains stable for short and medium length conversations. Sometimes during longer conversations, though, the AI may start responding with not only its own response but what it thinks you might say next.
In the next tutorial, we'll add a wake phase (e.g. "Hey, Computer") to our conversational speaker. Check it out here: AI Conversation Speaker aka Friend Bot: Part 2 Wake Word - Hackster.io
Have fun!


Comments