


Hardware components | ||||||
 |
| × | 1 | |||
| × | 1 | ||||
Software apps and online services | ||||||
 |
| |||||
 |
| |||||
This project shows how to create a BlueApp application that interacts with most any BLE device. We will show you how to connect with a BLE device and display the device name in a browser or an application.
We build our projects using Angular as our front-end library. It is optional and we use it primarily to take advantage of the two-way data binding which helps update the UI when the data changes.
Prerequisites- Familiarity with Javascript, HTML, CSS
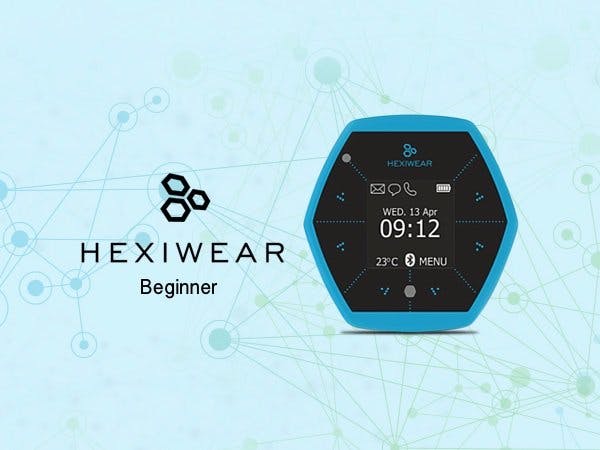
- Hexiwear Device (reprogrammed)
The Hexiwear devices are programmed from the factory to require a pin for pairing to a host device. To simplify our project, we are using a special binary on the Hexiwear radio MCU (NXP KW40) that allows for pairing without authentication, specifically Bluetooth LE Mode 1 Level 2.
To reprogram the Hexiwear device, use the insert the device onto the Hexiwear Docking station, set the dip switches to 00111000 (Switches 1,2 off and Switches 3,4,5 on; MKW40 and OSDA on). Switch the Docking station on, and then copy the binary provided, "HEXIWEAR_bluetooth.bin", into the temporary drive, "DAPLINK".
Understanding the Code
Since we are using angular, we need to start off our html with the following. This will bootstraps the angular application into html which you'll see defined later in the javascript file, for more information refer to AngularJS tutorial.
<html ng-app="BlueAppDemo">
Add the dependencies for your project, include the Web Bluetooth and AngularJS libraries,
<script src="https://blueappio.github.io/blueapp.io/blueapp.io.min.js"></script>
<script src="https://ajax.googleapis.com/ajax/libs/angularjs/1.6.2/angular.min.js"></script>
Include your application's javascript file into your html.
<script src="app.js"></script>
In the simplest form, this gives you the interface needed to allow your app to communicate with bluetooth devices. There are more you can get out of it, but that will be covered in other projects.
The following lines bind our javascript code to the html. With angular, we define a controller MainController and declare a variable main as it's reference. The controller is responsible for user events and displaying data. In our Javascript, you'll see that we defined the onButtonClicked() function as well as the variables Name, Id, and Connected that we get from our bluetooth device.
<div ng-controller="MainController as main">
    <button ng-click="main.buttonClicked()">Find Device</button>
    <ul class="unstyled">
        <li>
            Name: {{main.Name}}
        </li>
        <li>
            Id: {{main.Id}}
        </li>
        <li>
            Manufacture Name: {{main.Manufacturer}}
        </li>
    </ul>
</div>
Onto our Javascript file. We first have to call some angular related initializations. This is not needed if you don't use angular. We define our module 'BlueAppDemo' that we use in our html as well as define or controller.
angular.module('BlueAppDemo', [])
    .controller('MainController', ['$scope', mainController]);
We then begin to define the function mainController that drives our controller. The mainController function defines the following variables:
let options = {
    filters: [{name: 'HEXIWEAR'}],
    optionalServices: ['0000180a-0000-1000-8000-00805f9b34fb']
};
To have app work on independently on browser, we define a variable filters which is an array of objects. Valid filters are:
- 'name': which will look for a device(s) that matches the name given.
- 'service': which can be an array of 16 bit or 128 bit uuids. These uuids represent services uuids that are advertised by the bluetooth device.
- 'namePrefix': which will look for a device(s) who's name matches the prefix given.
In our case we are looking for a device named "HEXIWEAR" which has the Device Information Service. When using with AvnetThings or Blueapp plaftorm, the filters are added, as directed above, when adding the app. In that case, the filters in the code will be ignored.
We also define two functions
main.buttonClicked = function()
function isWebBluetoothEnabled()
The first is for the button event. We define it this way to assign it to the controller. The second function you can call 'private' so no need to assign it to the mainController reference variable. isWebBluetoothEnabled checks if we can access bluetooth on our browser.
The real magic is in the call navigator.bluetooth.requestDevice which we pass our scanning options. Once called, the user will see a popup in which they'll see devices that are found (initially it could be empty). The device clicked is what will be sent to the promise/callback. In our sample, we simply display some device information. We then connect, and try to read the devices manufacturer.
navigator.bluetooth.requestDevice(options)
.then(device => {
    main.Name = device.name;
    main.Id = device.id;
    $scope.$apply();
    return device.gatt.connect();
})
.then(server => {
    // Get the device information service
    return server.getPrimaryService('0000180a-0000-1000-8000-00805f9b34fb');
})
.then(service => {
    // Get the manufacturer name characteristic
    return service.getCharacteristic('00002a29-0000-1000-8000-00805f9b34fb');
})
.then(c1 => {
    return c1.readValue();
})
.then(data => {
    main.Manufacturer = dataToString(data);
    $scope.$apply();
})
.catch(error => {
    console.log('Argh! ' + error);
});


Comments