


Hardware components | ||||||
 |
| × | 2 | |||
 |
| × | 1 | |||
 |
| × | 2 | |||
 |
| × | 1 | |||
| × | 1 | ||||
 |
| × | 1 | |||
Software apps and online services | ||||||
 |
| |||||
Ever forgotten to turn the lights out when you wake up early for work, and the sun is not up yet? Don't want your dog to be left alone in the dark?
This simple project eliminates the two scenarios above, and many more!
Our simple project uses two Particle Photon's to control the lights in a room via a servo motor. The code for the project is relatively simple. One particle reads the analogue value and compares the value to a constant set in the code, and publishes the light status, either "Bright" or "Dark," to the console, and is delayed for a selected amount of time before running through the loop again.
The other Particle was made to subscribe to the events of the Particle reading the analogue value of the ambient light. Then, based off which event was published, a command would be sent to the servo to either turn on or off the light switch the servo is attached to.
For demonstration purposes, the code found on this page reflects a lower value than the average ambient light value in my room with the light on. To properly set up this light activated switch, you must check the values of the ambient light using Control Everything (Mobicle.io) at sunrise and sunset so the light switch operates properly with the changing light conditions.
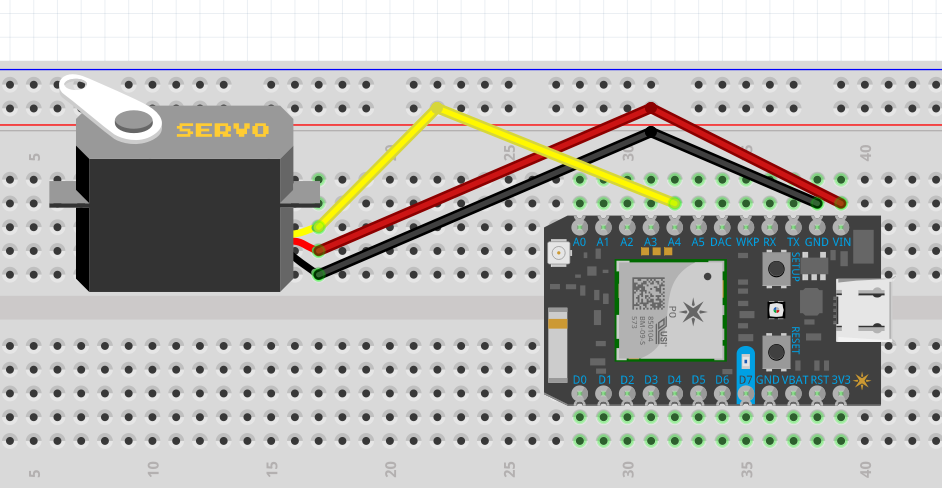
Also, you must properly calibrate your servo motor so the motor does not bind at the extremes of its motion. In our case, the sweet spots for our servo motor were 67 degrees for turning the light switch off, and 30 degrees for turning the light switch on.
From the graphs, you can See when the light is off, the servo is in the off position, or 67 degrees. When the light is on, the servo moves to 30 degrees. The lines between the on and off position should be vertical, but don't reflect that way because the data was graphed at 2 second intervals.
If you like our project, make sure to give us a like, and feel free to replicate for your personal use!
Light Sensing Photon


Comments