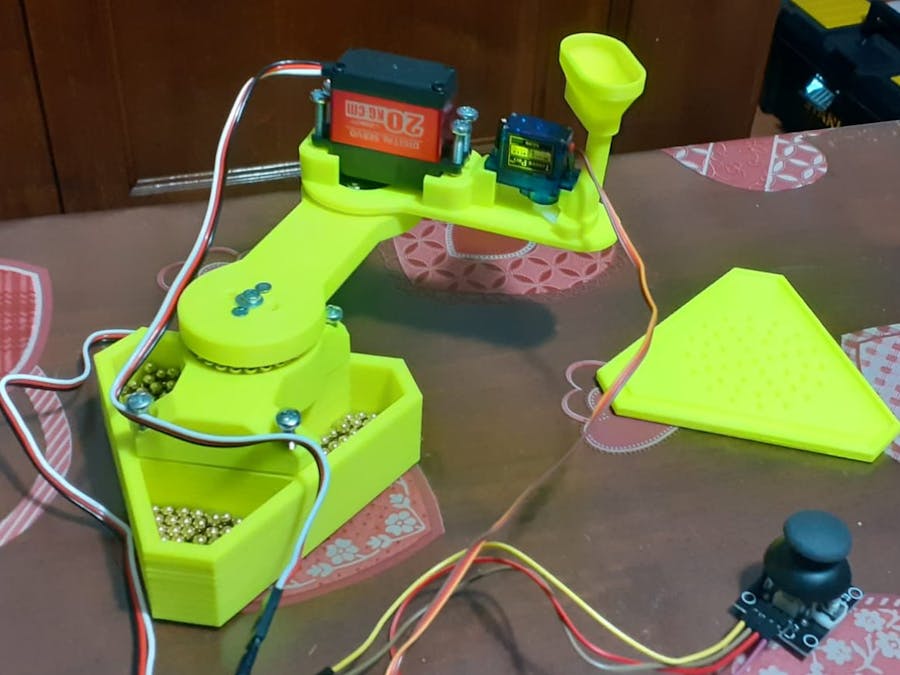
This project is born when we decided to build a small robotic arm using an Arduino Uno controlled by a button (to control the servo which drops
the steel ball) and a joystick (there are two potentiometers in it, each of them "drives" a servo).
We watched on the web and decided to make an "unusual" kind of robotic arm: the SCARA.
Assembling of the PartsAssembling Hacks Probably the holes in the 3D printed parts will be too small for the heat inserts (it depends on their outer diameter, so it’s suggested to get inserts with a diameter of 3, 5mm), so you’ll have to drill the printed parts to let the holes reach the depth and the diameter of your inserts. In our case, flange’s holes were too small too so we had to drill with a 3mm drill bit.
It’s not hard to assembly all the parts of this Scara robot. These are the main steps:
1. 3D print the plastic components of the Scara ( we used a cartesian 3d printer) ;
2. Install the inserts (the easiest way is by heating them with a soldering iron);
3. Put the first DS3218MG Servo in the “Base” and put the “Top” part on it, then block these parts with M4x10 screws (for the servo) and with M4x20 screws (for the “Top”);
4. Block the flange on the lower side of the “Arm” with four M3x15 screws and nuts (the nuts will stay between the servo and the flange). Then put a washer and a M3x15 screw in the hole in the middle;
5. Put the steel balls in their seat and then place the “Arm” on it (repeat this two steps (4-5) for the “Dispenser” part);
1 / 2 • As you can see, in these photos we used again longer screws and only two bolts to block the flange on the 3D printed parts
6. Block the other DS3218MG Servo on the “Dispenser” with four M4 screws;
7. Put the SG90 (upside down) on the supports of the dispenser, block it with hot glue;
Operating Principle
This Scara’s operating process is quite easy. In the joystick there are two potentiometers (there is a button too, but we decided to use a separate one in this project) and in the entire mechanism of the robot there are three servos (two “big” and powerful ones and a smaller one), so we decided to drive each DS3218MG with a potentiometer and the other servo with the button: more specifically, every time a potentiometer reaches one of its ends, the servo will turn 5° right or left (depending on the side reached by the potentiometer) and every time the botton will be pushed, the smaller servo will drop a steel


_ztBMuBhMHo.jpg?auto=compress%2Cformat&w=48&h=48&fit=fill&bg=ffffff)


Comments