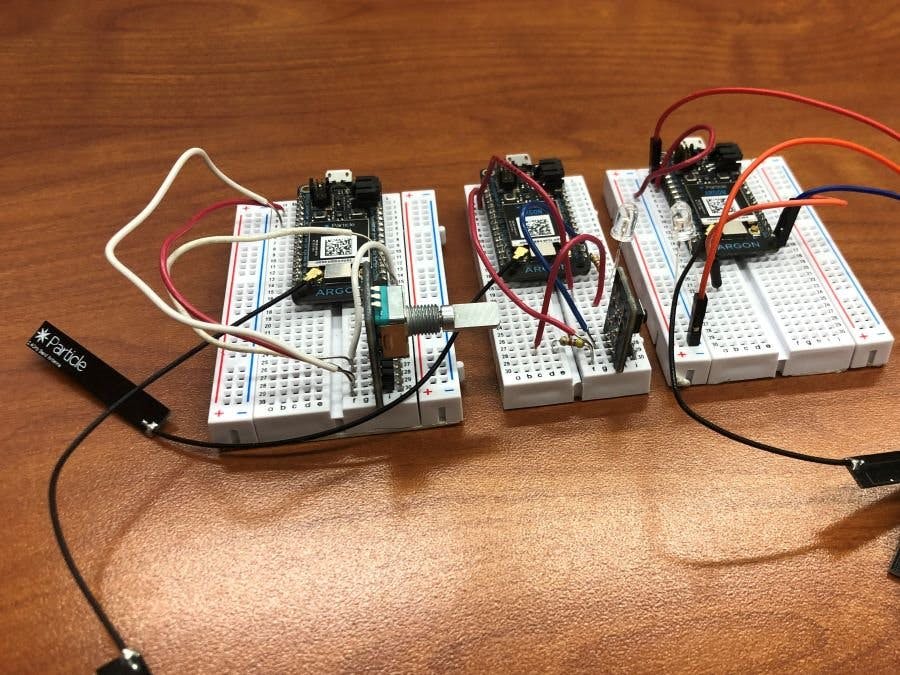
The first Argon is the argon with the rotary encoder on it. This encoder node is uses as a control that will publish a signal to the second argon telling it that it is allowed to turn on the power. This makes the button operational, and lights the on-board LED light up. This is done by simply turning the nob one click to left. This turn to the left will publish a signal to the second argon that it will be able to receive. Warning due to the sensitive nature of the encoder, do not turn more then one click or it might cause the second argon to not receive the published signal. Then to turn off or deactivate the second argon, turn the nob back to its original position by turning one click to the right.
Figure 1: The first argon
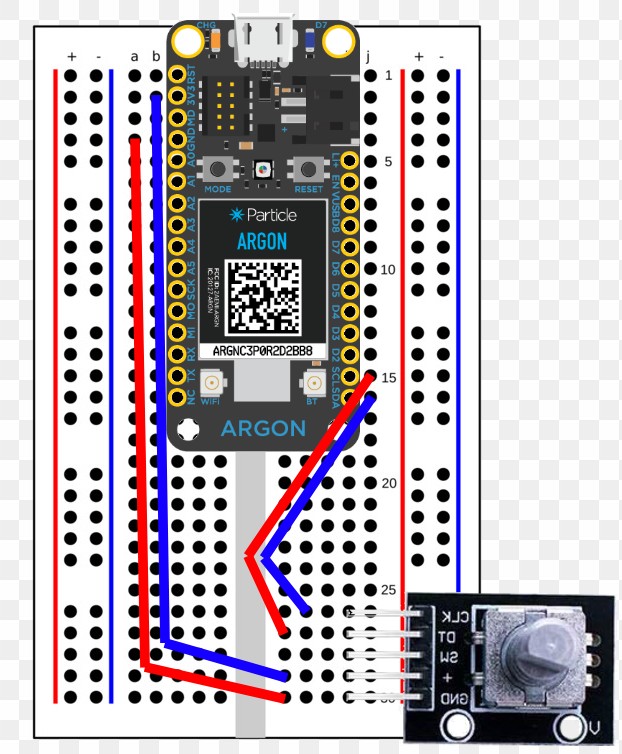
Second Argon
The second argon acts as more of a moderator between the first and second argon. The second argon is unusable until it gets the signal published from the first argon when the encoder nob is turn to the left. The way that the second argon shows that it has received its signal from the first argon is the white LED light attached will light up. Once the light it bright white, it shows that the commanded was received and that the button attached to it is ready to be used. Hint the second argon might take a while to receive the signal from the first argon, this depends on the strength of the WiFi signal, so wait up to a minute before trying to fix the circuit. The purpose of the button is that once push it will publish the signal to the third argon to turn on the laser.
Figure 2: The second argon
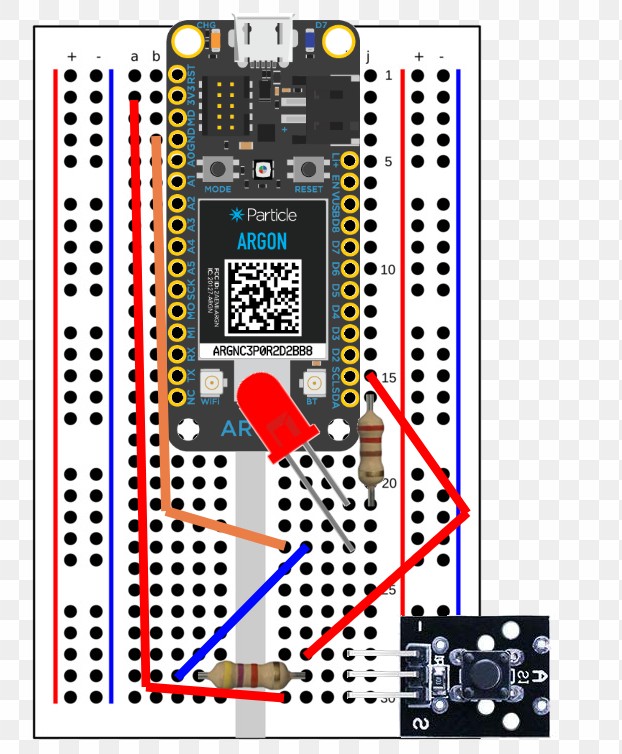
Third Argon
The third argon is the argon that controls the actual laser. Similar to the second argon, the third argon uses a led light to notify the user that it has received the published signal from the 1st two argons, this allows the user to know when the laser is turned on. Another function that shows the third argon has received the command signal from the second argon is that it will send a command back to the second argon to blink the second argon’s LED light. This is important because the laser does take almost complete darkness in order to see the laser from far away. The led and the laser will be on for about eight seconds per command sent. Warning do not overwhelm the third argon by pushing the button multiple times in succession, because if you do, the system will be overflowed with commands and the boards will cease publishing/ receiving messages to operate.
Figure 3: The third argon
All this information about how many times the laser was activated, when the encoder was turned and what position it was turned to. And a timestamp for when the button was pushed is shown on our Thingspeak page. Here is the link and a photo on what to expect when you get there.
Figure 4: A example of what the the graphs will look like on thingspeak
Video
Below is a demonstration video that will not only explain everything about each argon but also explain the code, schematics and also gives a test run of the project so that not only are you able to understand the background information but also gives you a visual demonstration of how this project is suppose to work.


_zhWsCcSEcl.jpg?auto=compress%2Cformat&w=48&h=48&fit=fill&bg=ffffff)


Comments