


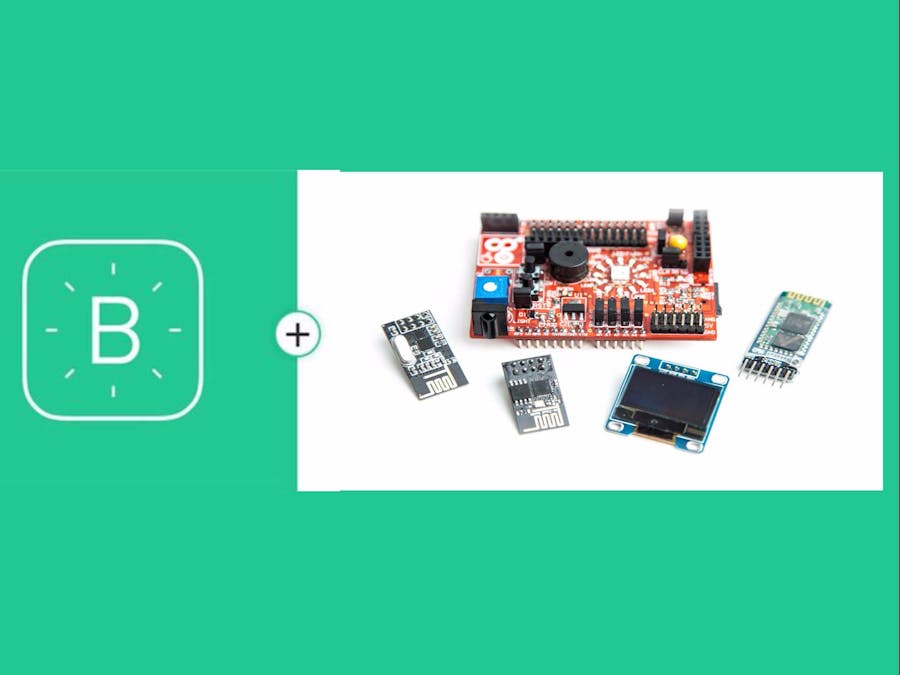
Hardware components | ||||||
_ztBMuBhMHo.jpg?auto=compress%2Cformat&w=48&h=48&fit=fill&bg=ffffff) |
| × | 1 | |||
 |
| × | 1 | |||
 |
| × | 1 | |||
 |
| × | 1 | |||
 |
| × | 2 | |||
 |
| × | 1 | |||
Software apps and online services | ||||||
 |
| |||||
| ||||||
In this project we are going to learn how to use the idIoTware Shield and an Arduino Uno with Blynk.
What is Blynk?Blynk is a Platform with iOS and Android apps to control Arduino, Raspberry Pi over the Internet. It's a digital dashboard where you can build a graphic interface for your project by simply dragging and dropping widgets.
It's really simple to set everything up and you'll start tinkering in less than 5 mins.
Blynk is not tied to some specific board or shield. Instead, it's supporting hardware of your choice. Whether your Arduino or Raspberry Pi is linked to the Internet over Wi-Fi, Ethernet or new ESP8266 chip, Blynk will get you online and ready for the Internet Of Your Things.
Configuring Blynk AppYou need to have an iOS/Android device available to you, and install the Blynk app from the app store.
For more info on Blynk app visit http://docs.blynk.cc/
After installing, you'll need to sign up, and create a New Project in Blynk App. Follow the steps below (use the Left-Right arrows to navigate):
- In this example we have used
ESP8266_Lib.handlynkSimpleShieldEsp8266.hlibrary to make communication between Arduino and Blynk app.
- Find the line that says:
char auth[] = "xxxxxxxxxxxxxxxxxxxx";
- And Copy token number from email.
- Find line below:
char ssid[] = "abcd"; char pass[] = "**********"
- And write WiFi SSID and password. Note: Set password to "" for open networks.
- Upload the code and check on the Blynk app, if it is showing connected or not.
- If it's showing "Arduino Uno is not connected," make sure you have connected the 9V/ 1 amp adapter, Esp8266 WiFi module and make sure WiFi SSID and password are correct.Check the token key if necessary.
- Once the Blynk app shows it is connected. Press the button and you will see the led on shield lights ON!!
Wasn't that simple? You didn’t need to do any soldering nor use a breadboard and you have already built an “internet of things” project. We will see a demonstration of advanced features used on the Shield with the Blynk App.
Now you are ready to make your own home automation project. With the Blynk app you can control anything from lights to AC to TV from anywhere in the world, With the idIoTware shield the sky's the limit.


Comments