Updated for 2019 China-US Young Maker Competition
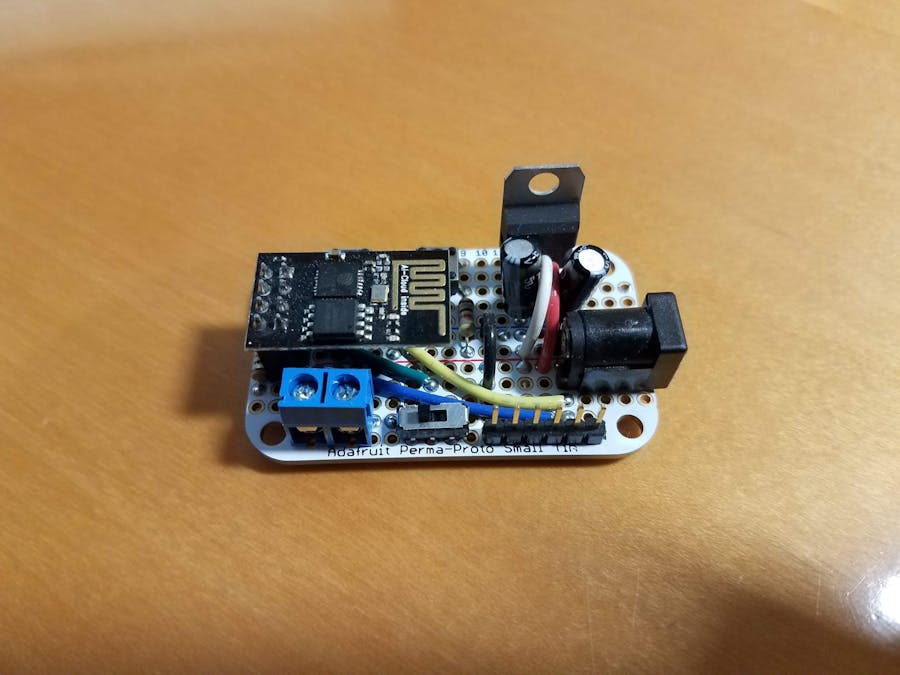
I wanted to build a voice controlled smart outlet that was cheap and that didn't require an existing smart home infrastructure (i.e. SmartThings or HomeKit). There are probably cheaper ways of doing this but I had an unused Power Tail and an ESP8266. This project can be adapted to drive any digital IO pin using Alexa and covers the integration of Alexa, IFTTT and Adafruit.IO.
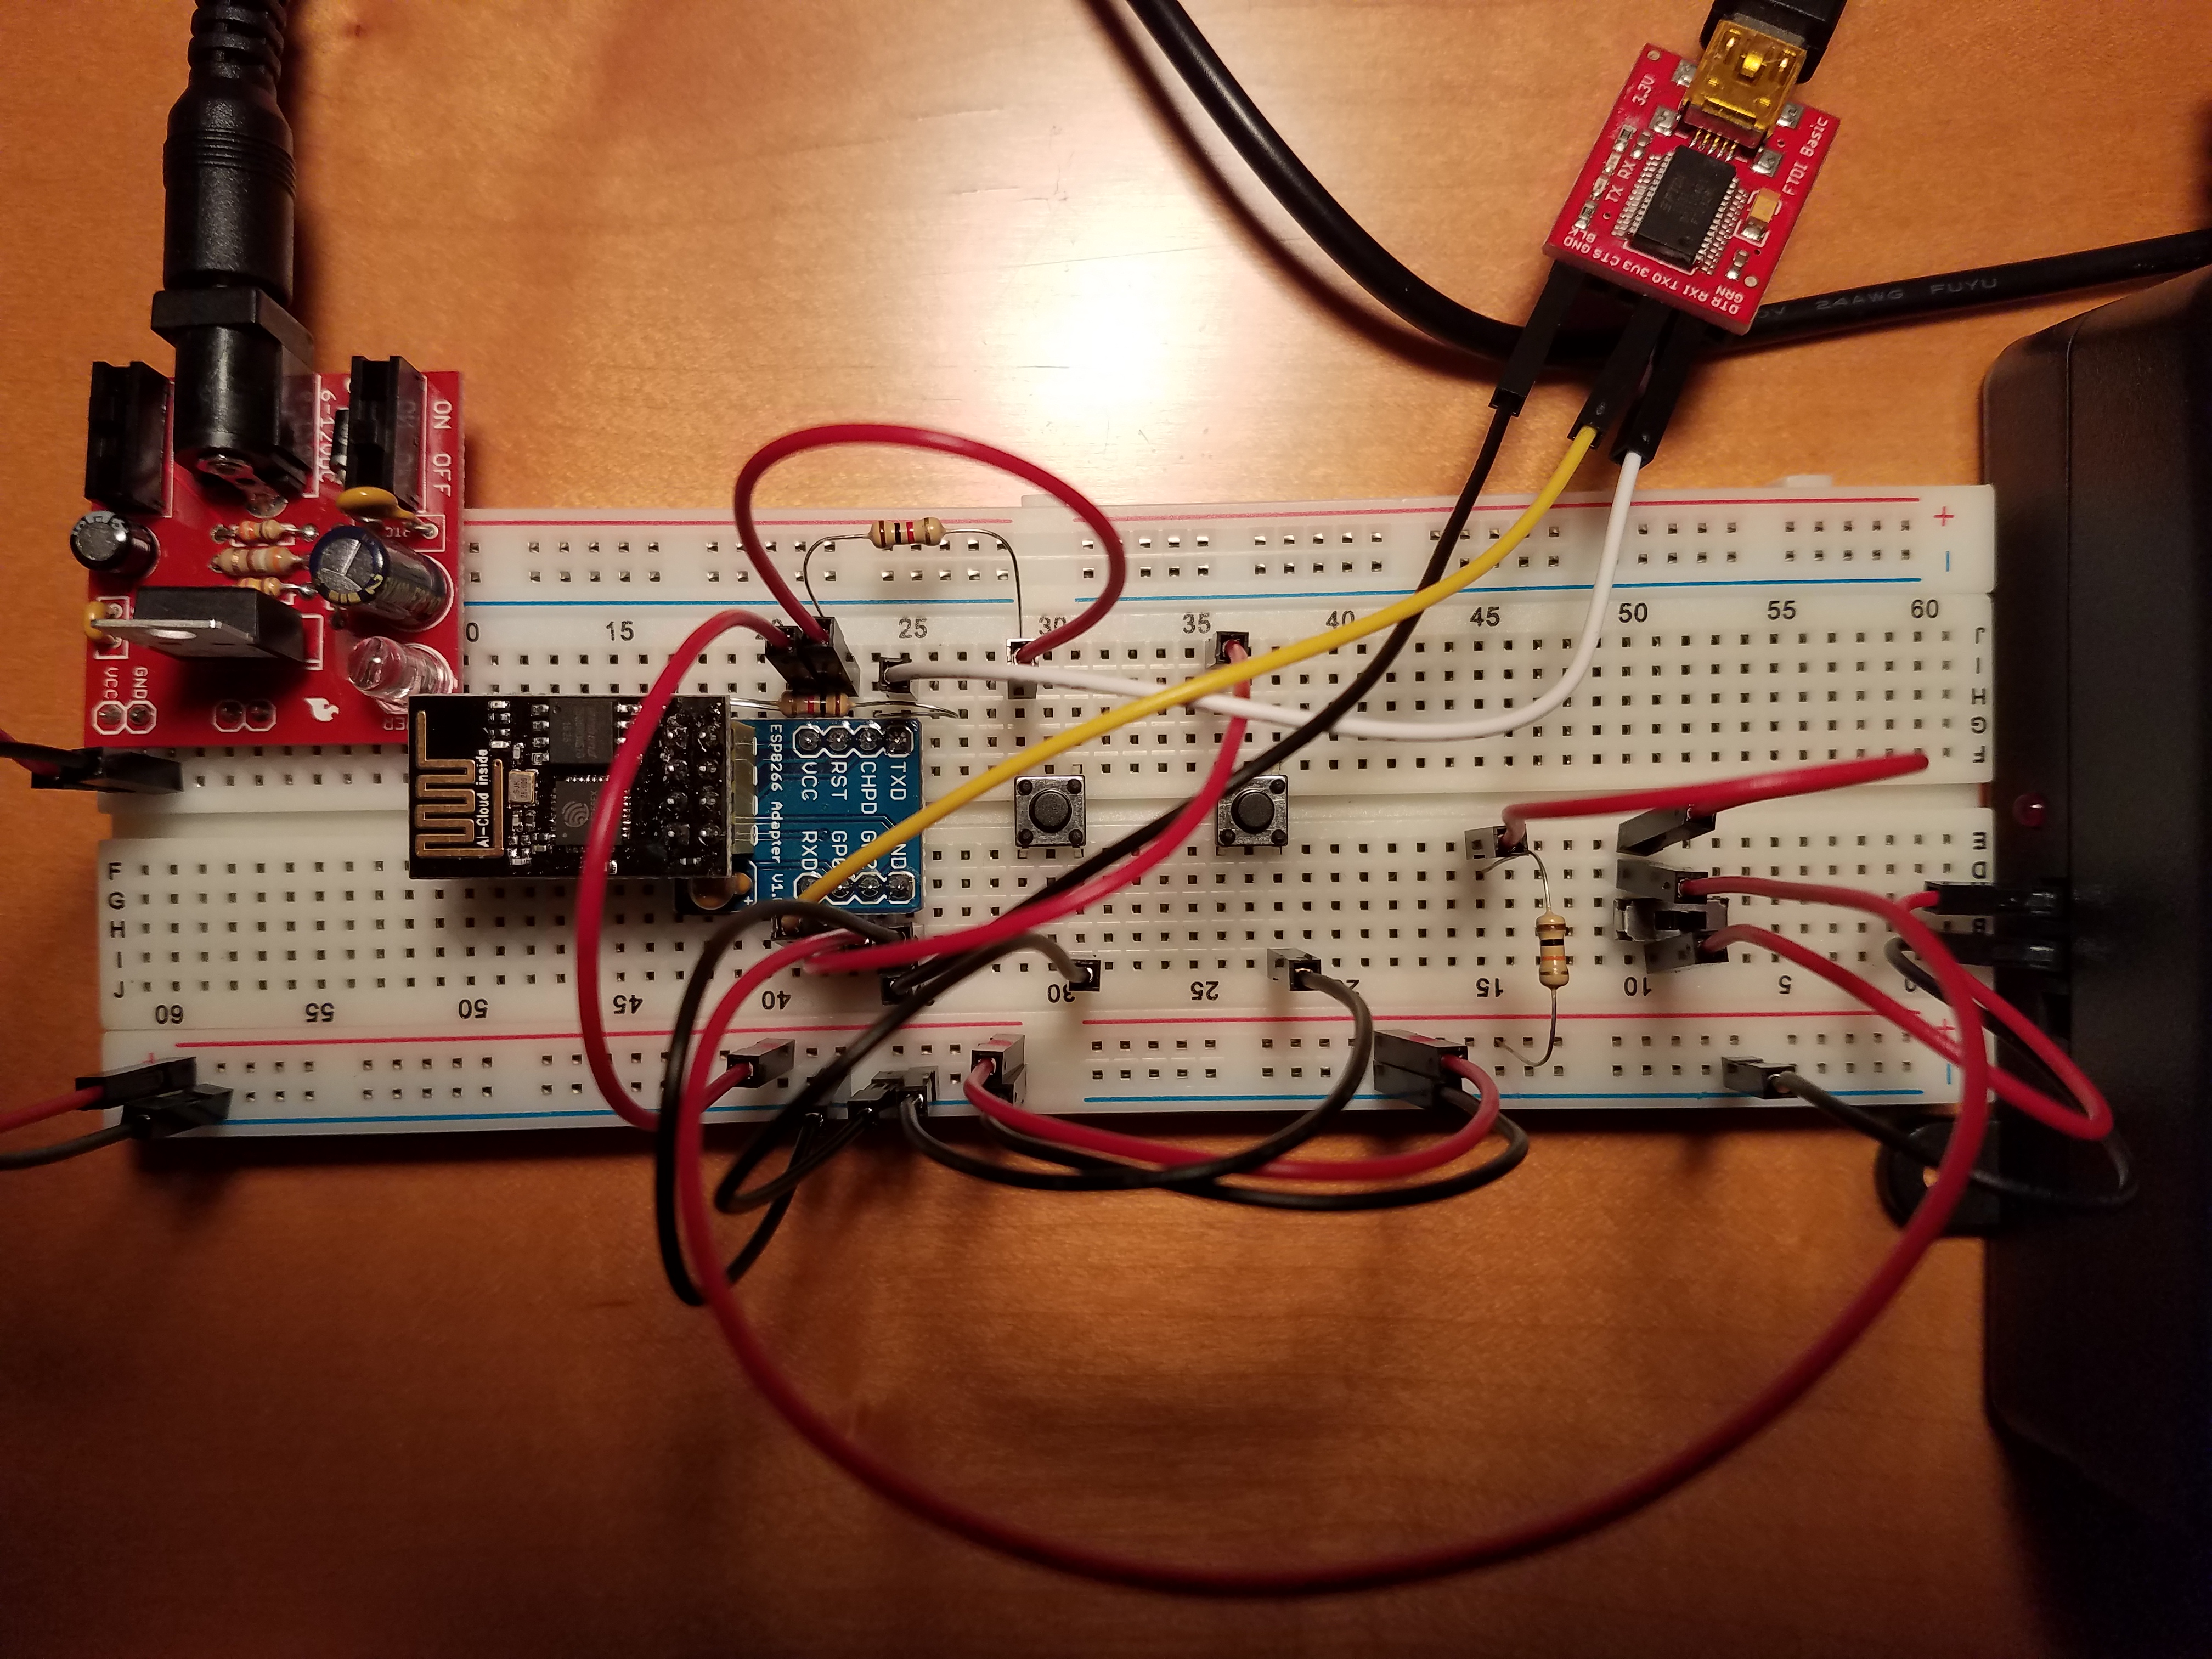
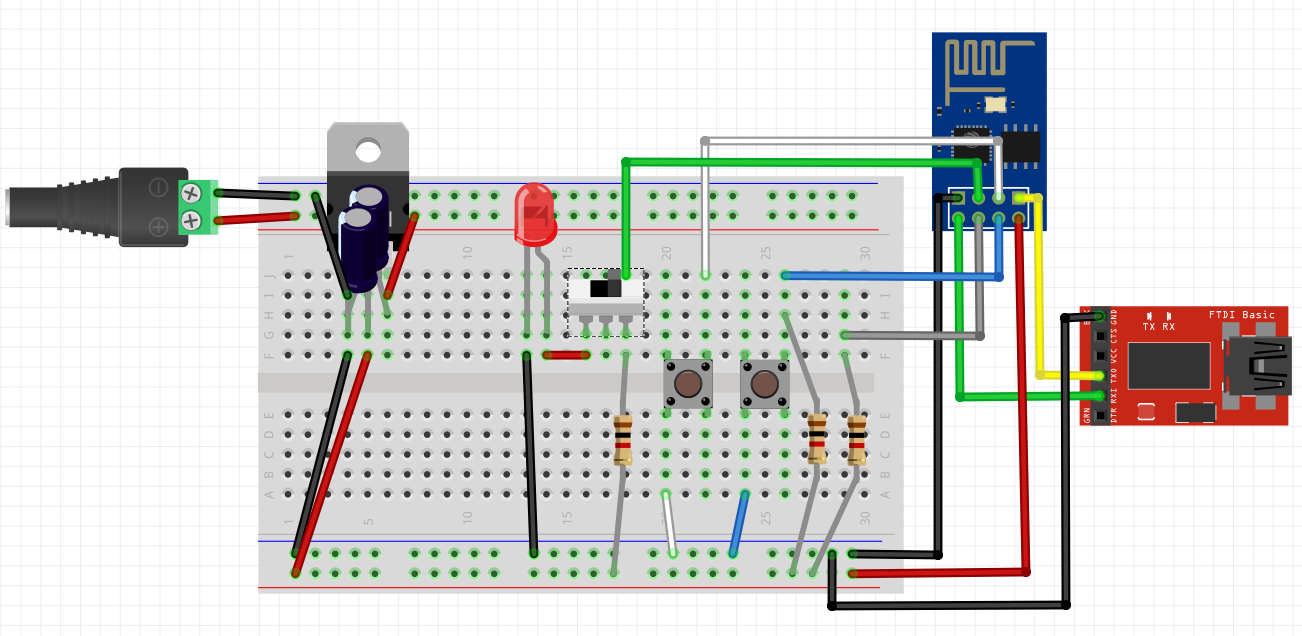
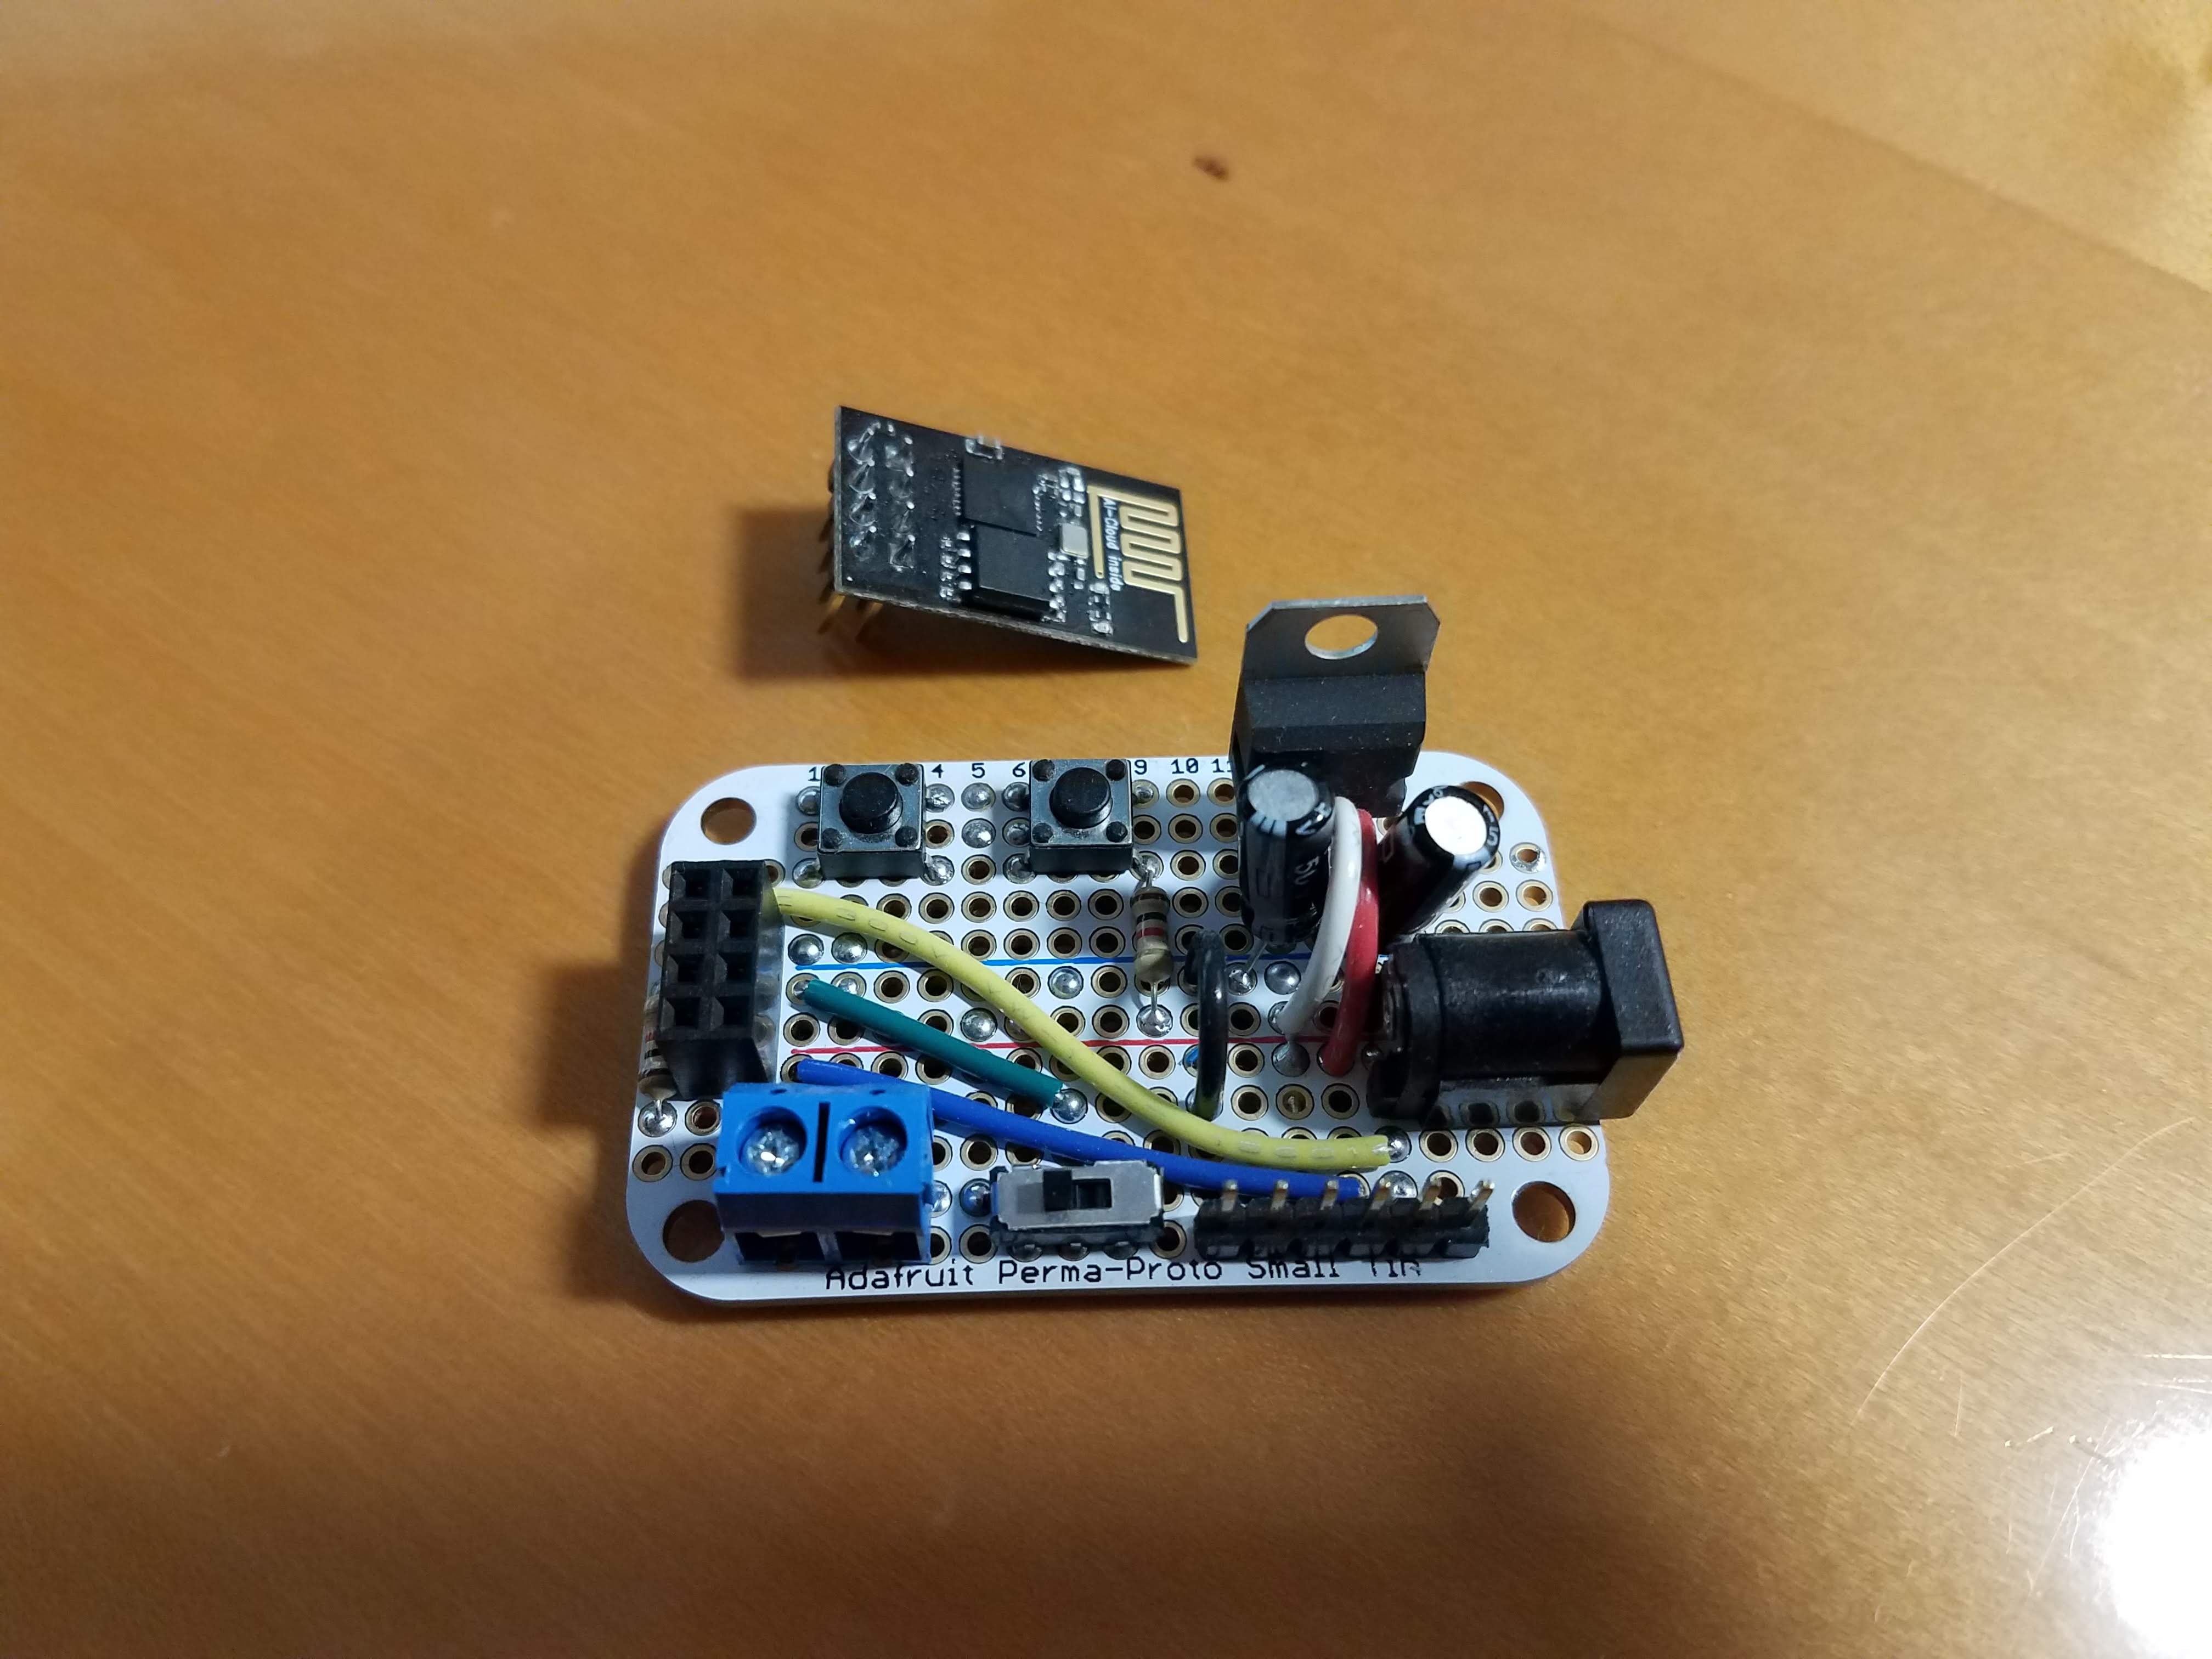
TO DO: (Step By Step Instructions)Hardware Setup*The spdt slide switch is used to manually override the load connected to GPIO2 and to prevent voltage fluctuations while the ESP8266 boots. GPIO2 must be pulled high to 3.3v while the ESP8266 boots. During the boot process GPIO2's voltage fluctuates between 1v and 3.3v. This behavior caused the relay in my "Power Tail" device to switch on and off rapidly and resulted in the ESP8266 crashing. The spdt switch must be in the off position until the ESP8266 boot process completes.
Arduino IDE Setup for ESP8266https://learn.adafruit.com/adafruit-huzzah-esp8266-breakout/using-arduino-ide
Install Adafruit MQTT Librariesadafruit/Adafruit_MQTT_Library on GitHub
Flash ESP8266 using Arduino IDE- Use firmware included in this project
Adafruit IO Setuphttps://io.adafruit.com
- Create a new account
- Click on Settings on the left
- Create a new AIO key (will need to add this to the code)
- Connect your IFTTT account (create one here if you don't already have one)
- Clicke on Feeds on the left, click 'Actions' then 'Create a New Feed'
- Give the feed a name (I used OnOff in the code, can be anything as long as it matches)
- Click on the new feed name, towards the bottom of the screen click 'Actions' then 'Add Data'
- Give the feed an initial data point of '0' for off
IFTTT-Alexa SetupYou'll need an IFTTT account to complete the setup (create one here if you don't already have one)
- Go to https://ifttt.com/amazon_alexa click connect button (you'll be prompted to log in to IFTTT if not already logged in)
- Click on 'My Applets' then 'New Applet'
- Click the '+' sign then type 'Alexa' in the search field
- Click the Amazon Alexa service icon then select the 'Say a specific phrase' trigger
- Type the phrase you want to use (ex. my switch on) then click 'Create trigger'
- Click the '+' before the word 'that' to create an action
- Type 'adafruit' in the search field
- Click the Adafruit service icon then select the 'Send data to Adafruit IO' action
- Select the feed name you created in previous steps and type '0' for the data to be saved
- Click 'Create action' and then 'Finish'
- Repeat the process of setting up an additional applet to turn you device on.
- Use 'my switch on' for the Alexa trigger phrase and type '1' for the data to be saved to the Adafruit IO feed.
Hopefully at this point everything works. If not please let me know and I'll help where I can.


_3u05Tpwasz.png?auto=compress%2Cformat&w=40&h=40&fit=fillmax&bg=fff&dpr=2)


Comments