


Here are the four boards that will make up the stack for the controller. Going from left to right, we have: the Fuel Tank MKII Battery BoosterPack Plug-In Module, the MSP432P401R LaunchPad Development Kit, the CC3100 wireless network processor BoosterPack plug in module, and the Educational BoosterPack MKII.
Take the MSP432 LaunchPad kit and the CC3100 BoosterPack module and make sure that they are both oriented in the same direction. You should be able to determine this by looking at the TI logos, or by checking that the top left pin on the connector is in fact 3V3.
You will then stack the CC3100 BoosterPack module on top of the MSP432 LaunchPad kit and it should look like this. (NOTE: It’s important when stacking these boards that you ensure that the pins are lined up perfectly and that there’s no offset. It is VERY easy to accidentally connectpower to ground and fry your microcontroller).
Next, taking the stack you just created, follow the same steps with ensuring you have the boards lined up correctly with the Battery BoosterPack, and add it to the bottom. (NOTE: make sure the switch on the Battery BoosterPack is in the “DISCONNECT” position anytime you’re putting it on or taking it off the stack)
The last board that needs to be added to the stack is the Educational MKII BoosterPack module. Following the same steps above, add the Educational MKII BoosterPack module to the top of the stack.
This is what your final stack should look like.
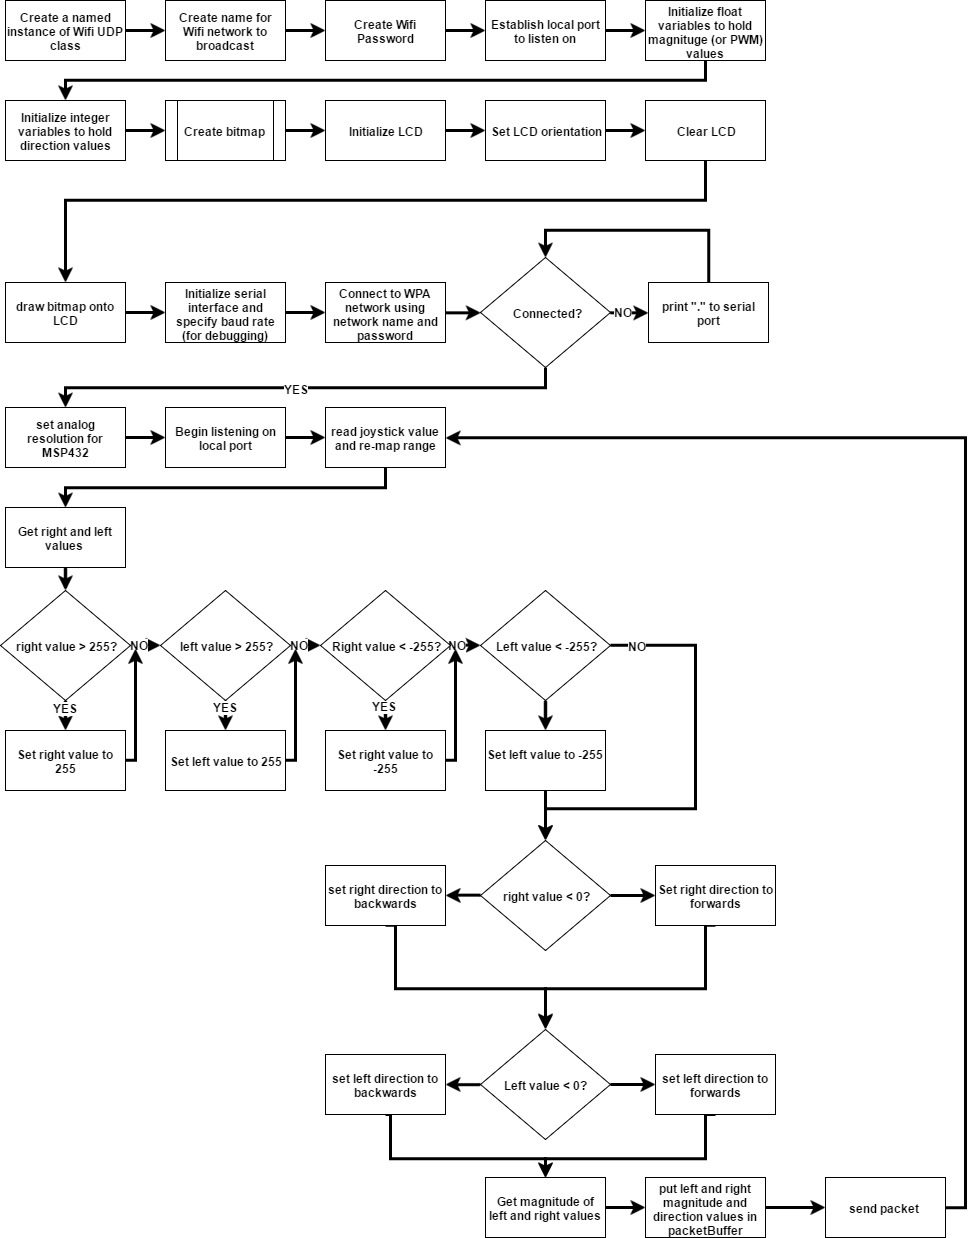
Here is a flowchart of the sketch that we will be uploading onto the controller.
Key:
- The normal rectangles represent operations
- The double lined rectangles represent functions
- The diamonds represent decisions
- The arrows represent the order of the operations
Sketches in Energia all have the same basic format: you have a setup function and a loop function. Everything before and inside the setup function will only run once. This can be seen in the flowchart with the last box reading, “Begin listening on local port.” Everything after that box is inside the loop function, executed in top to bottom order before looping on and on forever. This is why there’s an arrow feeding back into the box that reads, “Read joystick value and re-map range.”
Source CodeDownload the source code found in the code section below.Once you have the program open in Energia, connect the microUSB connector from your laptop or desktop to the microUSB port on the LaunchPad kit. Go to Tools > Board and make sure the board selected is the “LaunchPad w/ MSP432 EMT (48MHz).” If you don’t see this as one of the options on the dropdown menu, select Board Manager and install the package if necessary.
Once you check that, you can compile the sketch by clicking the check mark at the top left in Energia and if it compiles successfully, upload the program to your LaunchPad kit by clicking the arrow located to the right of the check mark.
Once Energia tells you that the program has been uploaded successfully, the DSTR logo will start being drawn to the LCD on the Educational MKII BoosterPack. This validates that the program is working properly, and should begin trying to connect to your robot. (*NOTE: Make sure when you’re writing the code on the robot side that the Wi-Fi name and password match exactly. Case does matter!)
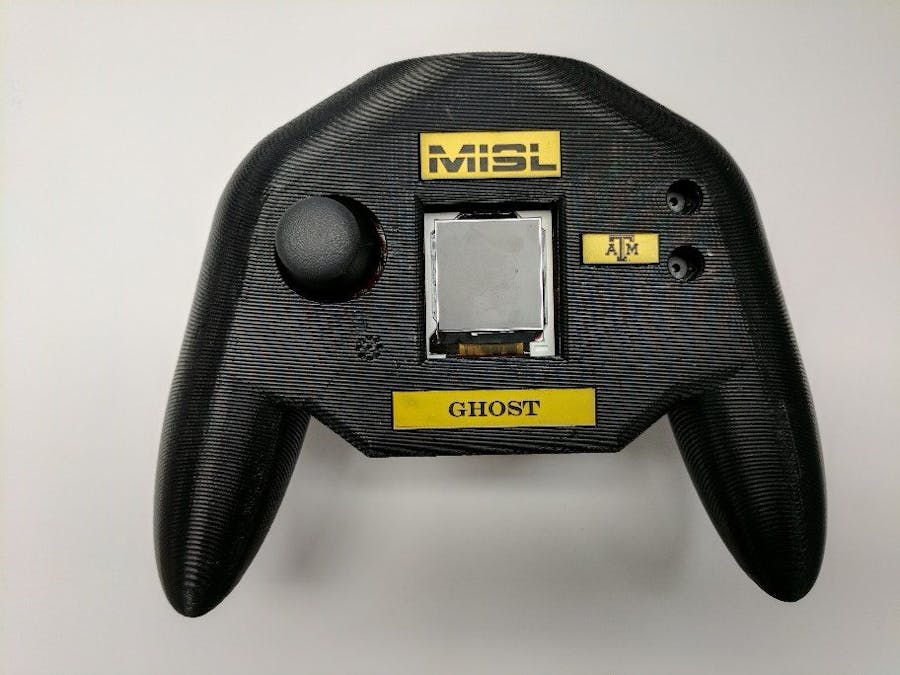
Optional: Print Your Own Enclosure!If you have access to a 3D printer, you can print your own enclosure like the one shown below! We’ve included the STL files. It will print in two pieces (top and bottom) so that you can remove the stack as necessary.
Download casing file here:
4137.Controller Casing.zip.zip
Congrats! You’ve built your very own wireless controller. Have any questions? Comment in the below and we’ll be sure to answer them.
----
Meet the DSTR Team
Alexis Crandall - Program Coordinator (Technical support & controller design)
Colby Ryan - Lead Technical Support (Embedded Intelligence Design for original SensorTag version of DSTR)
Herbert Baumgartner – Designer (Designed the original mechanical structure and continuing development)
Vince Rodriguez – Designer (Designed the DSTR phone app that is now on the Apple App Store and the Google Play Store; designed the embedded intelligence for the current version of DSTR that uses aCC3200LaunchPad)
Salvador Echeveste – Designer (Designed the enclosure for the controller; continued to make mechanical improvements to the robot for the NASA version)


Comments