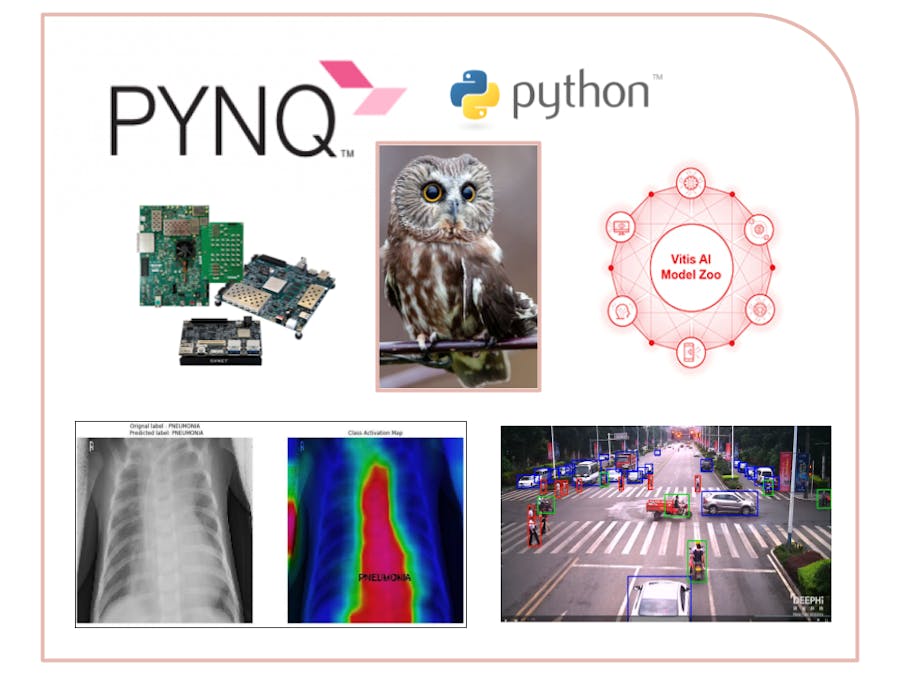
The following instructions document a novel method to immediately get started using Xilinx Vitis AI v2.5 hardware accelerated machine learning inference. It also enables Python control and execution of the Vitis AI Xilinx Deep Learning Processing Unit (DPU). The VART api is also now supported.
Get started with Vitis AI on either the ZUBoard 1CG, Ultra96 (v1 and v2), ZCU104, ZCU208, ZCU111 and other edge platforms in just a handful of simple steps. For advanced users here are some benefits to using Vitis AI with PYNQ versus the standard PetaLinux approach:
- There are no initial Xilinx tool installations nor any docker images to download before taking it for a spin!
- You can switch between different inference models on the fly!
- You can control and interface with the DPU using Python (or C/C++)!
- You do not have to rebuild the SD image each time to run a different inference model!
There is a one time modest amount of local compile time involved, however it is much shorter than any known prior techniques that assemble an appropriate platform for Xilinx Vitis AI.
With the included PYNQ Vitis AI Jupyter Notebooks you will immediately be able to use the following inference accelerators:
- Inception
- Resnet
- Classic MNIST
- Yolo
- (You may also create your own custom inference models)
All under Pythonic control or C/C++ if needed!
The Open Source PYNQ framework has always enabled easy integration with the AARCH64 Ubuntu application universe. Now hardware accelerated Vitis AI with PYNQ too!
It gets even better! Many other free pre-trained Caffe, Tensorflow, Darknet and PyTorch Vitis AI models from the Xilinx AI Model Zoo can now easily be ported to run on PYNQ enabled boards too. You can even build your own custom inference model with Xilinx Vitis AI! https://github.com/Xilinx/AI-Model-Zoo
Cautionary note: If you follow these instructions, some PYNQ Python libraries and other libraries may be updated. If you rely on older PYNQ or Xilinx AI DPU versions you may want to backup your existing PYNQ image first or try this on a new installation of the latest version of PYNQ.
Before getting started, get the right version of PYNQ software on your dev board
Your PYNQ board should be running the latest version of PYNQ! You may download PYNQ SD card images from here: http://www.pynq.io/board.html
What are you waiting for: get started!
With a compatible board already running PYNQ, follow these steps!
Step 1 - Access the PYNQ Jupyter command consoleWith PYNQ up and running and the board itself connected to the Internet through a wired LAN or Wifi, from a PC that can access the LAN the board is on, use a web-browesr (preferably Firefox, Chrome or Safari) and login to the PYNQ Jupyter server. Then open a Jupyter command root console tab in your web-browser.
Tip: you can login to the Jupyter server running on the PYNQ board by entering the IP address of the PYNQ board that is on your WLAN or LAN in your PC web-browser. For the screenclip directly below this was done using an Ultra96 which was connected to a PC through USB OTG. The Ultra96 also had a USB to Ethernet adapter attached to provide Internet to the Ultra96.
Reminder: you will need to find your own board's IP address and also provide it an internet connection before you begin:
You may be asked to enter a password, which is all lower-case: xilinx
After the password entry you should see (this example shows an Ultra96):
Once you login to the Jupyter notebook server through your web-browser, use the mouse and click on the New button (circled in red above) and select to create a new root console terminal:
This will open a command console with root privilege, in this console you will soon enter the installation commands:
Note: for this to work your dev board MUST have an Internet connection! (See far below for some tips and instructions if you don’t know how). I do not recommend using U96 v2 wifi, because it is very slow. I recommend using a board's onboard Ethernet or a USB to Ethernet adapter for the U96 v2 and any other board where Ethernet is a choice.
The hardest part for this step is to be patient!!! This step will directly compile the Vitis AI and Xilinx XRT drivers and libraries on the PYNQ board. It will take from half to a whole hour. It depends on the speed of your SD card. It is worth the wait and only needs done once!
Enter the command exactly as shown:
pip3 install pynq-dpu --no-build-isolationIn the command console enter the following, make sure you enter a space and final '.' as shown:
cd $PYNQ_JUPYTER_NOTEBOOKS
pynq get-notebooks pynq-dpu -p .
You may now close or exit the terminal!
Step 4 - Study the example notebooksReturn back to Jupyter (or Jupyter Lab) in your web browser and find the newly installed notebooks under the notebooks folder. Here is a list of the included examples:
Nuff said :-)
Please seek additonal help for PYNQ and PYNQ DPU AI here (I do not maintain the forum here on regular basis):Rebuilding the DPU for different AI ModelsA future tutorial may cover this, for now please read the instructions in the PYNQ DPU Vitis AI Github: https://github.com/Xilinx/DPU-PYNQ
Pseudo GlossaryIf you are new to Jupyter Notebooks
You may find more information here (just fyi, PYNQ also comes enabled with the Jupyter Lab IDE): https://jupyter.org
PYNQ Main Website
PYNQ Community Forum
PYNQ DPU Github
https://github.com/Xilinx/DPU-PYNQ
Vitis AI Info
https://github.com/Xilinx/AI-Model-Zoo
https://github.com/xilinx/vitis-ai
https://github.com/Xilinx/Vitis-AI/tree/master/Vitis-AI-Library


Comments