

Hardware components | ||||||
 |
| × | 1 | |||
 |
| × | 1 | |||
 |
| × | 2 | |||
 |
| × | 1 | |||
Software apps and online services | ||||||
| ||||||
This all start in the morning when the bed doesn't want you to let go but you have to get up, well here is a easy project which could be of great help!
_Hf4PlsVWgU.jpg)
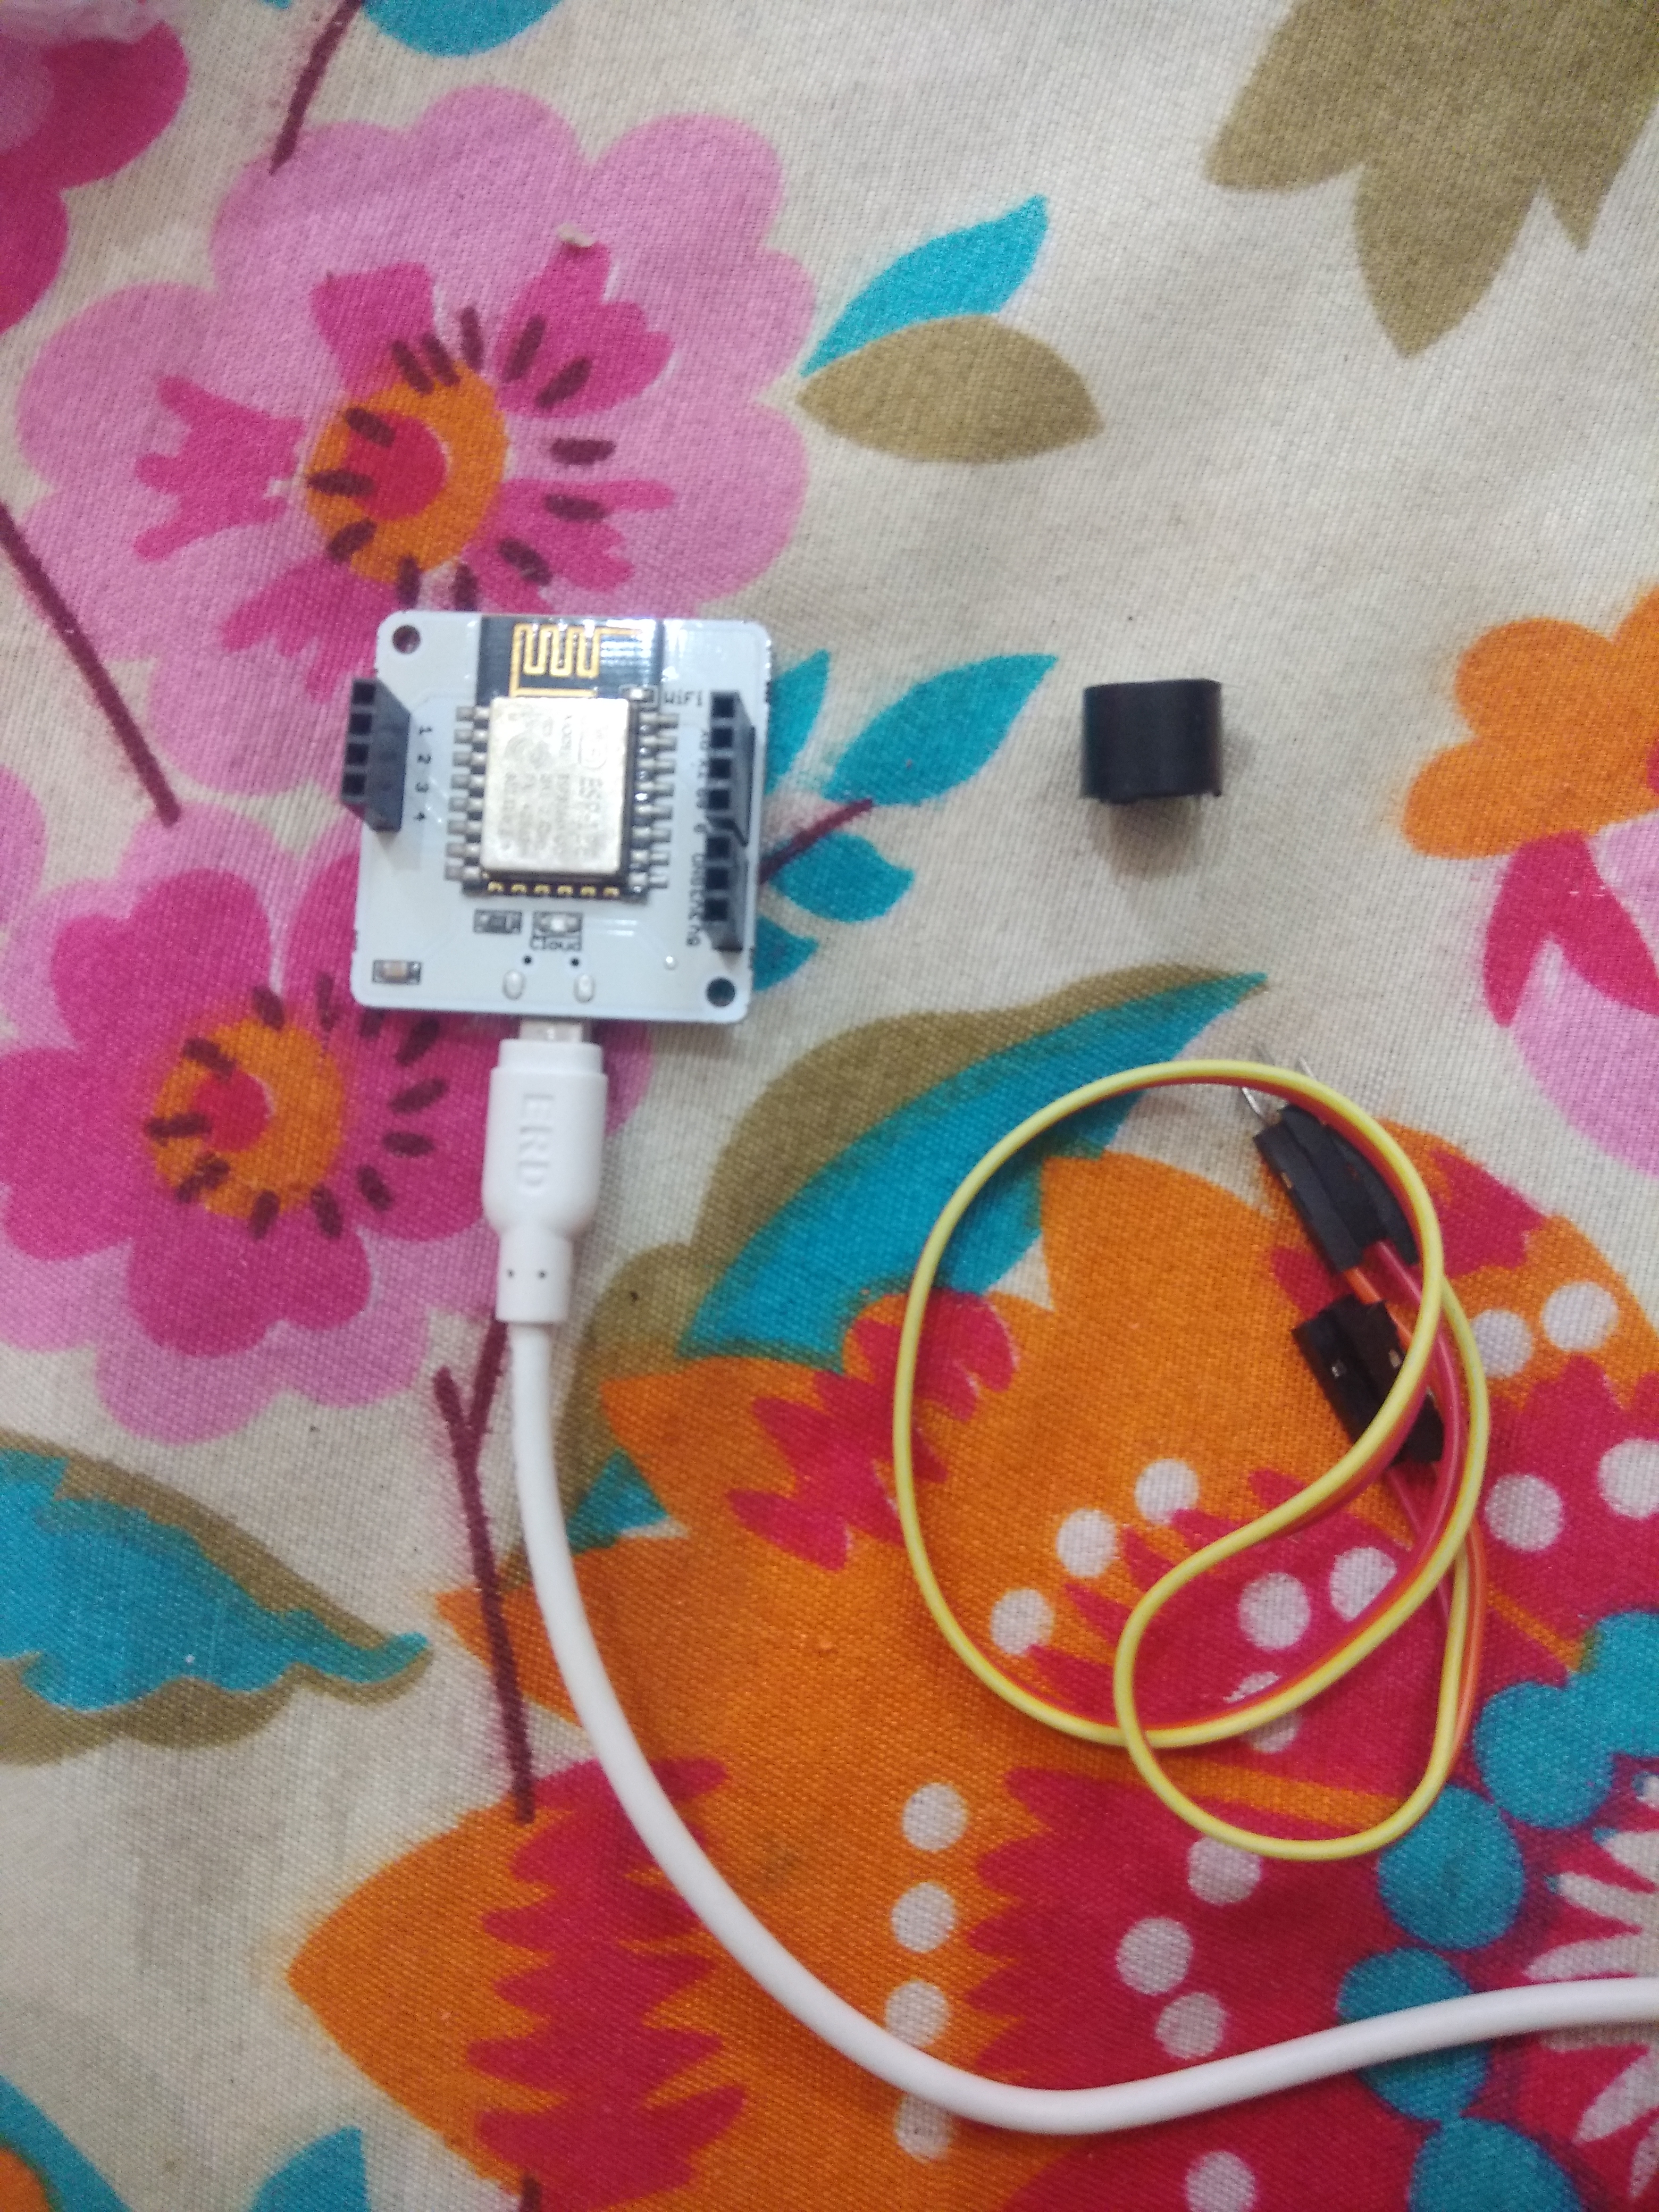
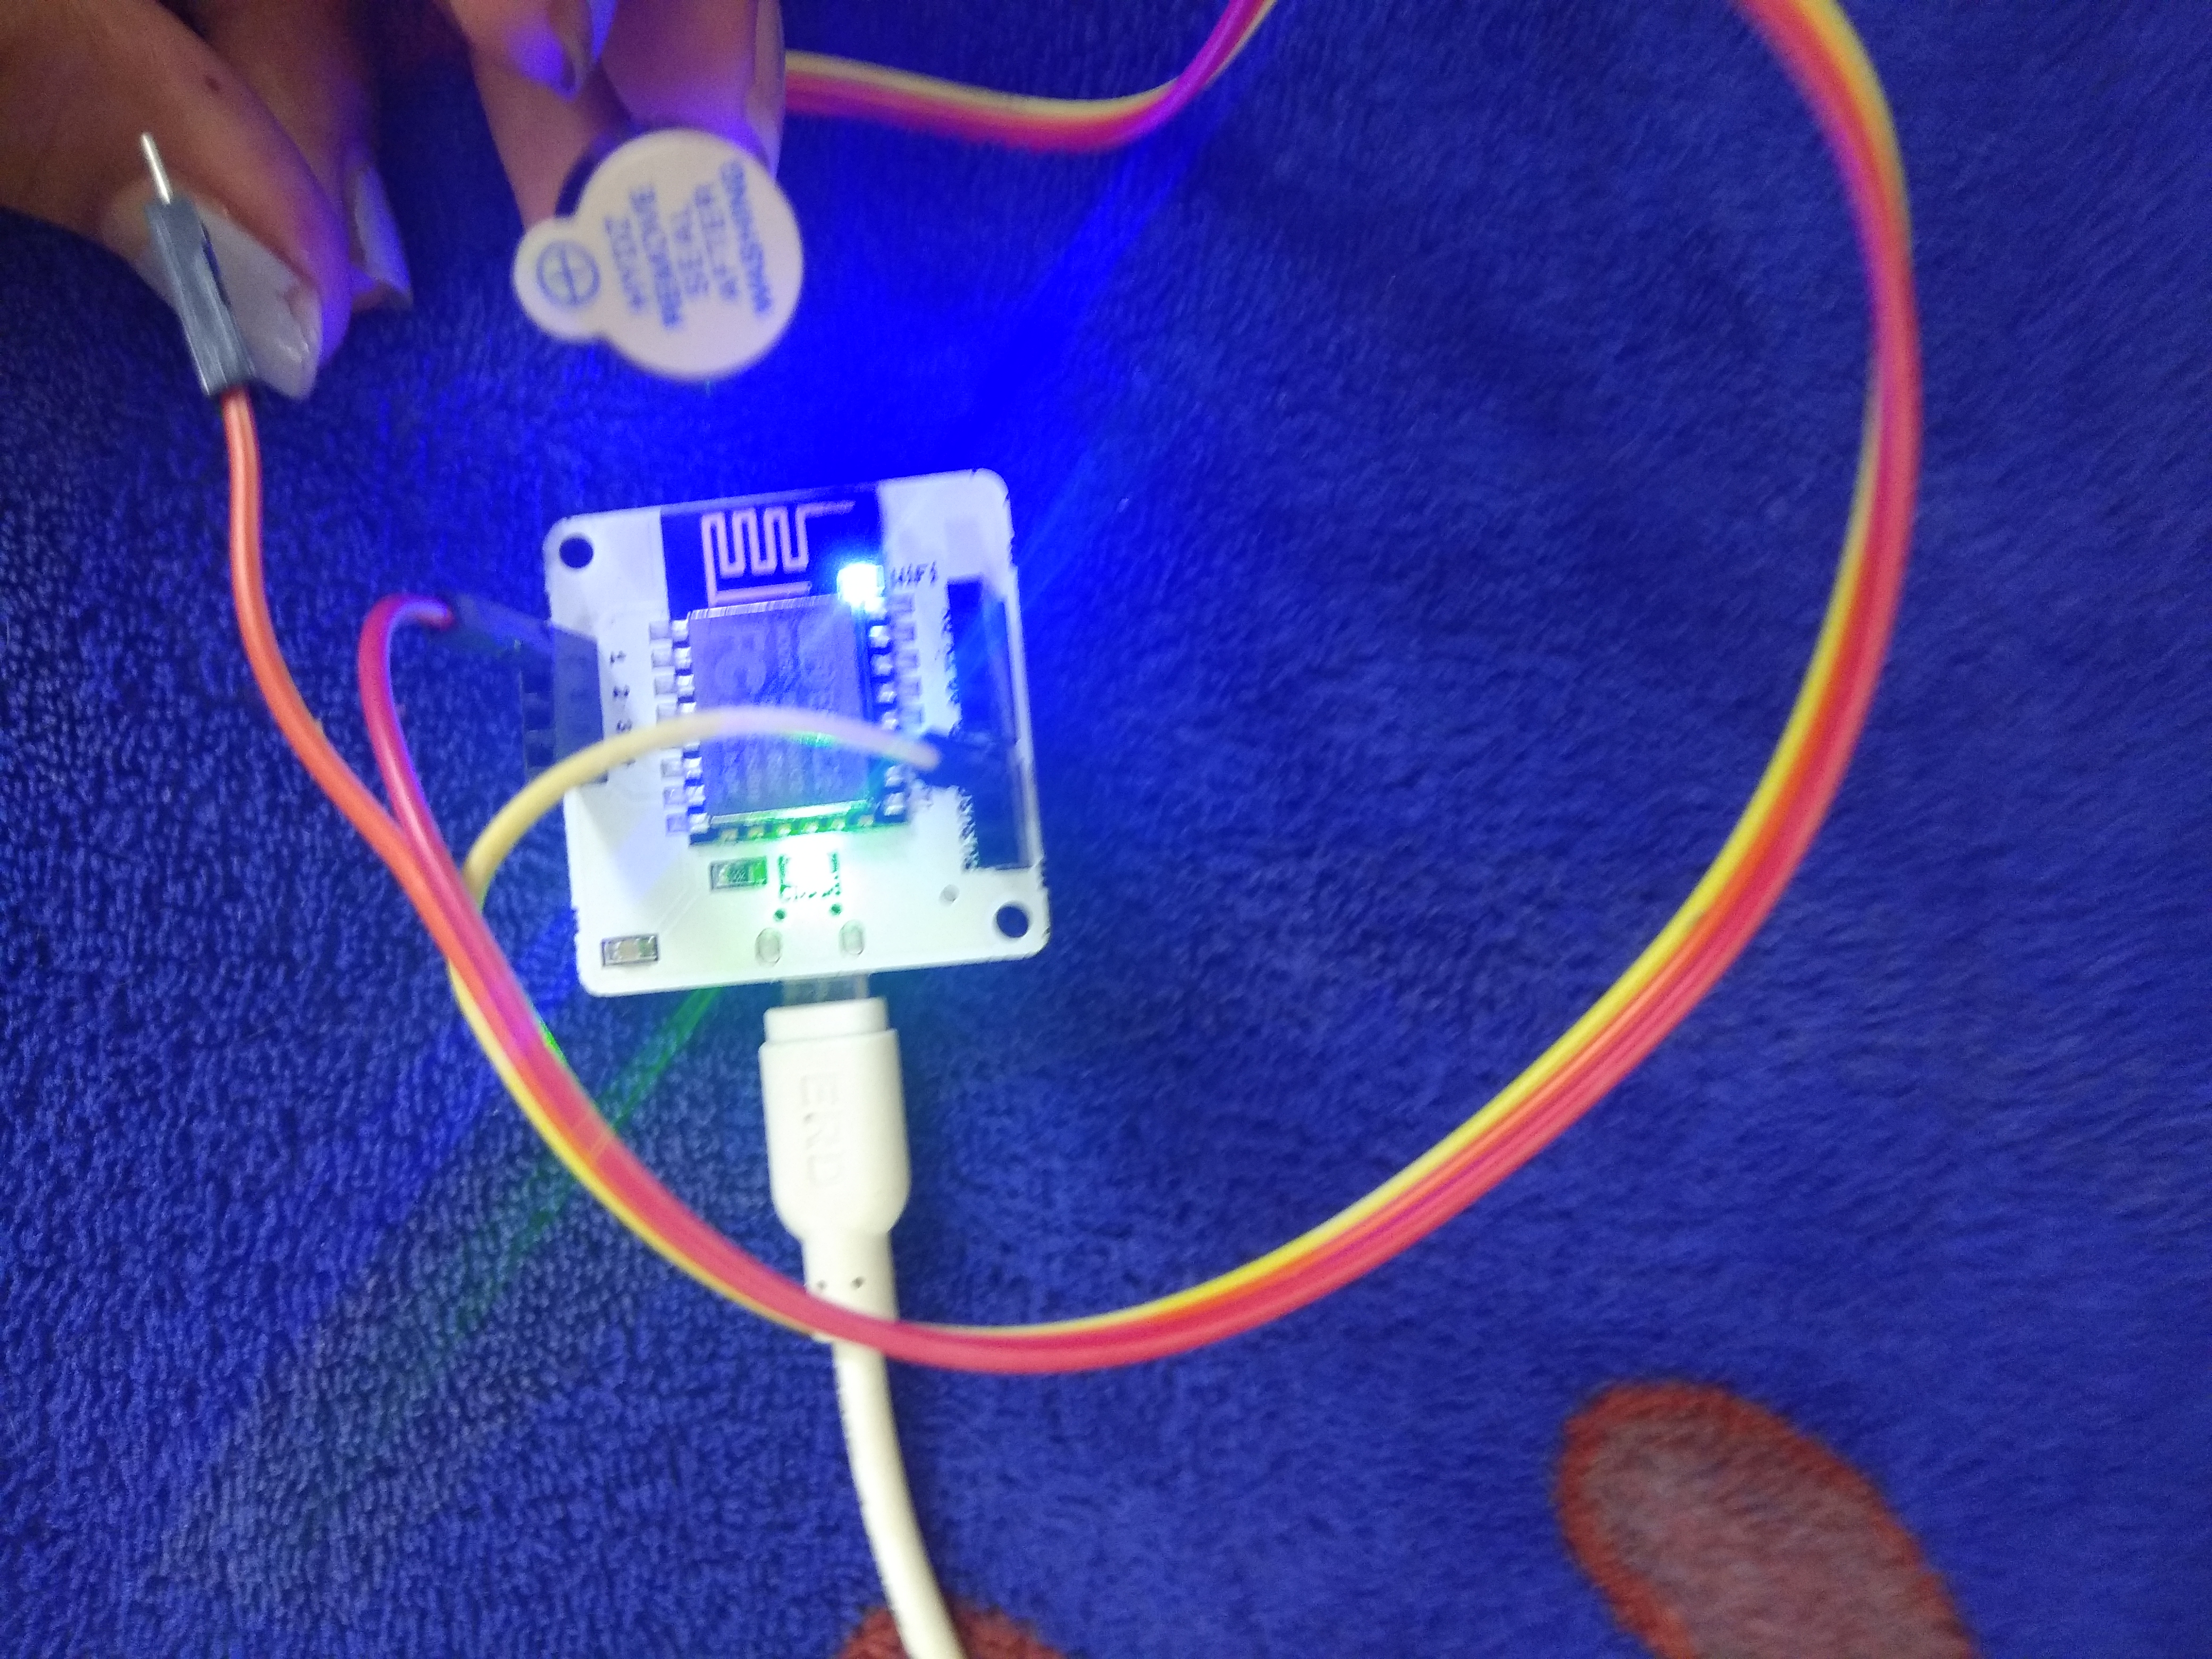
The complete circuit connection
1. Connect the positive pin(longer) to the 1 pin of Bolt Module.
2.Connect the negative pin(shorter) to the GND of Bolt Module.
3.Connect the bolt IoT WiFi module to adapter using the USB cable.
2.Connect the negative pin(shorter) to the GND of Bolt Module.
3.Connect the bolt IoT WiFi module to adapter using the USB cable.
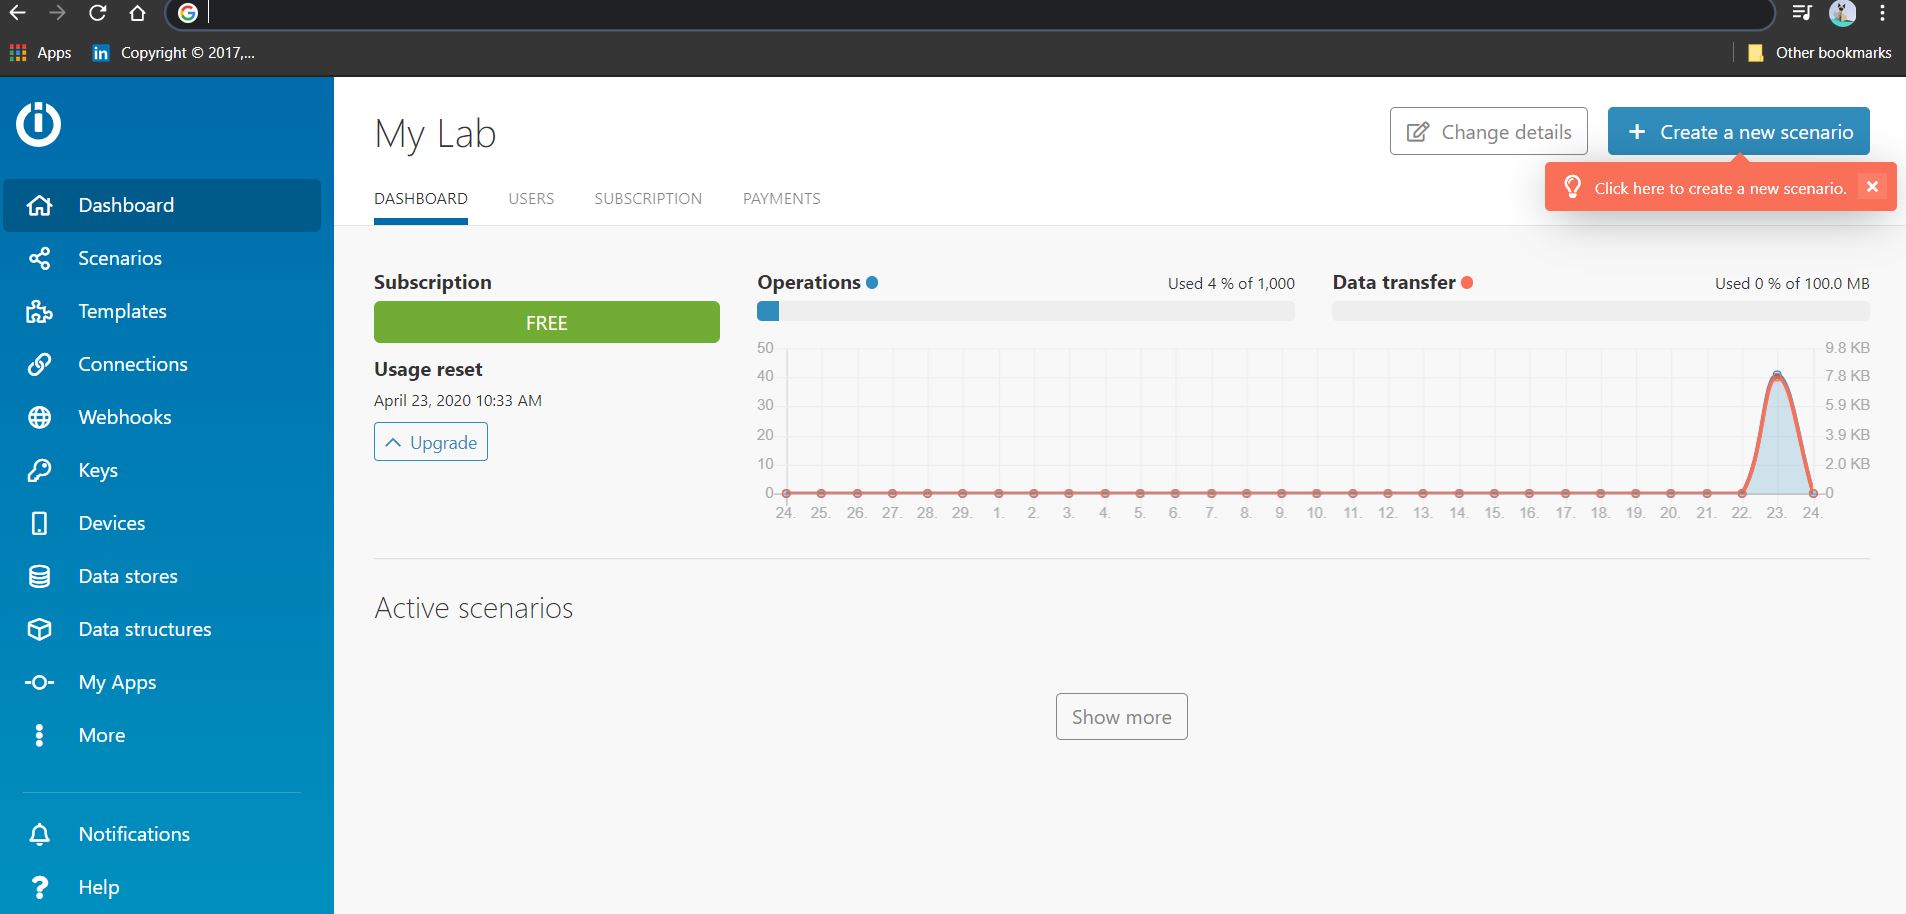
Creating the Integromat Account and setup
https://www.integromat.com/en
1. using the above link create a new free account on Integromat account .
2, Click on the top right corner button which says the create a new scenario.
1. using the above link create a new free account on Integromat account .
2, Click on the top right corner button which says the create a new scenario.

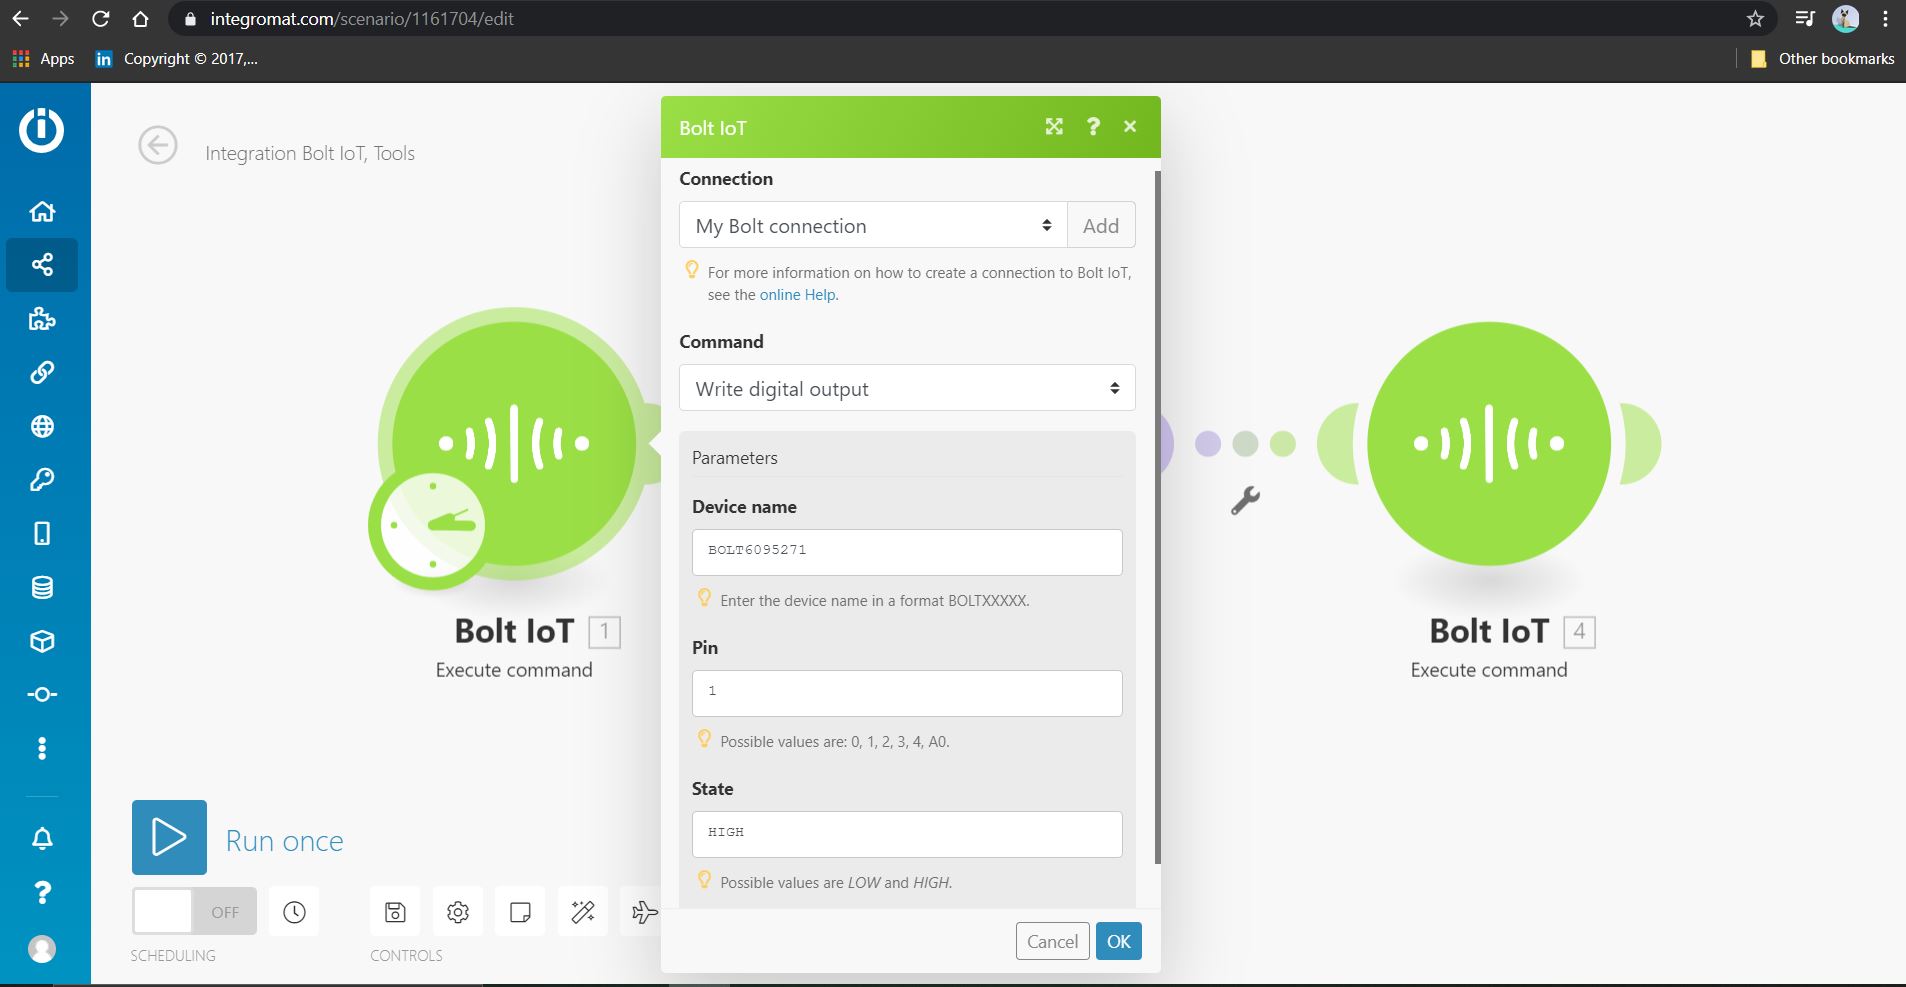
Creating the first bolt module
1. Select the bolt module from the scenario,
2. Click on the bolt to configure the module.
3, Set the API key which you will find on the bolt website.
4. Set the module on the "Write Digital output" command
5.Set the device name(which can be found on the bolt page).
6. Set the pin and state to 1 and HIGH respectively and save.
2. Click on the bolt to configure the module.
3, Set the API key which you will find on the bolt website.
4. Set the module on the "Write Digital output" command
5.Set the device name(which can be found on the bolt page).
6. Set the pin and state to 1 and HIGH respectively and save.
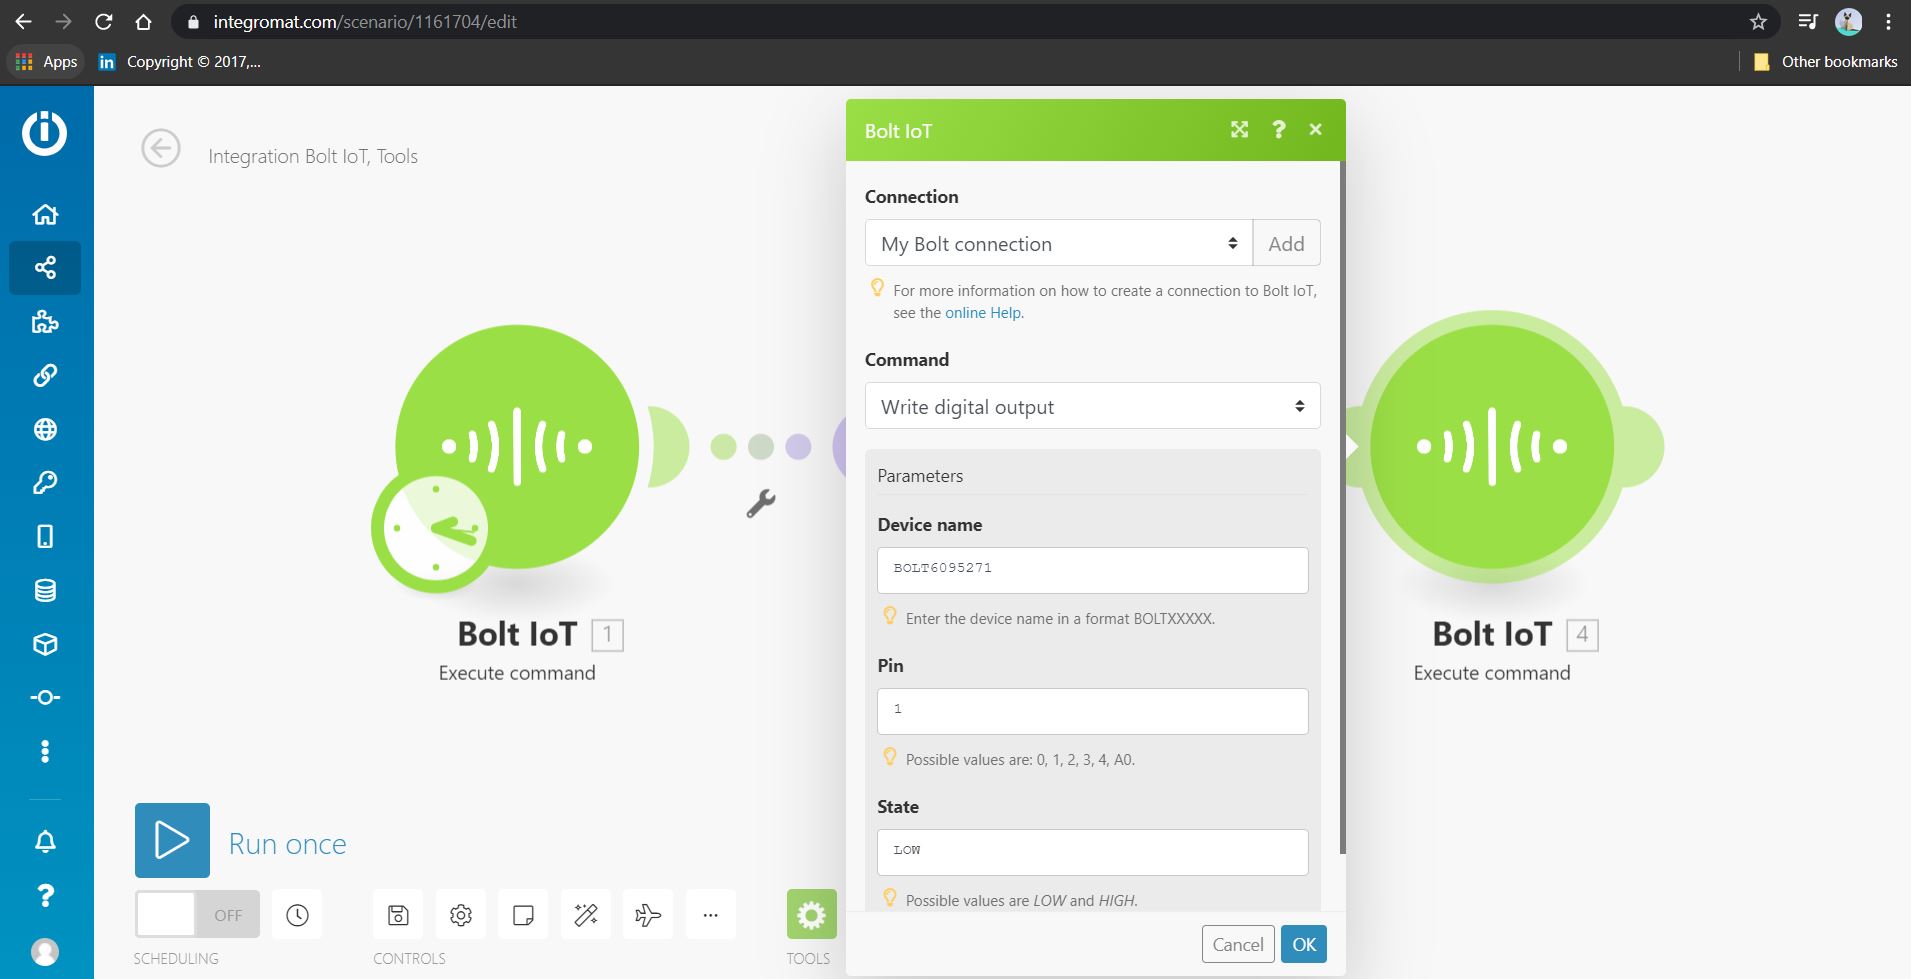
Setting the second bolt module
1. Select the bolt module from the scenario,
2. Click on the bolt to configure the module.
3, Set the API key which you will find on the bolt website.
4. Set the module on the "Write Digital output" command
5.Set the device name(which can be found on the bolt page).
6. Set the pin and state to 1 and LOW respectively and save.
2. Click on the bolt to configure the module.
3, Set the API key which you will find on the bolt website.
4. Set the module on the "Write Digital output" command
5.Set the device name(which can be found on the bolt page).
6. Set the pin and state to 1 and LOW respectively and save.
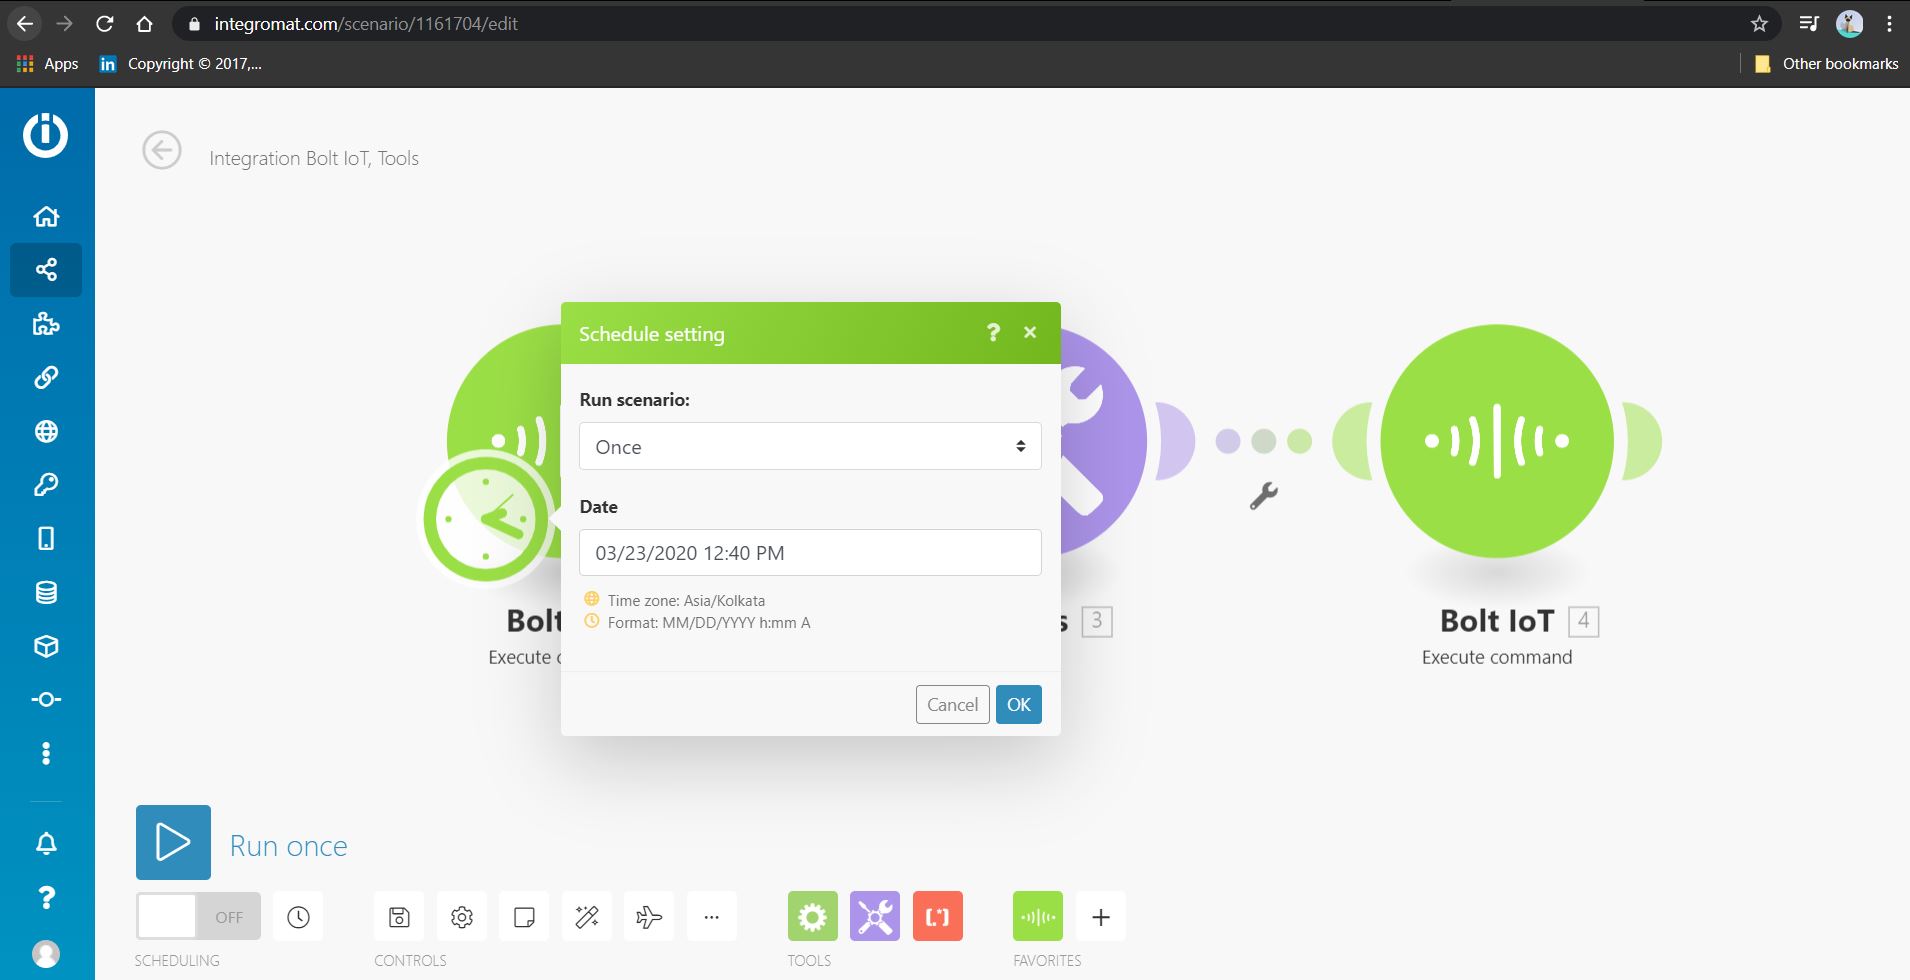
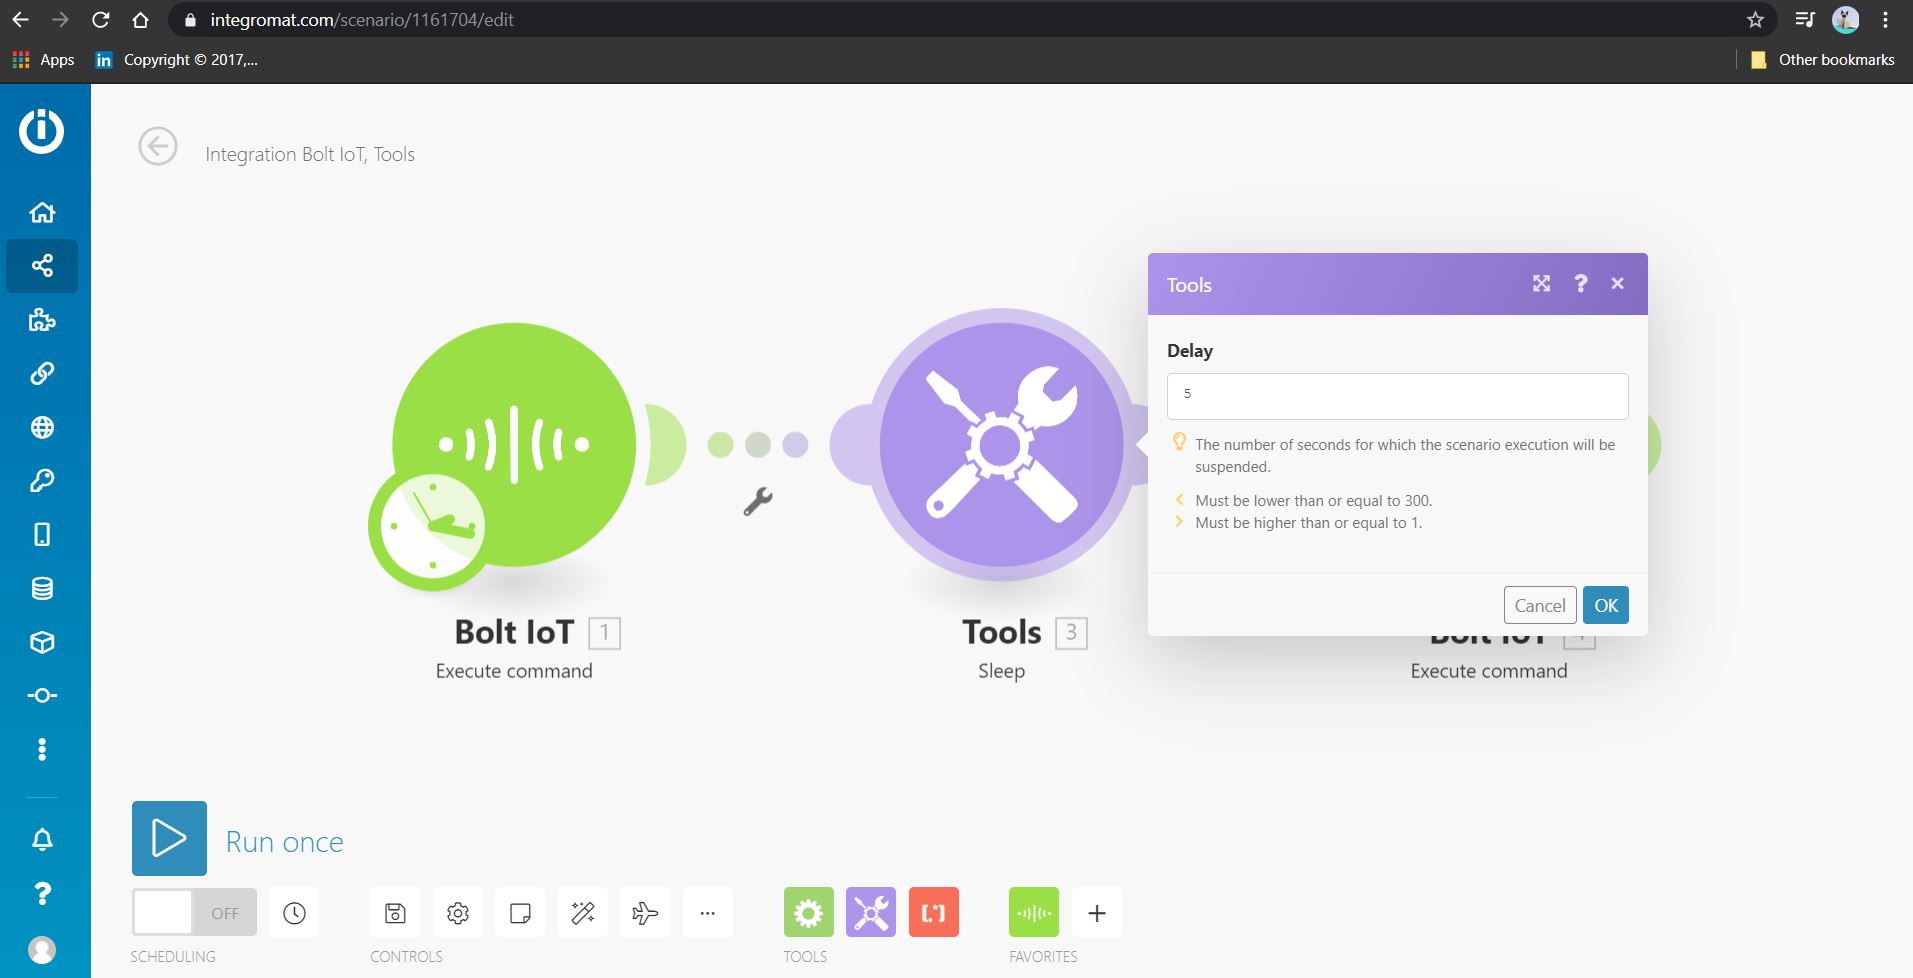
Selecting the sleep tools
1.Select the tools on the bottom of the page.
2. Click on the module and select sleep option.
3. Enter the time(in seconds) you want the module to wait before it has to stop and click save.
2. Click on the module and select sleep option.
3. Enter the time(in seconds) you want the module to wait before it has to stop and click save.


_Hf4PlsVWgU.jpg)
Comments