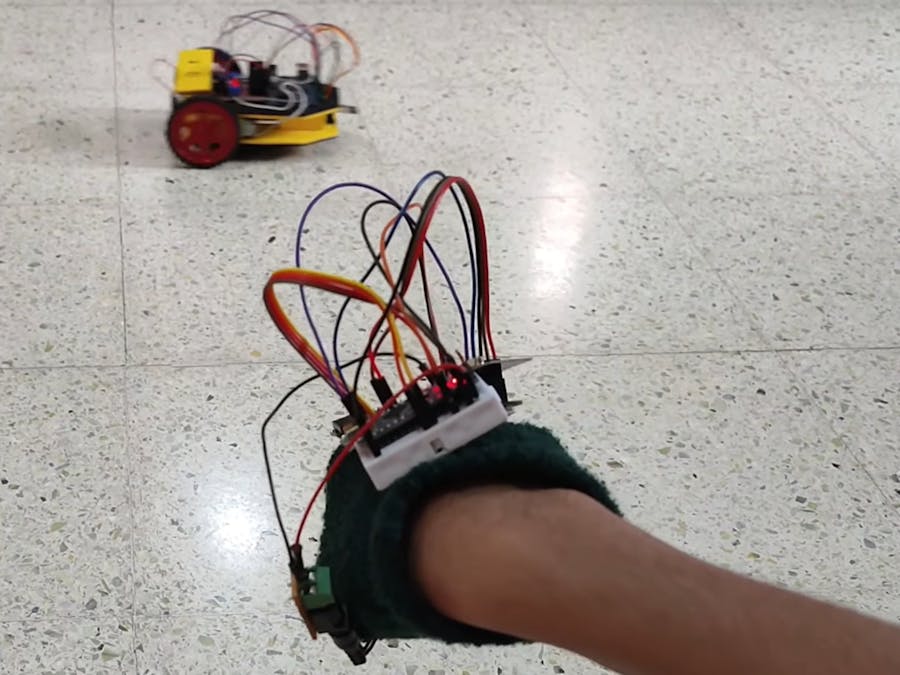
This project shows how to make a Gesture Controlled Car using NRF24L01 Transceiver, MPU6050 Accelerometer and Gyroscope, and Arduino. This project has two parts, transmitter and receiver.
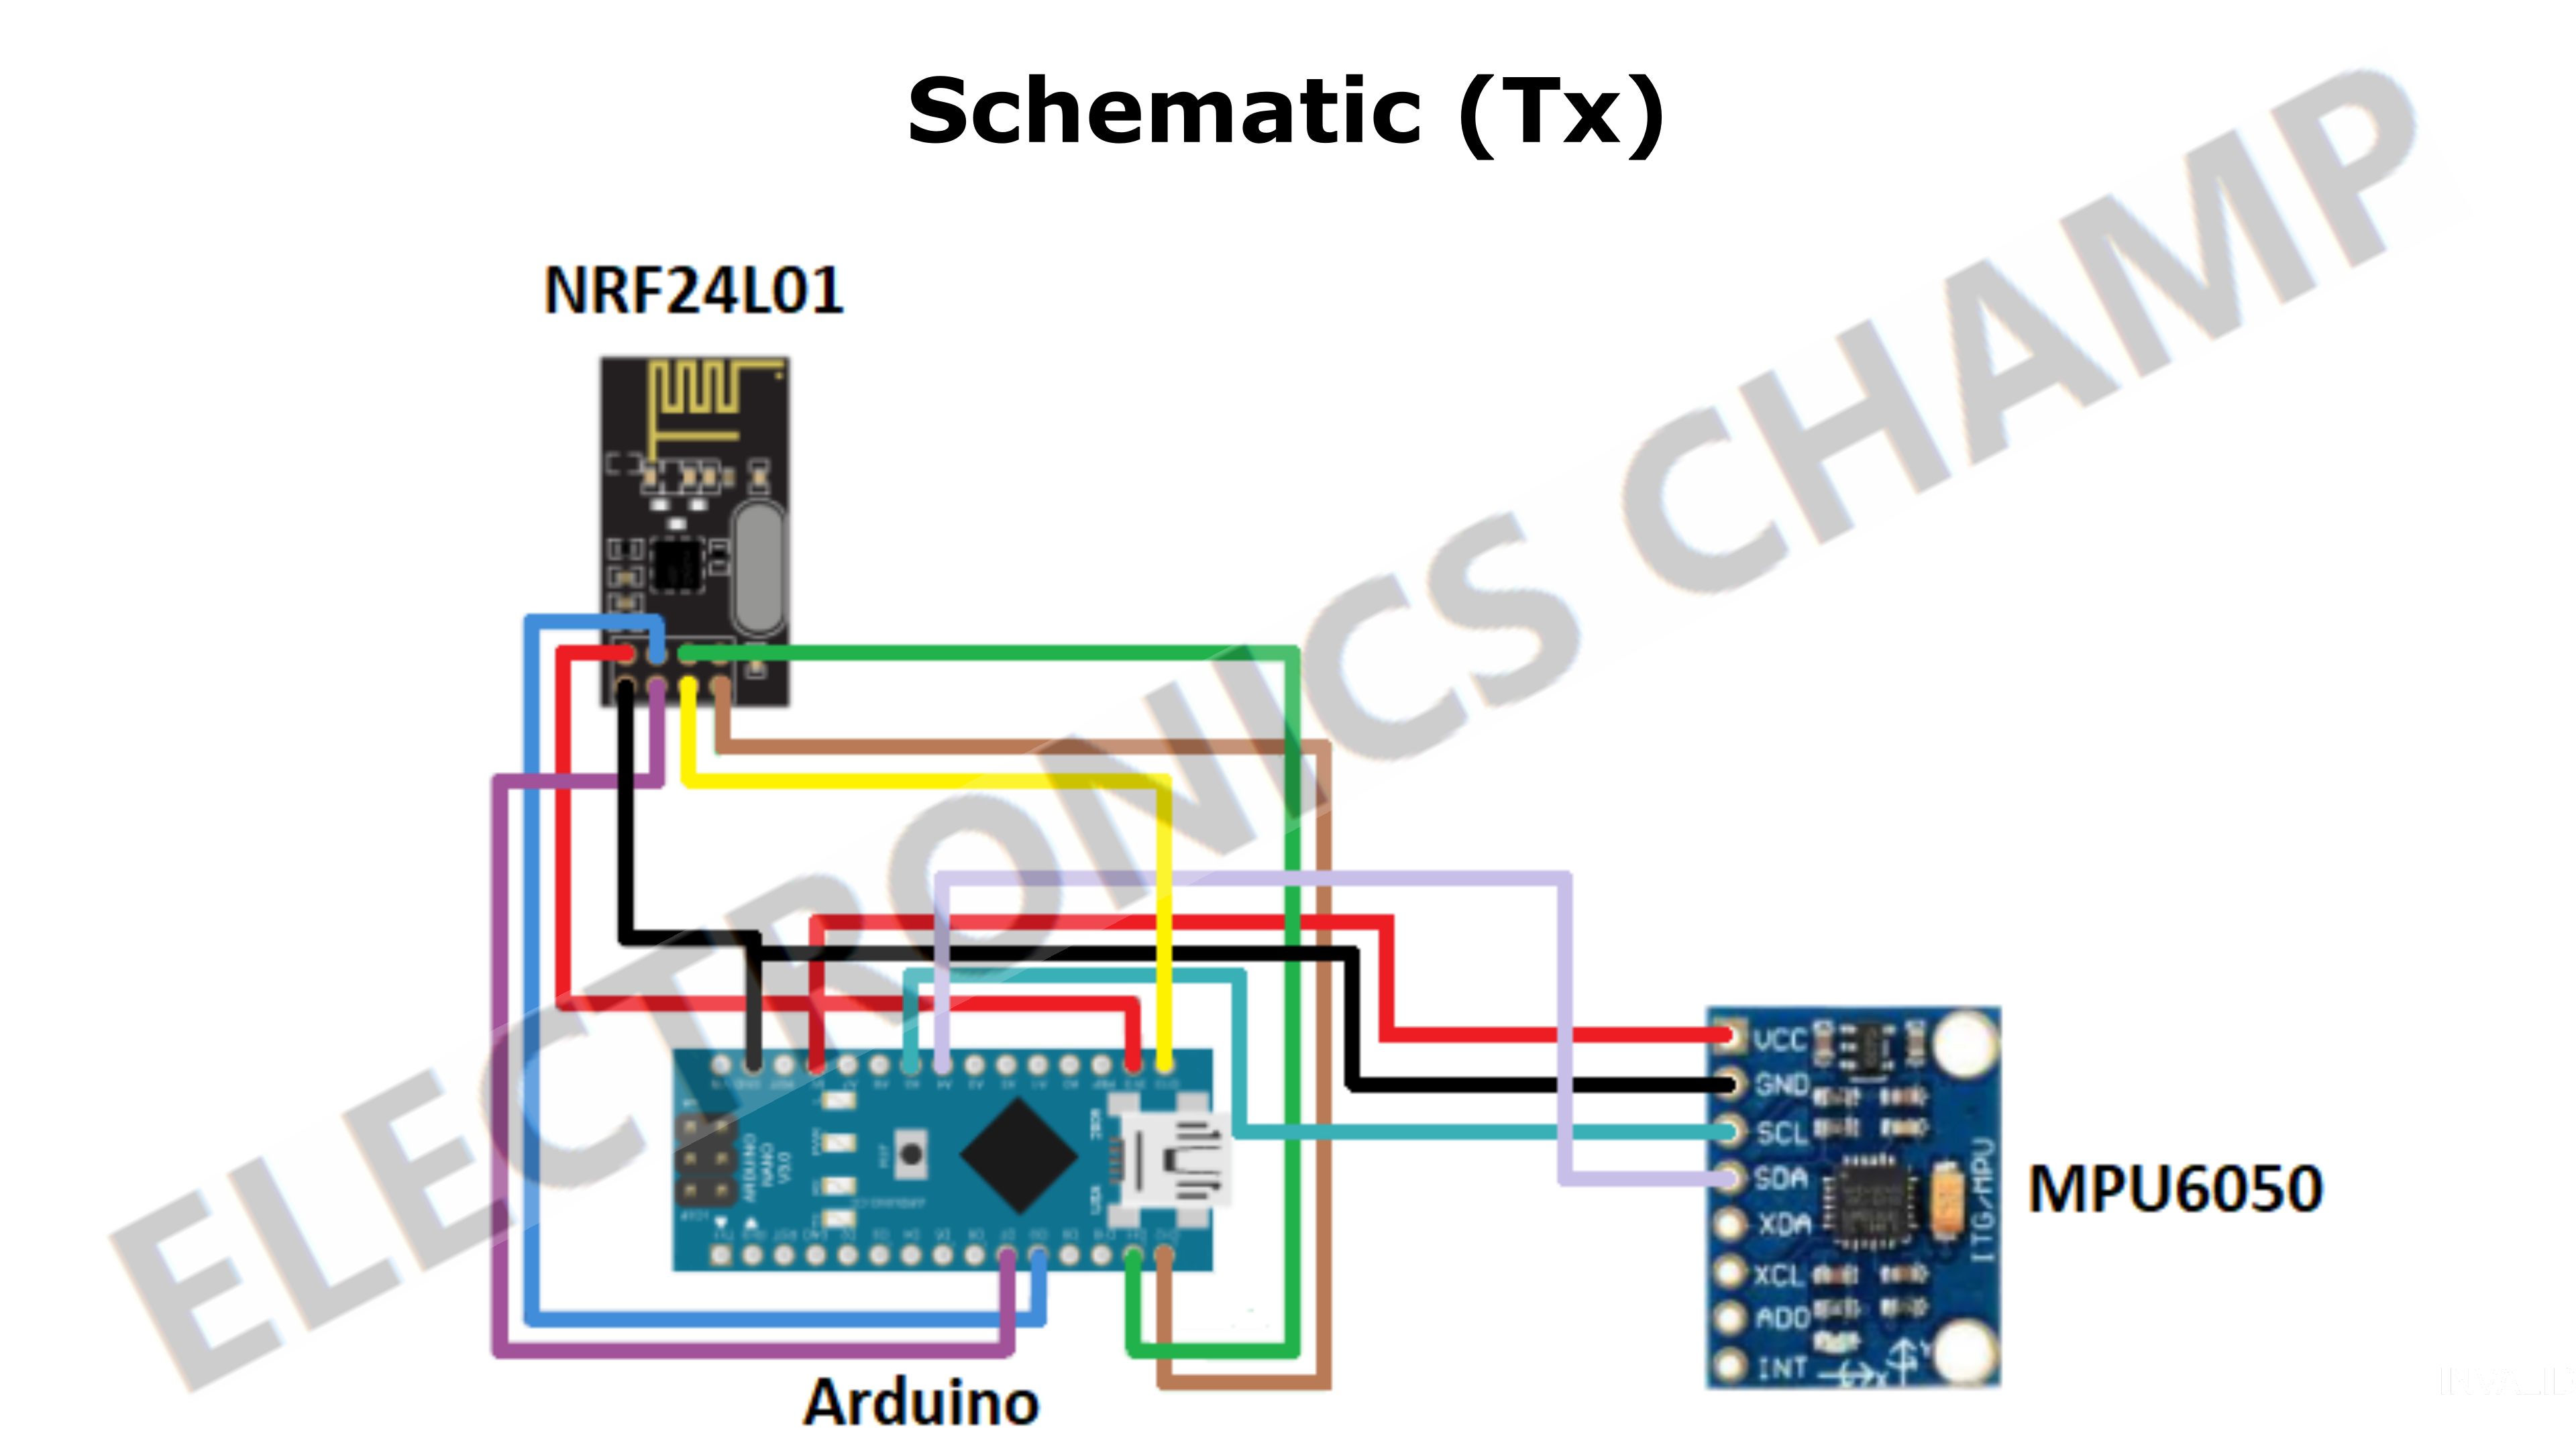
The transmitter section has an Arduino NANO, MPU6050 and NRF24L01.
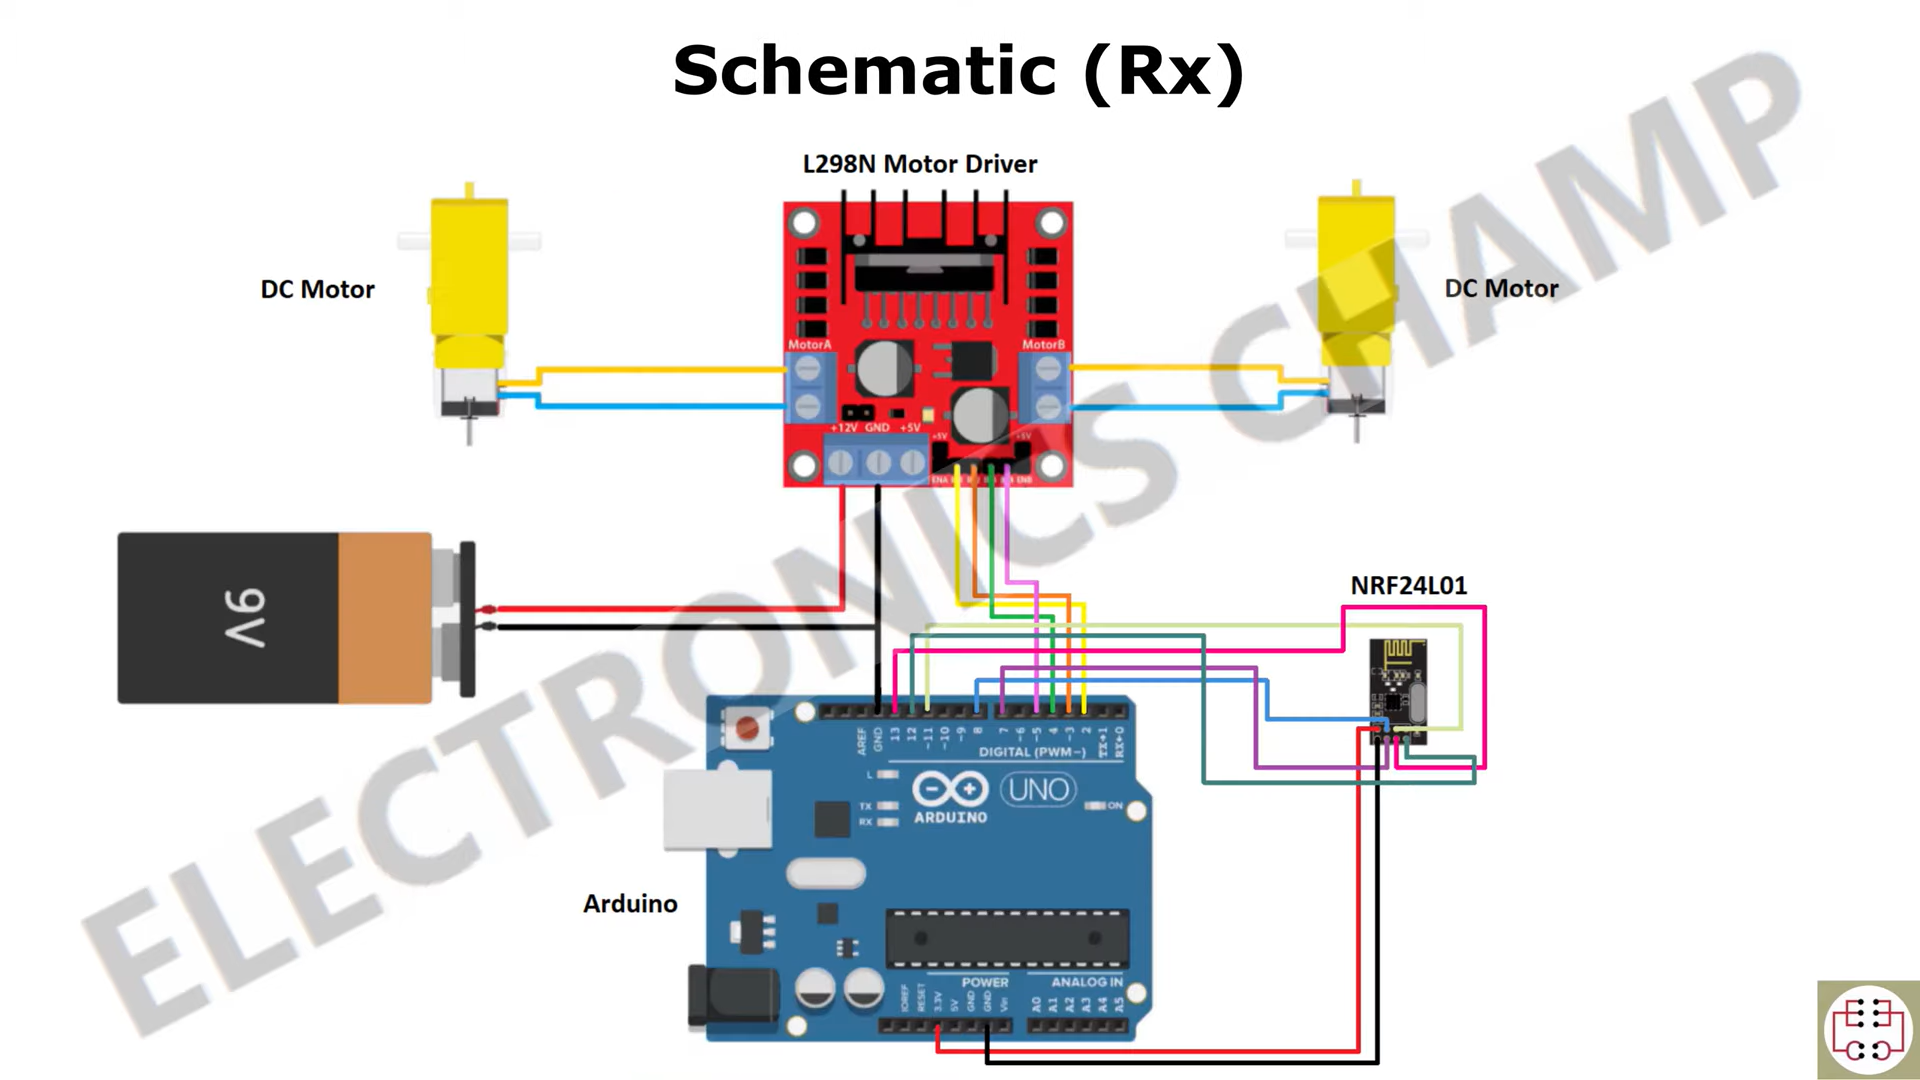
The receiver section consists of an Arduino UNO, NRF24L01, two DC motors, and an L298N motor driver.
Arduino NANO continuously gets data from MPU6050. NRF24 module connected to NANO transmits this data to NRF24 module connected to Arduino UNO on the receiver. According to the received data, Arduino UNO moves the DC motors.


_ztBMuBhMHo.jpg?auto=compress%2Cformat&w=48&h=48&fit=fill&bg=ffffff)


Comments