

Hardware components | ||||||
| × | 72 | ||||
 |
| × | 1 | |||
_zhWsCcSEcl.jpg?auto=compress%2Cformat&w=48&h=48&fit=fill&bg=ffffff) |
| × | 1 | |||
Software apps and online services | ||||||
 |
| |||||
| ||||||
Hand tools and fabrication machines | ||||||
 |
| |||||
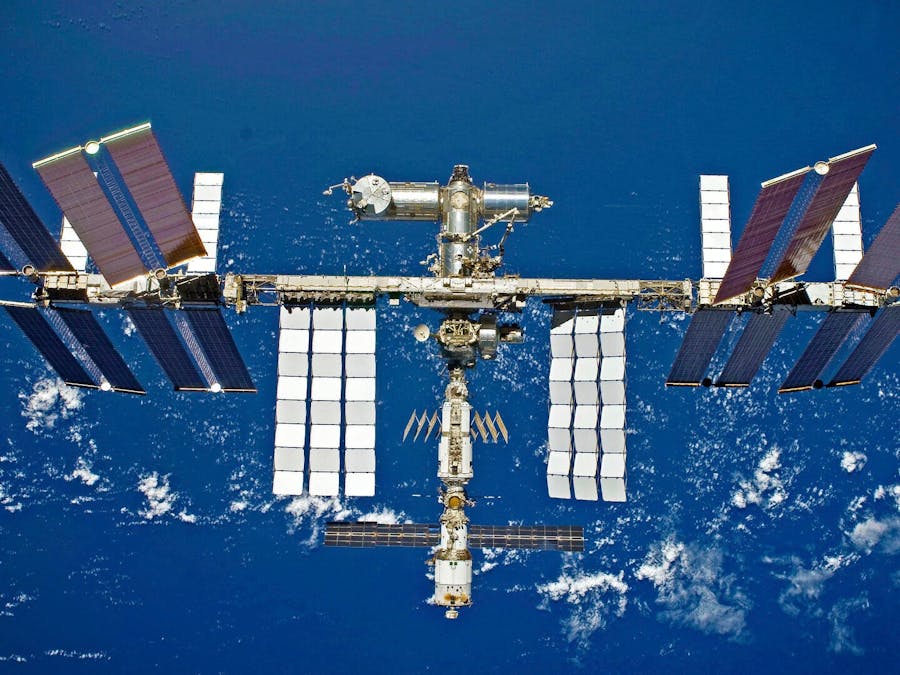
This project uses a 6 by 12 grid of NeoPixel LEDs to show the approximate location of the International Space Station above the Earth. The equirectangular projection is used to ensure that Latitude and Longitude remain constant all over the map. Because this map is in a 1:2 ratio, any 1:2 LED grid will work; I have used 6 by 12 because it evenly spaces the zones every 30 degrees.
Connecting the APIThis project uses the Open Notify API, which is an independent, easy-to-use API that scrapes live data on the location of the ISS. Data can be requested from this API every 5 seconds. To connect the API, a webhook must be created.
After creating the webhook, the API can be tested using the code below. Note: a serial monitor is needed for this step. Additionally, the Arduino JSON library is used to parse the JSON object returned from the API.
// This #include statement was automatically added by the Particle IDE.
#include <ArduinoJson.h>

// The number below has to be updated to the correct doc size
// Use the official ArduinoJSON Assistant below:
// https://arduinojson.org/v6/assistant/
StaticJsonDocument<200> doc;

void setup()
{
    // Subscribe to the webhook response event
    Particle.subscribe("hook-response/ISSloc", myHandler, MY_DEVICES);
    Serial.begin(9600);
}

void loop()
{
    // Get some data
  String data = String(10);
  // Trigger the integration
  Particle.publish("ISSloc", data, PRIVATE);
  // Wait 5  seconds
  delay(5000);
}

void myHandler(const char *event, const char *data)
{
    const char* json = data;

    deserializeJson(doc, json);

    // JsonObject main = doc["main"]; // Not really needed
    float lat = doc["iss_position"]["latitude"];
    float lon = doc["iss_position"]["longitude"];


    int Lat = (int) lat;
    int Lon = (int) lon;

    Serial.println(lat);
    Serial.println(lon);
}I ended up only having individual NeoPixel LEDs, so I had to solder 72 LEDs together. This was BY FAR the longest step. The LEDs are soldered across each row. Each row has its own +5V and GND connections and the rows are connected row-by-row for data. The back of the NeoPixel grid is shown in the images below.
Each row of LEDs was tested with the code below. I recommend doing this to make sure that all of the LEDs are functional because any missed connections would render the rest of the grid useless.
// This #include statement was automatically added by the Particle IDE.
#include <neopixel.h>


SYSTEM_MODE(AUTOMATIC);

// IMPORTANT: Set pixel COUNT, PIN and TYPE
#define PIXEL_COUNT 72
#define PIXEL_PIN D4
#define PIXEL_TYPE WS2812B

Adafruit_NeoPixel strip(PIXEL_COUNT, PIXEL_PIN, PIXEL_TYPE);

const int delayval = 30;

void setup() {
  strip.begin();
  strip.show(); // Initialize all pixels to 'off'
}

void loop() {
  for(int x = 0; x < PIXEL_COUNT; x++){
     strip.setPixelColor(x, strip.Color(50,50,50));
     strip.show();
     delay(delayval);
     strip.setPixelColor(x, strip.Color(0,0,0));
     strip.show();
     delay(delayval);
  }
    for(int e = (PIXEL_COUNT-2); e > 0; e--){
     strip.setPixelColor(e, strip.Color(50,50,50));
     strip.show();
     delay(delayval);
     strip.setPixelColor(e, strip.Color(0,0,0));
     strip.show();
     delay(delayval);
  }
}I used the Equirectangular Projection, which maintains uniformity in the spacing of latitude and longitude. I also put 30 by 30 degree squares on the map to show the specific zones that the LEDs correspond to. This map is depicted below.
As can be seen in the images of the LED grid, header pins are attached to the LEDs and have wires leading back to the main breadboard. The +5V and GND connections are to their respective power rails on the main breadboard. The data wires create a loop where row 1 starts with 1, 2 with 13, 3 with 25, and so on. The wires are connected across the back and the wires connecting each end met at a small breadboard. I printed out the world map and placed it in front of the LED grid. It is held up by a cardstock structure. The structure is held up on top of a paper box due to the way the wires move and the little breadboard is on top of a smaller paper box.
I took a photo of the device every 5 minutes for 90 minutes -- the amount of time it takes for the ISS to complete one full Earth orbit. This is what it looked like!


Comments