


Hardware components | ||||||
 |
| × | 1 | |||
_ztBMuBhMHo.jpg?auto=compress%2Cformat&w=48&h=48&fit=fill&bg=ffffff) |
| × | 1 | |||
 |
| × | 1 | |||
 |
| × | 1 | |||
Software apps and online services | ||||||
| ||||||
| ||||||
The idea of this project is to be able to turn on/off lights (or any electrical component) of a car without being inside the car, or physically pressing dashboard buttons/switches.
Since I have a Pebble watch (as an extension of my Android phone), it makes sense to use it as a controller. However, even without the watch, I can still simulate the same remote functions using the phone itself.
The following parts are used in this project. I chose shield-based components to make the device profile less complicated (no jumper wires):
- Arduino (mine is a DFRobot clone)
- 1Sheeld (as an input receiver to communicate with an Android phone)
- Generic relay shield (as an output to complete a circuit)
- Android phone with Tasker (I used my Nexus 5)
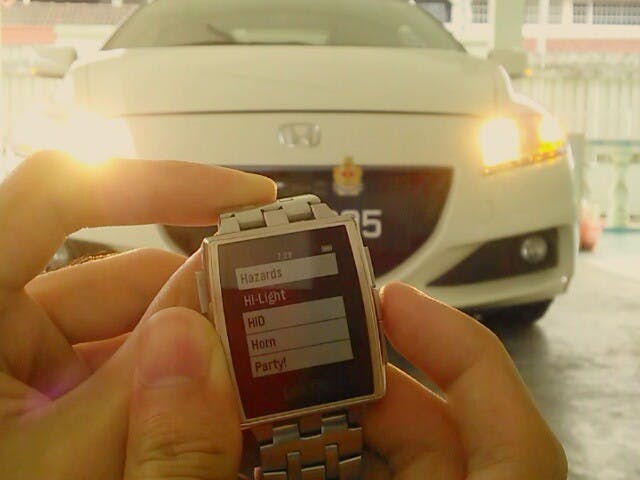
- Pebble Steel (optional, but much more practical and impressive to demo!)
On the phone (Tasker), I created four similar tasks for each input pin (via the 1Sheeld plugin), each to trigger: HIGH > WAIT 100ms > LOW.
I used PebbleTasker to create the menus on the Pebble.
The next step is to find out which wire in your car does what. Now this is completely dependent on the car that you have, as every car would have a different circuit. Mine is a 2013 Honda CR-Z.
I used a multimeter and the help of the car's service manual to find out which wires/relays conduct electricity when a switch/button is pressed. This tells me which wire/circuit I'm looking for. Then, I tapped relay wires into that circuit to simulate a 'button press'. This is not intrusive as I do not go into ECU, OBDII or CAN bus hacking. I merely simulated a 'button press'.
To do:
- Powering the Arduino via 12v from the car without draining it.
- Optimize the
delay(200)code to avoid frantic behavior.
- Get more relays and control more stuff, e.g. roll down windows
Basic diagram of an LED circuit
You would usually access the individual buttons/switches from the dashboard, e.g. headlights/turn signals.
By pressing a button/switch, you simply complete the circuit and turn on the lights. The arduino+relay aims to complete the circuit without having to physically press the actual button, yet it doesn't interfere with the original function.


Comments