/************************************************************************
*
* Test of the Pmod
*
*************************************************************************
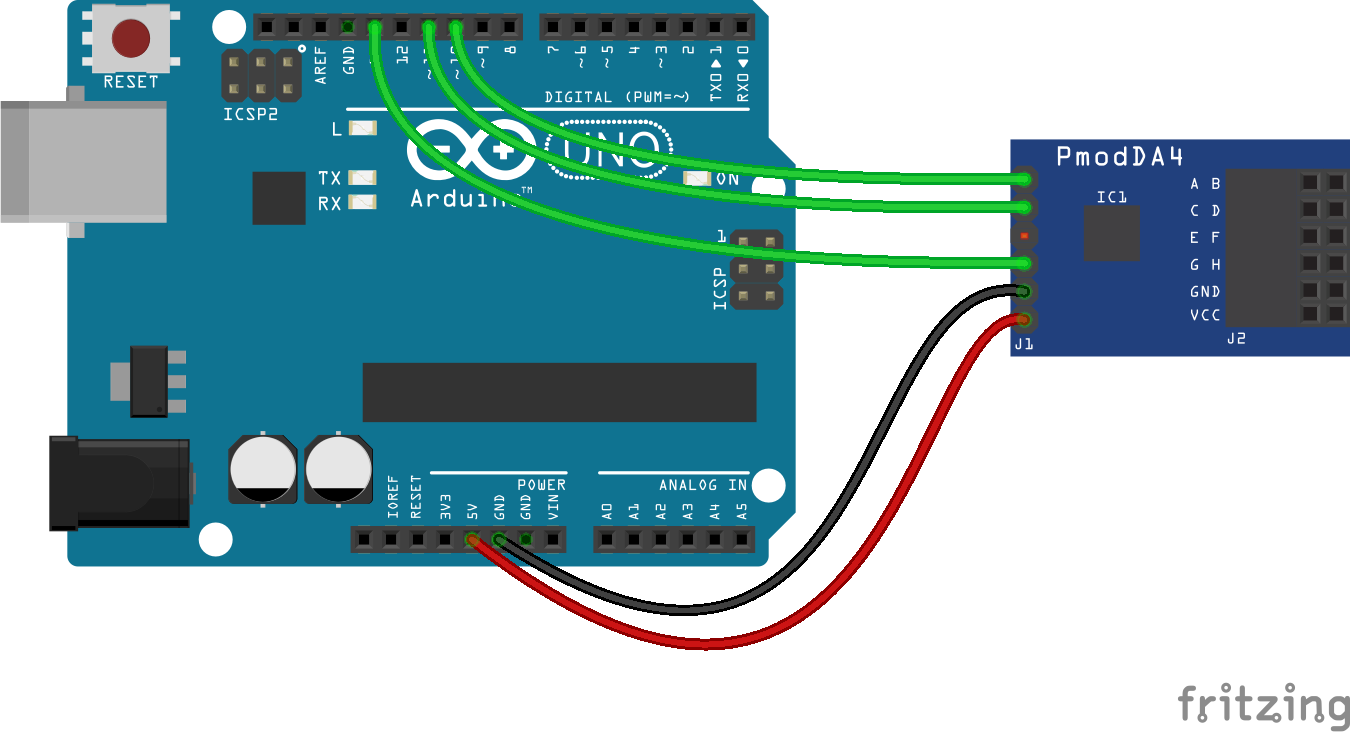
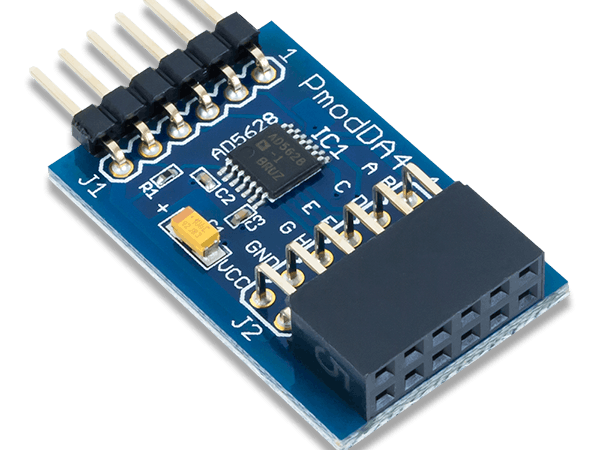
* Description: Pmod_DA4
* The output voltage A to E ranges from 2.5V to 0.5V in steps of 0.5 V
*
* Material
* 1. Arduino Uno
* 2. Pmod DA4
*
************************************************************************/
#define CS 10 // affectation of CS pin
#include <SPI.h> // include library
void setup()
{
SPI.begin(); // initialization of SPI port
SPI.setDataMode(SPI_MODE0); // configuration of SPI communication in mode 0
SPI.setClockDivider(SPI_CLOCK_DIV16); // configuration of clock at 1 MHz
pinMode(CS, OUTPUT);
digitalWrite(CS, LOW); // activation of CS line
SPI.transfer(0b00001000); // configuration of converter N/A (configuration of REF register)
delay(1);
SPI.transfer(0);
delay(1);
SPI.transfer(0);
delay(1);
SPI.transfer(0b00000001); // configuration of converter N/A (internal reference voltage active
VREF=1,25V)
delay(1);
digitalWrite(CS, HIGH); // desactivation CS line
digitalWrite(CS, LOW); // activation of CS line
SPI.transfer(0b00000011); // configuration of converter N/A (write output of converter)
delay(1);
SPI.transfer(0b11110000); // configuration of converter N/A (8 voutput active)
delay(1);
SPI.transfer(0);
delay(1);
SPI.transfer(0);
delay(1);
digitalWrite(CS, HIGH); // desactivation of CS line
}
void loop()
{
// la sortie A du convertisseur est à 2,5V
digitalWrite(CS, LOW); // activation of CS line
SPI.transfer(0b00000011);
delay(1);
SPI.transfer(0b00001111);
delay(1);
SPI.transfer(0b11111111);
delay(1);
SPI.transfer(0);
delay(1);
digitalWrite(CS, HIGH); // desactivation of CS line
// la sortie B du convertisseur est à 2V
digitalWrite(CS, LOW); // activation of CS line
SPI.transfer(0b00000011);
delay(1);
SPI.transfer(0b00011100);
delay(1);
SPI.transfer(0b11001101);
delay(1);
SPI.transfer(0);
delay(1);
digitalWrite(CS, HIGH); // desactivation of CS line
// la sortie C du convertisseur est à 1,5V
digitalWrite(CS, LOW); // activation of CS line
SPI.transfer(0b00000011);
delay(1);
SPI.transfer(0b00101001);
delay(1);
SPI.transfer(0b10011010);
delay(1);
SPI.transfer(0);
delay(1);
digitalWrite(CS, HIGH); // desactivation of CS line
// la sortie D du convertisseur est à 1V
digitalWrite(CS, LOW); // activation of CS line
SPI.transfer(0b00000011);
delay(1);
SPI.transfer(0b00110110);
delay(1);
SPI.transfer(0b01100110);
delay(1);
SPI.transfer(0);
delay(1);
// la sortie E du convertisseur est à 0,5V
digitalWrite(CS, LOW); // activation of CS line
SPI.transfer(0b00000011);
delay(1);
SPI.transfer(0b01000011);
delay(1);
SPI.transfer(0b00110011);
delay(1);
SPI.transfer(0);
delay(1);
digitalWrite(CS, HIGH); // desactivation of CS line
}


_ztBMuBhMHo.jpg?auto=compress%2Cformat&w=48&h=48&fit=fill&bg=ffffff)


Comments