


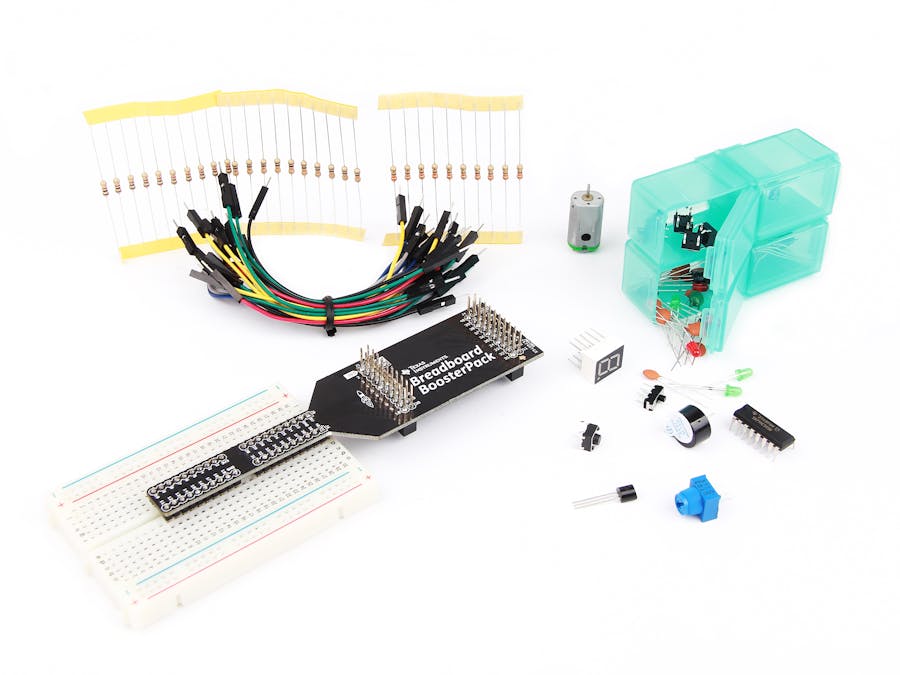
Hardware components | ||||||
 |
| × | 1 | |||
| × | 1 | ||||
 |
| × | 1 | |||
Software apps and online services | ||||||
 |
| |||||
In this workshop we will be doing some example circuits to get us warmed up with breadboarding and programming.
These circuits are based on the examples found at
http://energia.nu/guide/sidekick/#examples
The Energia examples use the popular and free Energia IDE, but we are going to use CCS Cloud, a free to use web browser based IDE from TI. If you prefer to use Energia IDE, the setup is well documented on www.energia.nu/sidekick
Setting up CCS CloudGo to dev.ti.com and click on the CCS Cloud icon.
You will need a myTI account to proceed. If you don't have one go ahead and register.
Once you are logged in you will see CCS Cloud environment. You can open a new Energia sketch under File -> New Energia Sketch.
Name your project something like "sidekick" and select the correct LaunchPad you are working with. Then click Finish.
Now we are going to verify our programming environment is setup properly by blinking the LED on the LaunchPad.
Go to here and copy and paste the code into CCS cloud http://energia.nu/guide/sidekick/sidekick_blink/#code
Click run (green play button) on the top bar. Your first time, you may be prompted to install the browser extension and TI Cloud agent. Proceed through the instructions to complete this. This is required for the code to transfer to your LaunchPad.
You may need to refresh the page a few times. Continue to click run until the installation is complete. You may also be prompted to update your firmware, click "update" and proceed. Make sure your project directory is highlighted in the left hand folder structure. Whatever project is highlighted is what CCS cloud will build.
If your red LED is blinking then you are ready to move on. If you are not try to re-upload again and hit the reset button. You can also completely unplug the LaunchPad and re-plug it in to your computer. Make sure the debug text at the bottom successfully writes to the flash memory and you are not getting any errors.
Example 1: Fade RGB LEDNow you can open up your sidekick and take out the breadboard, Breadboard BoosterPack, RGB LED, and 4 jumper wires (red, blue, yellow, green)
Now you can go to
http://energia.nu/guide/sidekick/sidekick_fadergbled/
On this page is very good background information, recommend to read it.
Next set up your circuit like so. The longest leg of the LED should be hooked up to yelllow wire 3v3. Green wire connecting to 18, red wire connecting to 19, and blue wire connecting to 11. You may need to adjust the connections based on your LaunchPad PWM signals.
Now copy and paste the code from here into the ccs project: http://energia.nu/guide/sidekick/sidekick_fadergbled/#code
Click run and see if your LED blinks different colors and then fades between them. If not, try hitting the reset button, check if your LED is backwards, and double check your wiring.
If you are finished clear out your breadboard for the next example.
Example 2: Push ButtonOpen up your sidekick and take out the breadboard, Breadboard BoosterPack, Red LED, push button, and 4 jumper wires (red, blue, yellow, green)
Now go to
http://energia.nu/guide/sidekick/sidekick_pushbutton/
Again you should read the background information to learn more about what we are doing.
Match this circuit on your breadboard. The longer leg of the LED should be connected to pin 18 and the shorter leg to GND.
Now go to http://energia.nu/guide/sidekick/sidekick_pushbutton/#code to copy and paste the code into your CCS Cloud project. Click run and see if you are able to turn on the LED when pushing the button. If you don't see anything, try hitting the reset button and double check your wiring. Make sure your LED is not plugged in backwards.
If you are finished clear your breadboard for the next example.
Feel free to start exploring the examples on your own. We are going to skip around a little.
Example 10: 7 Segment DisplayGo here and read the background information to learn about this circuit
http://energia.nu/guide/sidekick/sidekick_sevensegmentdisplay/
Now copy the circuit as shown. Be careful to wire correctly. Use different color jumper wires to make your job easier.
Go here and copy the code into your CCS Cloud project
http://energia.nu/guide/sidekick/sidekick_sevensegmentdisplay/#code
Click run and see if your segment LED counts down. If it doesn't double check your wiring, and hit the reset button.
Now you should have the hang of playing with the sidekick using CCS cloud. Continue on with the rest of the examples and have fun! http://energia.nu/guide/sidekick/#examples


Comments