

Hardware components | ||||||
 |
| × | 1 | |||
Software apps and online services | ||||||
| ||||||
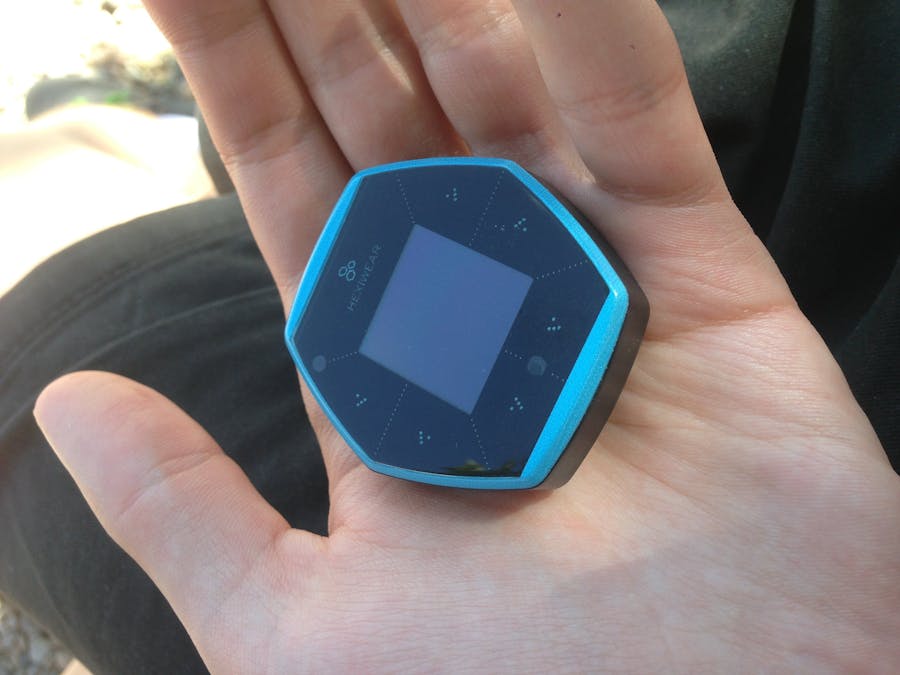
I received my free Hexiwear from the Hexiwear Hackster contest a week ago.
When I got I thought that it would be fairly easy to start programming with, but I was surprised to find that the only guide for programming was a PDF and a PPT in the Github repository, both of which weren't especially a great help in figuring out how to program it.
A note on mBedWhen you first connect a Hexiwear to a computer via the docking station, you'll see a new USB drive appear. You can drop .bin files onto the drive to program the Hexiwear if you have a bin file with a hexiwear program.
In the drive you will see an MBED.HTM file. If you open this file, it's a link the registering your Hexiwear with the mBed online IDE, as well as to the mBed docs on programming the Hexiwear with the mBed platform.
You can use the mBed platform for writing programs for the Hexiwear, but without libraries/support from Hexiwear for it, you'll bed stuck probably writing your own code for interacting with everything at a bit level. (I don't know very much about mBed, so I could be wrong here. But this is what I've seen so far)
EDIT: as of today more demonstration project have been being added to the mBed Hexiwear group. Hopefully soon this will include demos for things such as the OLED and sensors
One thing to be aware of, the Hexi_BlinkyRed demo project that's linked to for whatever reason will not compile for the Hexiwear. Instead open the mBed compiler, and create a new program with the "Blicky HelloWorld" template. Once you download the bin file, drop it onto the DAPLINK drive for the docking station to program it.
Getting started programming your Hexiwear - Installations and DownloadsI would recommend taking a look at the Getting Started PDF, as it covers a few things about different methods for programming the code onto the Hexiwear. (I have yet to figure out the OTAP method)
First of all you'll want to install the NXP Kinetis IDE, it's a pretty large IDE, so it will take 30 minutes or so to download and install.
Next go ahead and download the Hexiwear Github repository. At this point I would suggest creating a folder somewhere on your computer, such as in your Documents for holding Hexiwear files and the Kinetis IDE workspace so as to keep everything organized.
Opening a Kinetis projectOpen up the Kinetis IDE and close the welcome tab. Then right-click in the project explorer, select import, and import a General>Existing project.
For the root directory, go to the location of the downloaded and un-zipped Hexiwear Gtihub repository, and select the SW>MK64>HEXIWEAR_MK64 folder.
A projects should appear in the project list in the importer, if so go ahead and hit finish. Now the HEXIWEAR_MK64 project should be in the project explorer. This is the demo project that comes loaded on the Hexiwear when you get it from the factory.
Compiling and running the projectNow that we have to project imported, lets compile and upload it to the Hexiwear.
There are 2 ways of doing this:
1. Build the project and use the DAPLINK drive to upload the bin file. To do so hit the build button in the toolbar (the hammer), and then grab the .bin file from the debug folder and drop in into the DAPLINK drive.
2. Have Kinetis build the program, and then upload it to the Hexiwear for you. This in nice because then you can use breakpoints for debugging, and you can see the upload status.
To do this, got to the tool bar, and then to the Run menu, then hit "Debug Configurations..".
Double-click on the entry in the list that says "GDB PyOCS Debugging", and it should create a sub-item for the current project.
We'll need to change a few settings, go to the "Debugger" tab, and change the "Executable" path for the PyOCD server. The server is included in the Github download under SW>pyOCD>pyocd-gdbserver.exe. (There is also a Python installer in the same folder you'll have to run if you don't have Python installed already).
After setting the pyOCD server location, go down the "Other options", and in the textarea put "-dinfo".
Now you can hit Apply, and then Debug to apply the settings, compile the project, and upload it to the Hexiwear. Make sure the Hexiwear is turned on, and then the docking station is connected to the computer otherwise pyOCD will give you a timeout error when it attempts to upload the project.
When promoted, switch to the Debug perspective.
When the project is compiled a breakpoint is automatically added before the program runs. You'll need to go into the debug perspective, and click on the Resume button (or F8) which is 2 buttons to the left of the stop button in the toolbar to go past the breakpoint and start the program.
When the debugger is not connected (e.g you pressed the stop button in the toolbar) the program won't stop at the breakpoint and will run like normal.
If there aren't any errors in the Console from compiling or uploading the program, then you're probably good to go! Once you resume from the breakpoint, you should see the Hexiwear plash screen appear, and then the factory demo app.
Taking if furtherFor developing your own programs, at this point I would just recommend building off of the factory demo. At this point there isn't any kind of minimal project or library for building your own project with all the features of the Hexiweat, whereas the demo project contains all the drivers and resources to read from, and control the sensors.
I'm working on making a simple full-feature project for use as a template for making your own apps, but I'm not sure when I will be done making it.
ConclusionHopefully this helps you getting started with programming your Hexiwear.
At this point there unfortunately aren't many resources provided for getting started with it easily, but hopefully the Hexiwear team provides us developers with some more resources soon. :)
In the resources section I've provided am outline of the dock with major component placements for Fusion 360 enclosure designs. Hopefully this can help you with making your Hexiwear enclosure!


Comments