

Hardware components | ||||||
_baVEVgguW1.jpg?auto=compress%2Cformat&w=48&h=48&fit=fill&bg=ffffff) |
| × | 1 | |||
| × | 1 | ||||
 |
| × | 1 | |||
 |
| × | 1 | |||
 |
| × | 1 | |||
Hand tools and fabrication machines | ||||||
 |
| |||||
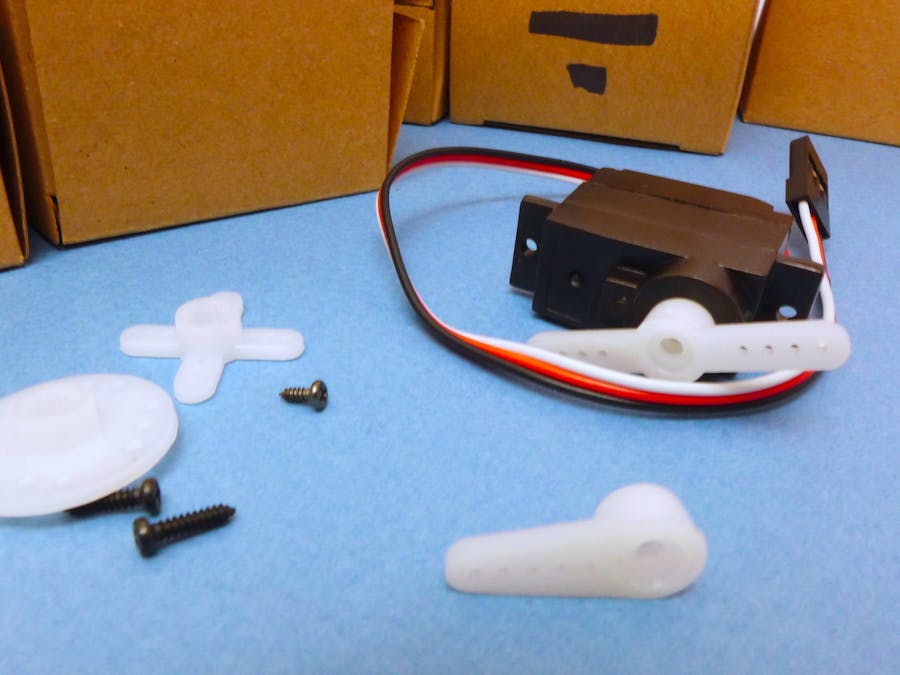
Make a wall-mounted dial to indicate today's weather conditions, your current location (à la Harry Potter), or power usage in your home. Or build brainwave-controlled wings. Or a robot arm to serve you Bellinis. The power is yours, with SERVOS!
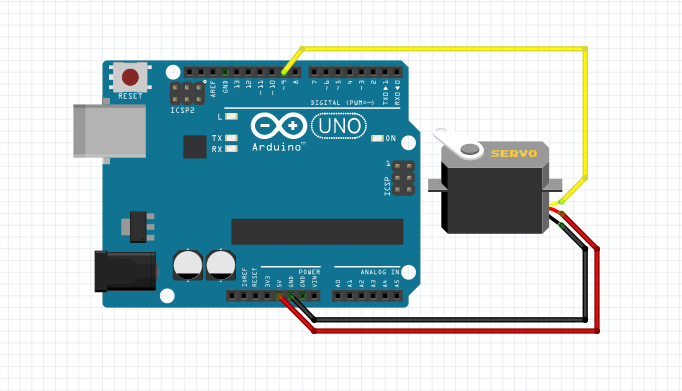
We're using the Arduino to send these motors a position value in degrees, over PWM. We'll start with a simple back-and-forth movement, then make a little physical button-press-counter. Set up your circuit like so:
Fire up the Arduino IDE, bring up File > Examples, and scroll alllll the way down to the Servo library. Click on the Sweep example.
CODE
Go ahead and upload this, and you'll soon see your servo's arm sweeping back and forth in an arc. There's one important thing to note: At either end of its arc, the servo may pause and make little angry noises. That means that it's being driven outside its scope. We'll handle that in a minute – first, let's go through the code...
Inside the loop
code, there are a couple of sub-loops: for
loops. These will "trap" the Arduino in a series of re-executed steps, until a test condition is satisfied.
for (pos = 0; pos <= 180; pos += 1) {
myservo.write(pos);
delay(15);
}
The meat of the loop is in the middle {between the brackets}: the actions we take on each run. The servo, which we called myservo
in the setup (or george
in the video), is set to the value of the pos
variable, which is usually between 0 and 180 degrees: myservo.write(pos);
Then, we wait 15 milliseconds, and loop around again.
This loop takes three arguments: info in parentheses that tells the code how to run. In this case:
- The
forloop will only be triggered if the variableposis at 0 – which it is, when we create it at setup.
- The second argument (our condition) checks to see whether
posis still less than 180; once the loop is triggered, we will keep looping through until that's false.
- And finally, the third argument increments the
posvariable by one. (This is an alternative to the "pos++" incrementation we learned in Code Magic.)
As long as the condition is true – that is, until pos
hits 180 – the Arduino repeats the loop.
And then, it goes directly into another one! This one starts at 180, then increments the pos
variable down by one, until it hits 0. At that point, the entire loop
section of this sketch is complete, and the Arduino takes a deep breath and starts again. Since pos
is at 0 again, we go back into the roundabout.
So, those little unhappy groany noises at either end of the servo's arc: Although the code expects a servo that can rotate between 0º and 180º, that's not always the case. So, we'll adjust the code as needed so that it pauses only slightly at each extreme, and doesn't make the little gear-grinding sound.
All you really need to do is modify the 0 and 180 numbers, moving both toward 90, until the switchback is instantaneous and the angry noises cease.
You can also use the example code I've uploaded below, which maps each extreme to a variable (mini
& maxi
) so that you only have to change it in one place each time. This code also adds a blinking LED to show you when the full code loop restarts: on for a loop, off for a loop, etc.
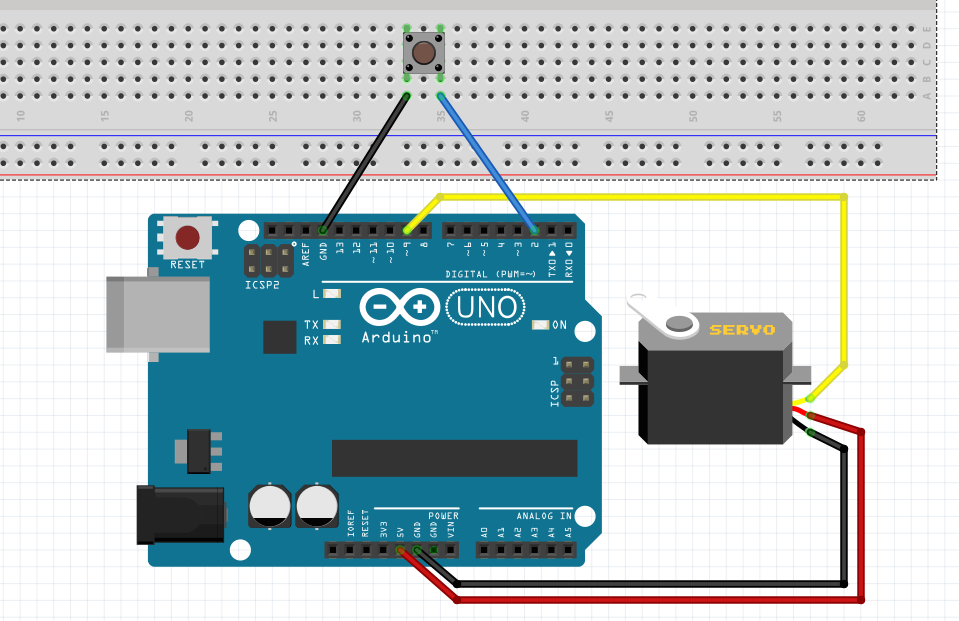
Use your new dial to track how many times a button has been pressed. Add a button, with one side connected to d2 and one to GND, and upload the code example below. This one divides the servo's range by 30, so you can track 30 button presses before the machine gets fed up and puts on its little light. Have fun!
To learn a bit more about this, check out the Arduino docs on "for" loops.
See the whole series of Hackster 101 tutorials on Hackster and YouTube


_3u05Tpwasz.png?auto=compress%2Cformat&w=40&h=40&fit=fillmax&bg=fff&dpr=2)
Comments