

Hardware components | ||||||
_ztBMuBhMHo.jpg?auto=compress%2Cformat&w=48&h=48&fit=fill&bg=ffffff) |
| × | 1 | |||
 |
| × | 1 | |||
 |
| × | 1 | |||
 |
| × | 1 | |||
Software apps and online services | ||||||
 |
| |||||
| ||||||
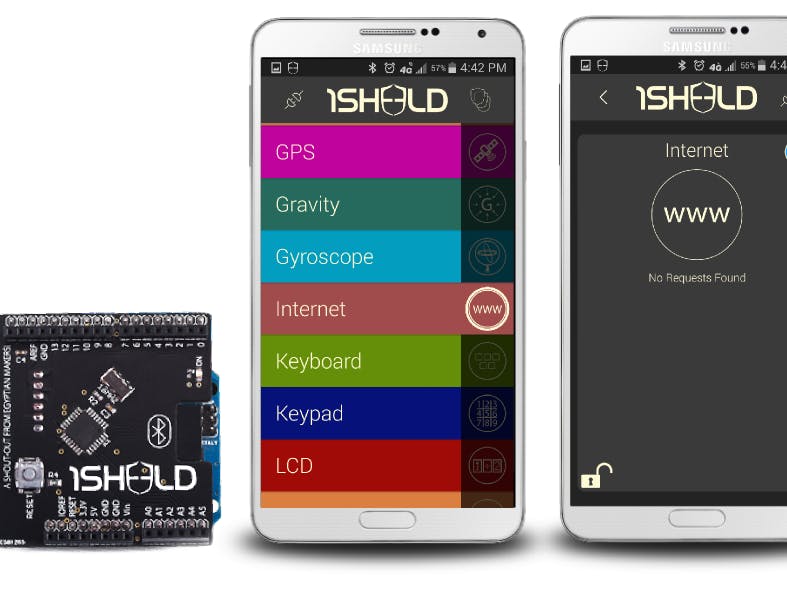
When 1Sheeld introduced it's internet shield, Ashraf Nabil published a project called "How to use ThingSpeak through the Internet Shield to log your data graphically". This project worked well for me. My next step was to do the other way round: How to use Thingspeak through 1Sheeld internet shield to control your LED. I thought it was easy to change the code of the advanced internet example of 1 Sheeld. But that was easier said then done.
Why? It was my mistake forgetting to press the RESET button of 1Sheeld AND the RESET button of my Arduino Uno after every re-uploading of the alternated experimental sketches. So lesson one: always press these buttons after uploading your sketch!
Step 1: How to change fields on ThingSpeak?First of all I needed to find a way to change the value of fields of my private channel on Thingspeak. That was the easiest step. On the website of Thingspeak.com you will find an explanation of it here. I used this GET-option:
GET https://api.thingspeak.com/update?api_key=put-here-your-write-key&field1=0
to change the value of field1 into zero. Meaning the LED must go OFF.
And
GET https://api.thingspeak.com/update?api_key=put-here-your-write-key&field1=1
to change the value of field1 into one. Meaning the LED must go ON.
To run the GET I used
Poster :: Add-ons voor Firefox - Mozilla. See that page to find out how to use it.
Step 2: What is the HTTPRequest and HTTPResponse code for Arduino and 1SheeldThe Arduino code of the advanced internet example of 1Sheeld contains the next HTTPRequest code:
HttpRequest request("http://api.openweathermap.org/data/2.5/weather?appid=2711d6a2cc90e292afaf00f9335028b1");
I found out on the website of Thingspeak that the request url for getting the channel feed must be:
https://api.thingspeak.com/channels/9/feeds.json?&results=2 (change 9 into your own channel number). So the code should be:
HttpRequest request("https://api.thingspeak.com/channels/put-your-channel-number-here/feeds.json?&results=1"). Yes, I had to change results into 1! Please change "put-your-channel-number-here" in your Thingspeak channel number.
Down further there is a code in the example called
void onSuccess(HttpResponse & response) with the next query code:
response["weather"][0]["main"].query();
I have found out on the website http://www.w3schools.com/json/json_syntax.asp where this query stands for. After viewing the result of the GET in the 'poster add on' I knew that I had to change it into:
response["feeds"][0]["field1"].query();
In the example code there you will find down further:
void onJsonReply(JsonKeyChain & hell,char * output) This will look at the response and turns on and off your LED.
The existing code is:
/* 1Sheeld responds using text-to-speech shield. */
  TextToSpeech.say(output);
  /* Check if the weather status is cloudy. */
  if (!strcmp("clouds",output))
    blueRGB();
Just change clouds into 1 and add a code to use the zero value. So it looks like this:
void onJsonReply(JsonKeyChain & hell,char * output)
{
  /* 1Sheeld responds using text-to-speech shield. */
  TextToSpeech.say(output);
  /* Check if the LED must go on. */
  if (!strcmp("1",output))
    blueRGB();
/* Check if the LED must go off. */
  else if (!strcmp("0",output))
    off();
}
And to put a function to off() add code:
void off()
{
  digitalWrite(blue, LOW);
  Serial.println("off");

}
Now when you have changed the code like above, you can upload the sketch. THEN PRESS RESET BUTTON 1SHEELD and PRESS RESET BUTTON ARDUINO.
And of course take care for correct using the UART switch on 1sheeld.
The only thing you have to do now is playing around with the 'poster add on Mozilla' and put a value into field 1: 1 to turn the LED on, 0 to turn the LED off.
Comments