

Hardware components | ||||||
_ztBMuBhMHo.jpg?auto=compress%2Cformat&w=48&h=48&fit=fill&bg=ffffff) |
| × | 1 | |||
| × | 1 | ||||
Software apps and online services | ||||||
 |
| |||||
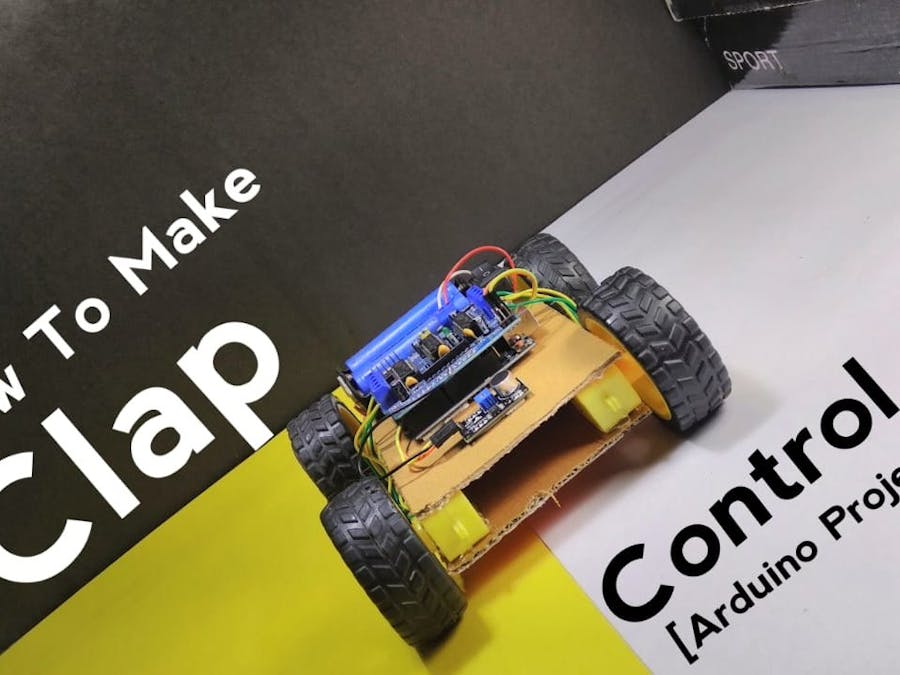
Hey Guys, welcome to my first tutorials article. So guys today we are going to make a " Clap Control Car With Arduino " seems to be interesting Right?
Let me first tell you about the main working principle of this robot: This car uses a very working principle that are as follows:
~ When you CALP Once the car will go Forward.
~ When you CALP Twice the car will go Backward.
~ When you CALP Thrice the car will go Left
~ When you CALP for the Fourth Time the car will go Right.
It's very simple project but with the futuristic idea. if you have not understood its working principle then take a look at the whole tutorial you might then understand it...
So let's get started with the project :-)
Step 1: Items That You Require for Making the Project:International:
(Amazon)
• Arduino Uno: https://amzn.to/3zJpqrU
• L298D Motor Driver: https://amzn.to/3vA9dBO
• Sound Sensor: https://amzn.to/3vA9dBO
• Gear Motor: https://amzn.to/3vA9dBO
• Rubber Wheel: https://amzn.to/3vA9dBO
• Battery Holder: https://amzn.to/3vA9dBO
• Battery: (Get it in old power bank)
India:
(Quartz Components)
• Arduino Uno: https://bit.ly/3cOLKX2
• L298D Motor Driver: https://bit.ly/3cOLKX2
• Sound Sensor: https://bit.ly/3cOLKX2
• Gear Motor: https://bit.ly/3cOLKX2
• Rubber Wheel: https://bit.ly/3cOLKX2
• Battery Holder: https://bit.ly/3cOLKX2
• Battery: https://bit.ly/3cOLKX2
Step 2: Making of the Chassy :~ So for making the chassis I am using a cardboard which is cut into the size of 10*14 cm.
~ Then we need a gear motor 4pcs.
~ We will stick the motor with the cardboard using hot glue gun.
~ We move into the wiring of the motors, the wiring will go in this way, we will solder the wires to the motors "+" and "-" terminals. As shown in the above image.
~ We will require a rubber wheel (4pcs) for the motor.
~ Put the rubber wheel in the gear motors. As shown in the above images.
~ Then our chassis is ready. lets move into the next step...
Step 3: Attach the Motor Driver With the Arduino Uno & Connecting the Motor Wires With the Motor Driver:~ Now this step is very simple you need to attach the motor driver to Arduino Uno.Just motor driver according to the pin in the Arduino Uno.
~ So here we go, we need to put all the wires of the motor to the motor driver's Motor terminals.Just put the first motor's wire to the motor driver M1 terminal. Then put the second motor's wire to the M2 terminal. Do the same with the rest of the motors.
You also follow the circuit diagram for doing the connection.
Step 4: Mounting the Sound Sensor Into the Chassis:~ We will simply take three jumper wire and attach it to the sensor's pins:
+5v, GND & OUT.
~ Then we will fix the sound sensor to the Chassis with the help of Double Sided Tap.
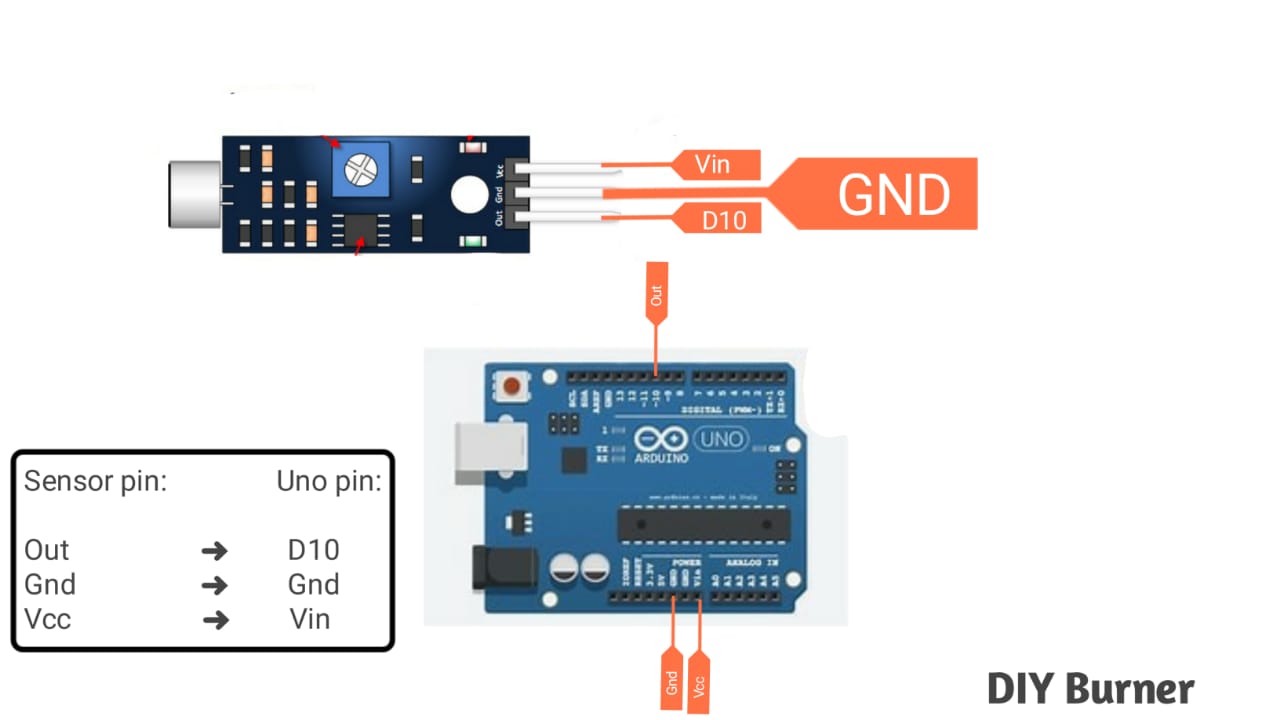
Step 5: Connection of Sound Sensor to Arduino... & Battery Holder.~ Simply Connect the Sensor's:
OUT to D10
GND to Gnd
VCC to +5V
Following pin Into the Arduino.
~ We will that a Battery Holder and fix it to the chassis using Double Sided Tap.
Then Connect the GND wire of Holder to the Motor driver's Power GND Terminal. Then Connect the +5V wire to the Vcc or +5V Terminal of Motor driver.
Follow the Circuit Diagram for better understanding.
Step 6: Time to Upload the Sketch:~ Now connect the usb cable to the Arduino Uno.
~ remove the OUT pin of the sensor for the successful uploading of the code.
Now Simply upload the following code:
// How To Make Clap Control Car
// Code Written By Shahbaz Owner of DIY Burner
// All copyrights reserved to DIY Burner
// Code version: 1.0.0
// For any any quries contact me on Instagram (INSTAGRAM ID: diy_burner)
// Lets get Started...
#include<AFMotor.h>
int sound = 10;
int st = 0;
AF_DCMotor motor1(1, MOTOR12_1KHZ);
AF_DCMotor motor2(2, MOTOR12_1KHZ);
AF_DCMotor motor3(3, MOTOR34_1KHZ);
AF_DCMotor motor4(4, MOTOR34_1KHZ);
int cont = 0;
void Forward()
{
motor1.setSpeed(255);
motor1.run(FORWARD);
motor2.setSpeed(255);
motor2.run(FORWARD);
motor3.setSpeed(255);
motor3.run(FORWARD);
motor4.setSpeed(255);
motor4.run(FORWARD);
delay(1500);
motor1.run(RELEASE);
motor2.run(RELEASE);
motor3.run(RELEASE);
motor4.run(RELEASE);
}
void Backward()
{
motor1.setSpeed(255);
motor1.run(BACKWARD);
motor2.setSpeed(255);
motor2.run(BACKWARD);
motor3.setSpeed(255);
motor3.run(BACKWARD);
motor4.setSpeed(255);
motor4.run(BACKWARD);
delay(1500);
motor1.run(RELEASE);
motor2.run(RELEASE);
motor3.run(RELEASE);
motor4.run(RELEASE);
}
void Left()
{
motor1.setSpeed(255);
motor1.run(BACKWARD);
motor2.setSpeed(255);
motor2.run(BACKWARD);
motor3.setSpeed(255);
motor3.run(FORWARD);
motor4.setSpeed(255);
motor4.run(FORWARD);
delay(500);
motor1.run(RELEASE);
motor2.run(RELEASE);
motor3.run(RELEASE);
motor4.run(RELEASE);
}
void Right()
{
motor1.setSpeed(255);
motor1.run(FORWARD);
motor2.setSpeed(255);
motor2.run(FORWARD);
motor3.setSpeed(255);
motor3.run(BACKWARD);
motor4.setSpeed(255);
motor4.run(BACKWARD);
delay(500);
motor1.run(RELEASE);
motor2.run(RELEASE);
motor3.run(RELEASE);
motor4.run(RELEASE);
}
void setup()
{
//put your setup code here,to run once;
pinMode (sound, INPUT);
}
void loop()
{
//put your main code here,to run repeatedly;
if (digitalRead(sound) == HIGH) {
delay(10);
if (cont == 0)
st = millis();
cont = cont + 1;
while (digitalRead(sound) != LOW) {
if (millis() - st > 2000) {
Serial.print(cont);
Serial.println(" aplausos");
doOrders(cont);
cont = 0;
}
}
}
if (millis() - st > 2000 && cont != 0) {
Serial.print(cont);
Serial.println(" aplausos");
doOrders(cont);
cont = 0;
}
}
void doOrders(int apl) {
if (cont==1)
{
Forward();
}
else if (cont == 2)
{
Backward();
}
else if (cont == 3)
{
Left();
}
else if (cont == 4)
{
Right();
}
}
Or Download The Code From The Google DRIVE: Download
Step 7: All Set, Now It's Time to Test It.After done with uploading the code. Just put the battery to the Battery Holder and enjoying the project.
Watch our YouTube video to see the its testing video. Watch Now!
Step 8: We're Done Now:We're Done Now. I hope you like my project and if you have any query then leave your comments here I will surely help you with it or if you have any idea of any new type of project then please comment here I will be definetly make it.
I'll keep updating this tutorial.
For Business or Promotion Query e-mail me on: shahbazhashmi006@gmail.com
Thanks for watching project, I hope you liked this project, if you did then please follow me I'll keep posting awesome new projects. Also, don't forget to SUBSCRIBE my YouTube channel. (YouTube: DIY BURNER)
Thank you...Bye...Bye


Comments