

Software apps and online services | ||||||
 |
| |||||
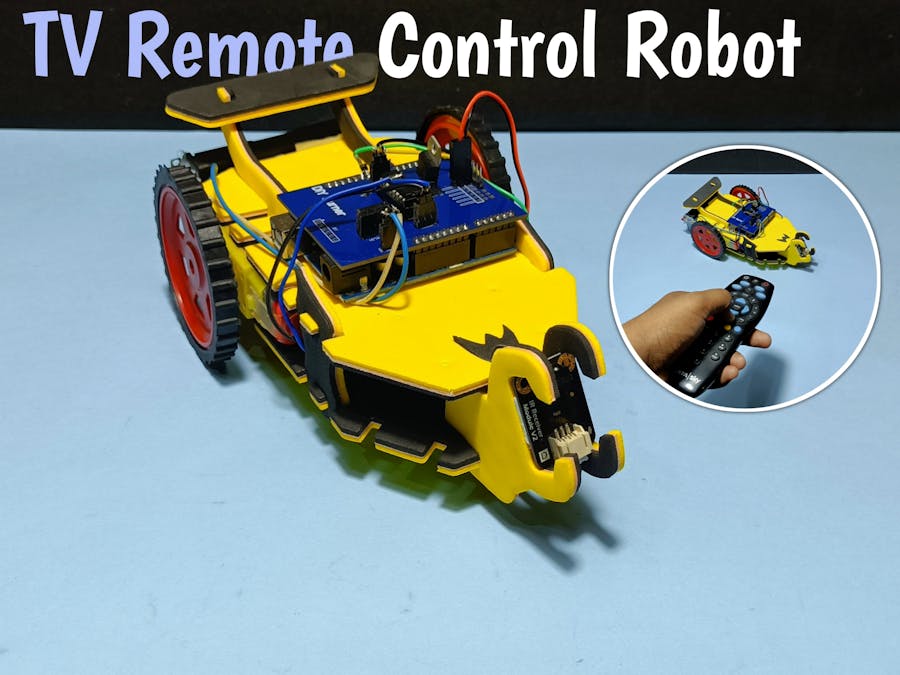
Hey Guys, welcome to my article. So guys today we are going to make a TV Remote Control Robot Car.
Project Information:The project makes use of an IR receiver to receive the signal from our TV remote and then, as per the command received from the remote, the car performs the task. For example, when I click my remote’s forward button, the car moves in the forward direction and vice-versa.
Special thanks to PCBWay for sponsoring this project.
So let's get started with the project :-)
Step 1: Materials Required
• Arduino nano:https://amzn.to/3JRkyqh
• IR Receiver kit:https://bit.ly/42JSsGg
• Chassis Project Sheet: https://bit.ly/3npGYaG
• L298N motor driver: https://amzn.to/3GxIMpq
• Bo Motor (4x):https://amzn.to/3i0EnBU
• Rubber wheel (4x): https://amzn.to/3i7n9mf
• Jumper wire: https://amzn.to/3Gycrid
• 18650 battery:https://amzn.to/3vunOBu
• 18650 battery holder: https://amzn.to/3hY0pFr
Step 2: Making the Chassis
In this project, we are using a chassis sheet that is made of hard foam. This sheet can be used to make the chassis like solving a 3D puzzle. This step is very easy and simple, so just follow the image shared here and you can easily get your chassis ready for the project.
Step 3: How Can I Simplify My Circuit?
This can be done by using a PCB, I have many times used a custom-designed circuit board to give more professional touch. So I choose PCBWay to design and order the custom-designed PCB for this project.
PCB (Get Gerber and PCBWAY Order Link): https://www.pcbway.com/project/shareproject/How_to_Make_Gesture_Control_Robot_MadeWithArduino_5199b71f.html
About PCBWay:
With more than a decade in the field of PCB prototype and fabrication, They are committed to meeting the needs of their customers from different industries in terms of quality, delivery, cost-effectiveness, and any other demanding requests. As one of the most experienced PCB manufacturers in China, They pride themselves to be the best business partners as well as good friends in every aspect of our PCB needs.
They provide 2 layers of PCB just for $5, they also provide 4-6 layers of PCB manufacturing as well as SMT and STENCILS Services at very low cost and their other services are CNC and 3D Printing.
Make sure to visit their website PCBWay.com.
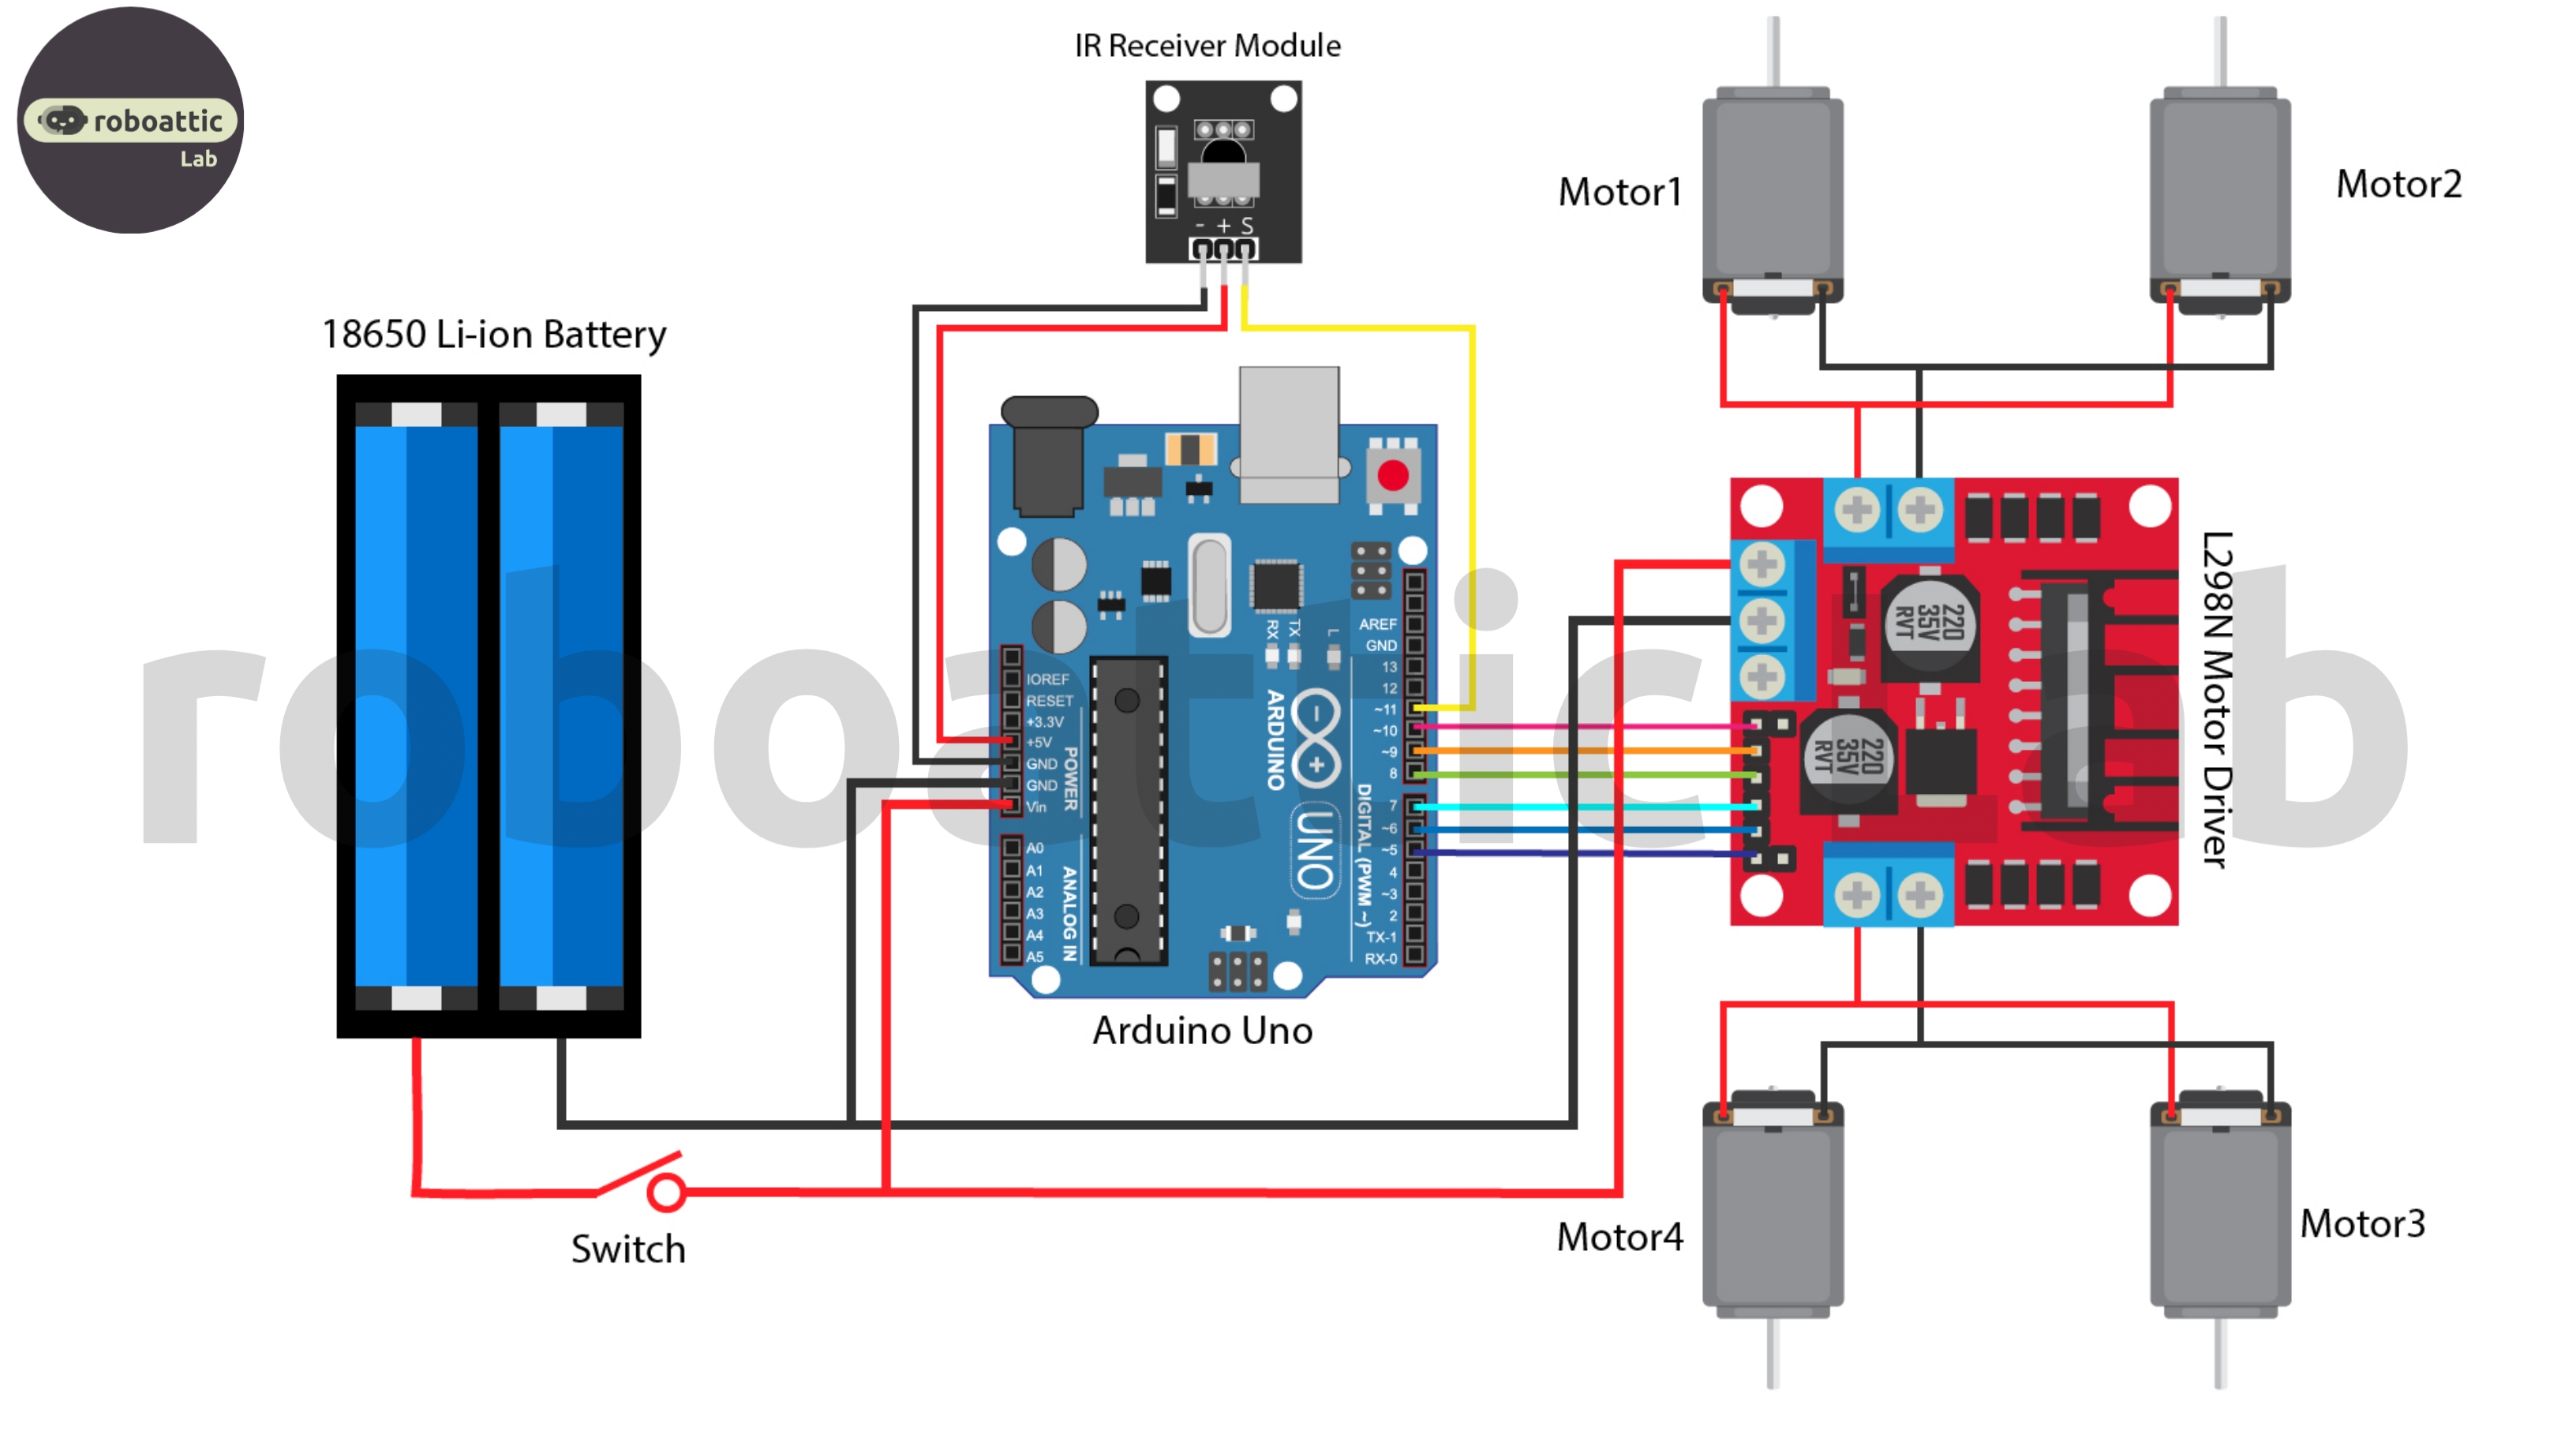
Step 4: Mounting of Arduino and Motor Driver & Making of Circuit
Follow the Steps:
• Solder all the components to the Moto Driver PCB
• Now Mount the Moto Driver to Arduino and using double tape mount it to the chassis.
• Then make the connection of the Motor to the Moto Driver as shown in the image.
• Then connect the jumper wire with the Moto Driver pin out and IR Receiver.
• Now Mount the IR Sensor to the sensor placeholder.• Then attach the battery holder to the chassis.
• Now connect the battery holder pin out to the motor driver power pin.
Now we are done with the circuit part.
Step 5: Uploading the Sketch
Upload the code and don't forget to include the libraries.
// Remote Controlled Robot Car
// Contact me here https://www.instagram.com/diy_burner/
// Please Subscribe for Support - https://youtube.com/@roboatticLab

// include library
#include <IRremote.h>

// define IR sensor pin
int IRsensorPin = 11;

// define the some functions used by the library
IRrecv irrecv(IRsensorPin);
decode_results results;

// define L298N motor drive control pins
int RightMotorForward = 3;    // IN1
int RightMotorBackward = 4;   // IN2
int LeftMotorForward = 5;     // IN3
int LeftMotorBackward = 6;    // IN4
int ForwardSpeed = 2;
int BackwardSpeed = 7;


void setup(){

  // initialize motor control pins as output
  pinMode(LeftMotorForward,OUTPUT);
  pinMode(RightMotorForward,OUTPUT);
  pinMode(LeftMotorBackward,OUTPUT);
  pinMode(RightMotorBackward,OUTPUT);
  pinMode(ForwardSpeed,OUTPUT);
  pinMode(BackwardSpeed,OUTPUT);

  // start serial communication to see hex codes
  Serial.begin(9600);
  irrecv.enableIRIn();
}

void loop(){

  // if the sensor is receive any signal
  if (irrecv.decode(&results)){

    // print the hex code value on the serial monitor
    Serial.println(results.value);
    delay(5);

    // resume function according to hex code
    irrecv.resume();
  }

  // if the incoming data is "defined hex code" then run the motors functions
  // write the hex codes of your remote control
  if(results.value == 12583000)
           Forward();
  if(results.value == 12583001)
           Backward();
  if(results.value == 12583003)
           Right();
  if(results.value == 12583002)
           Left();
  if(results.value == 12583004)
           Stop();

}

// FORWARD
void Forward(){
  Serial.println("Forward");
  digitalWrite(ForwardSpeed,200);
  digitalWrite(BackwardSpeed,200);
  digitalWrite(LeftMotorForward,HIGH);
  digitalWrite(RightMotorForward,HIGH);
  digitalWrite(LeftMotorBackward,LOW);
  digitalWrite(RightMotorBackward,LOW);
}

// BACKWARD
void Backward(){
   digitalWrite(ForwardSpeed,200);
  digitalWrite(BackwardSpeed,200);
  digitalWrite(LeftMotorBackward,HIGH);
  digitalWrite(RightMotorBackward,HIGH);
  digitalWrite(LeftMotorForward,LOW);
  digitalWrite(RightMotorForward,LOW);
}

// TURN RIGHT
void Right(){
   digitalWrite(ForwardSpeed,200);
  digitalWrite(BackwardSpeed,200);
  digitalWrite(LeftMotorForward,HIGH);
  digitalWrite(RightMotorForward,LOW);
  digitalWrite(LeftMotorBackward,LOW);
  digitalWrite(RightMotorBackward,HIGH);
}

// TURN LEFT
void Left(){
   digitalWrite(ForwardSpeed,200);
  digitalWrite(BackwardSpeed,200);
  digitalWrite(RightMotorForward,HIGH);
  digitalWrite(LeftMotorForward,LOW);
  digitalWrite(LeftMotorBackward,HIGH);
  digitalWrite(RightMotorBackward,LOW);
}

// STOP
void Stop(){
   digitalWrite(ForwardSpeed,0);
  digitalWrite(BackwardSpeed,0);
  digitalWrite(LeftMotorBackward,LOW);
  digitalWrite(RightMotorBackward,LOW);
  digitalWrite(LeftMotorForward,LOW);
  digitalWrite(RightMotorForward,LOW);
}Step 6: All Set, Now It's Time to Test It
After done with uploading the code. Just put the battery into the Battery Holder and enjoy the project.
Watch our YouTube video to see its testing video. Watch Now!
Step 7: We're Done Now
We're Done Now. I hope you like my project and if you have any queries then leave your comments here, I will surely help you with it if you have any idea of any new type of project then please comment here I will be making it.
I'll keep updating this Article.
For Business or Promotion Query e-mail me on Email
Thanks for watching the project, I hope you liked this project, if you did then please follow me I'll keep posting awesome new projects. Also, don't forget to SUBSCRIBE to my YouTube channel. (YouTube: roboattic Lab)


Comments