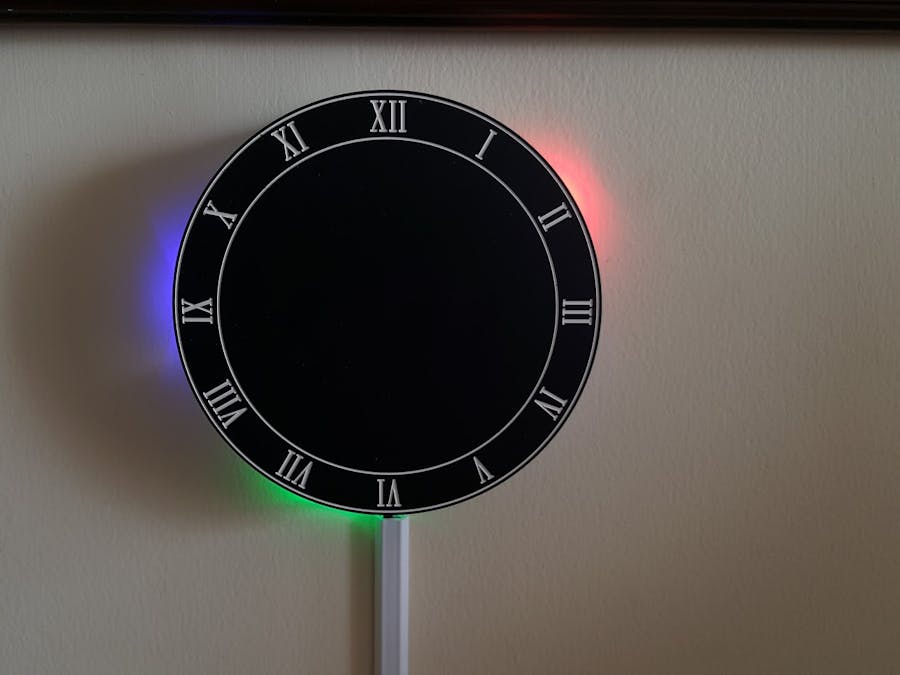
I saw this clock idea on a friends blog and Facebook page and thought it would be cool to build one around a Particle Core module and have it update the time via the internet. It also allows me to make changes without pulling it from the wall each time I wanted to update it (the daughter likes me to change the colours every so often). At the time my friend had not chosen his final design or how to mount the LED's so I put some thought into this and used Schaeffer-Ag in Germany to make the panels with Front Panel Designer. The initial design was done in 3D CAD with Geomagic Design so I could check for clearances etc.
Original design for the clock is shown above. I changed the front to use Roman numerals for the final build. The front is aluminium anodised black and the rear consists of 2 panels of clear perspex that sandwich the LED's to keep them in place. 10mm spacers keep the clock away from the wall to allow a larger reflection area.
The above image shows the arrangement of the panels using spacers for support. This allows the Particle Core to fit between.
This shows the final build with the Particle Core fitted to the PCB. Power is 12V input with a switching regulator onboard to provide the 5V to the core. You could use a 5V input but I had loads of 12V supplies lying around so used an on board regulator.
This image shows the clock installed on the wall. The 4 10mm spacers keep it off the wall to give a better spread of light on the edge so that it shows up better.
Included below is the Front Panel designer files for the front and perspex panels. PCB design files are in Altium Designer format. Schematic is PDF for those who want to make there own with other PCB software.
For Fritzing lovers, I've also provided Fritzing Breadboard View (which is equivalent to the provided schematic). Thanks to Anurag S. Vasanwala at Hackster for creating the Fritzing for me.


Comments