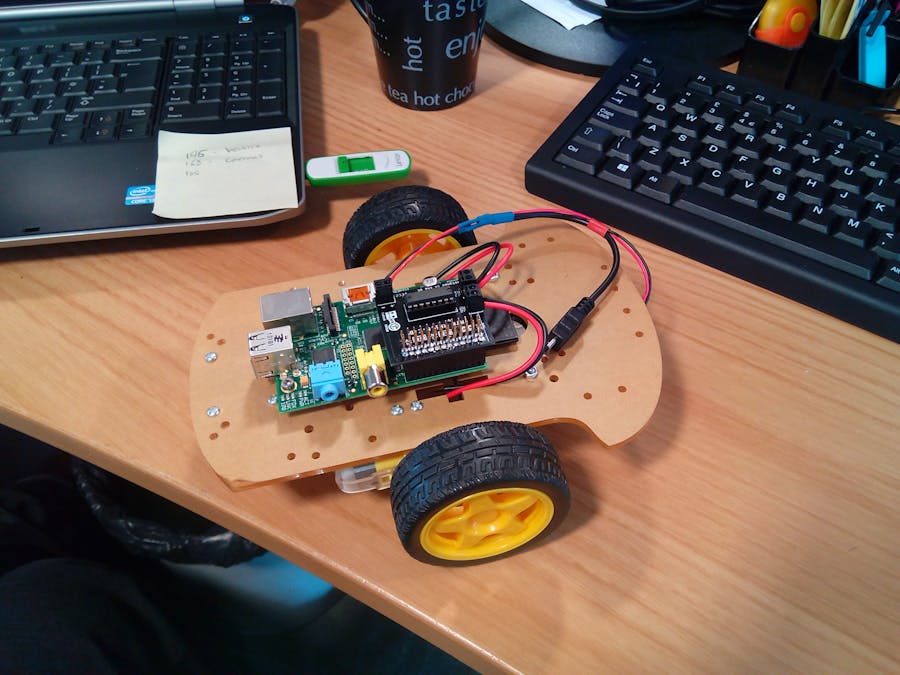
This is quite a basic project where you essentially just control two motors on a three wheeled cart. There is potential to remix this project and add other elements. However for the purpose of our enrichment club, and for a simple project, we wanted to just get the fundamentals down on motor control.
I think this project is perfect for newcomers to Robotics, Raspberry Pi', and Python programming, it gives you insight into potential projects you may be interested in (it is certainly a building block for us.) and also introduces beginners to what you can achieve with a Raspberry Pi and Python.
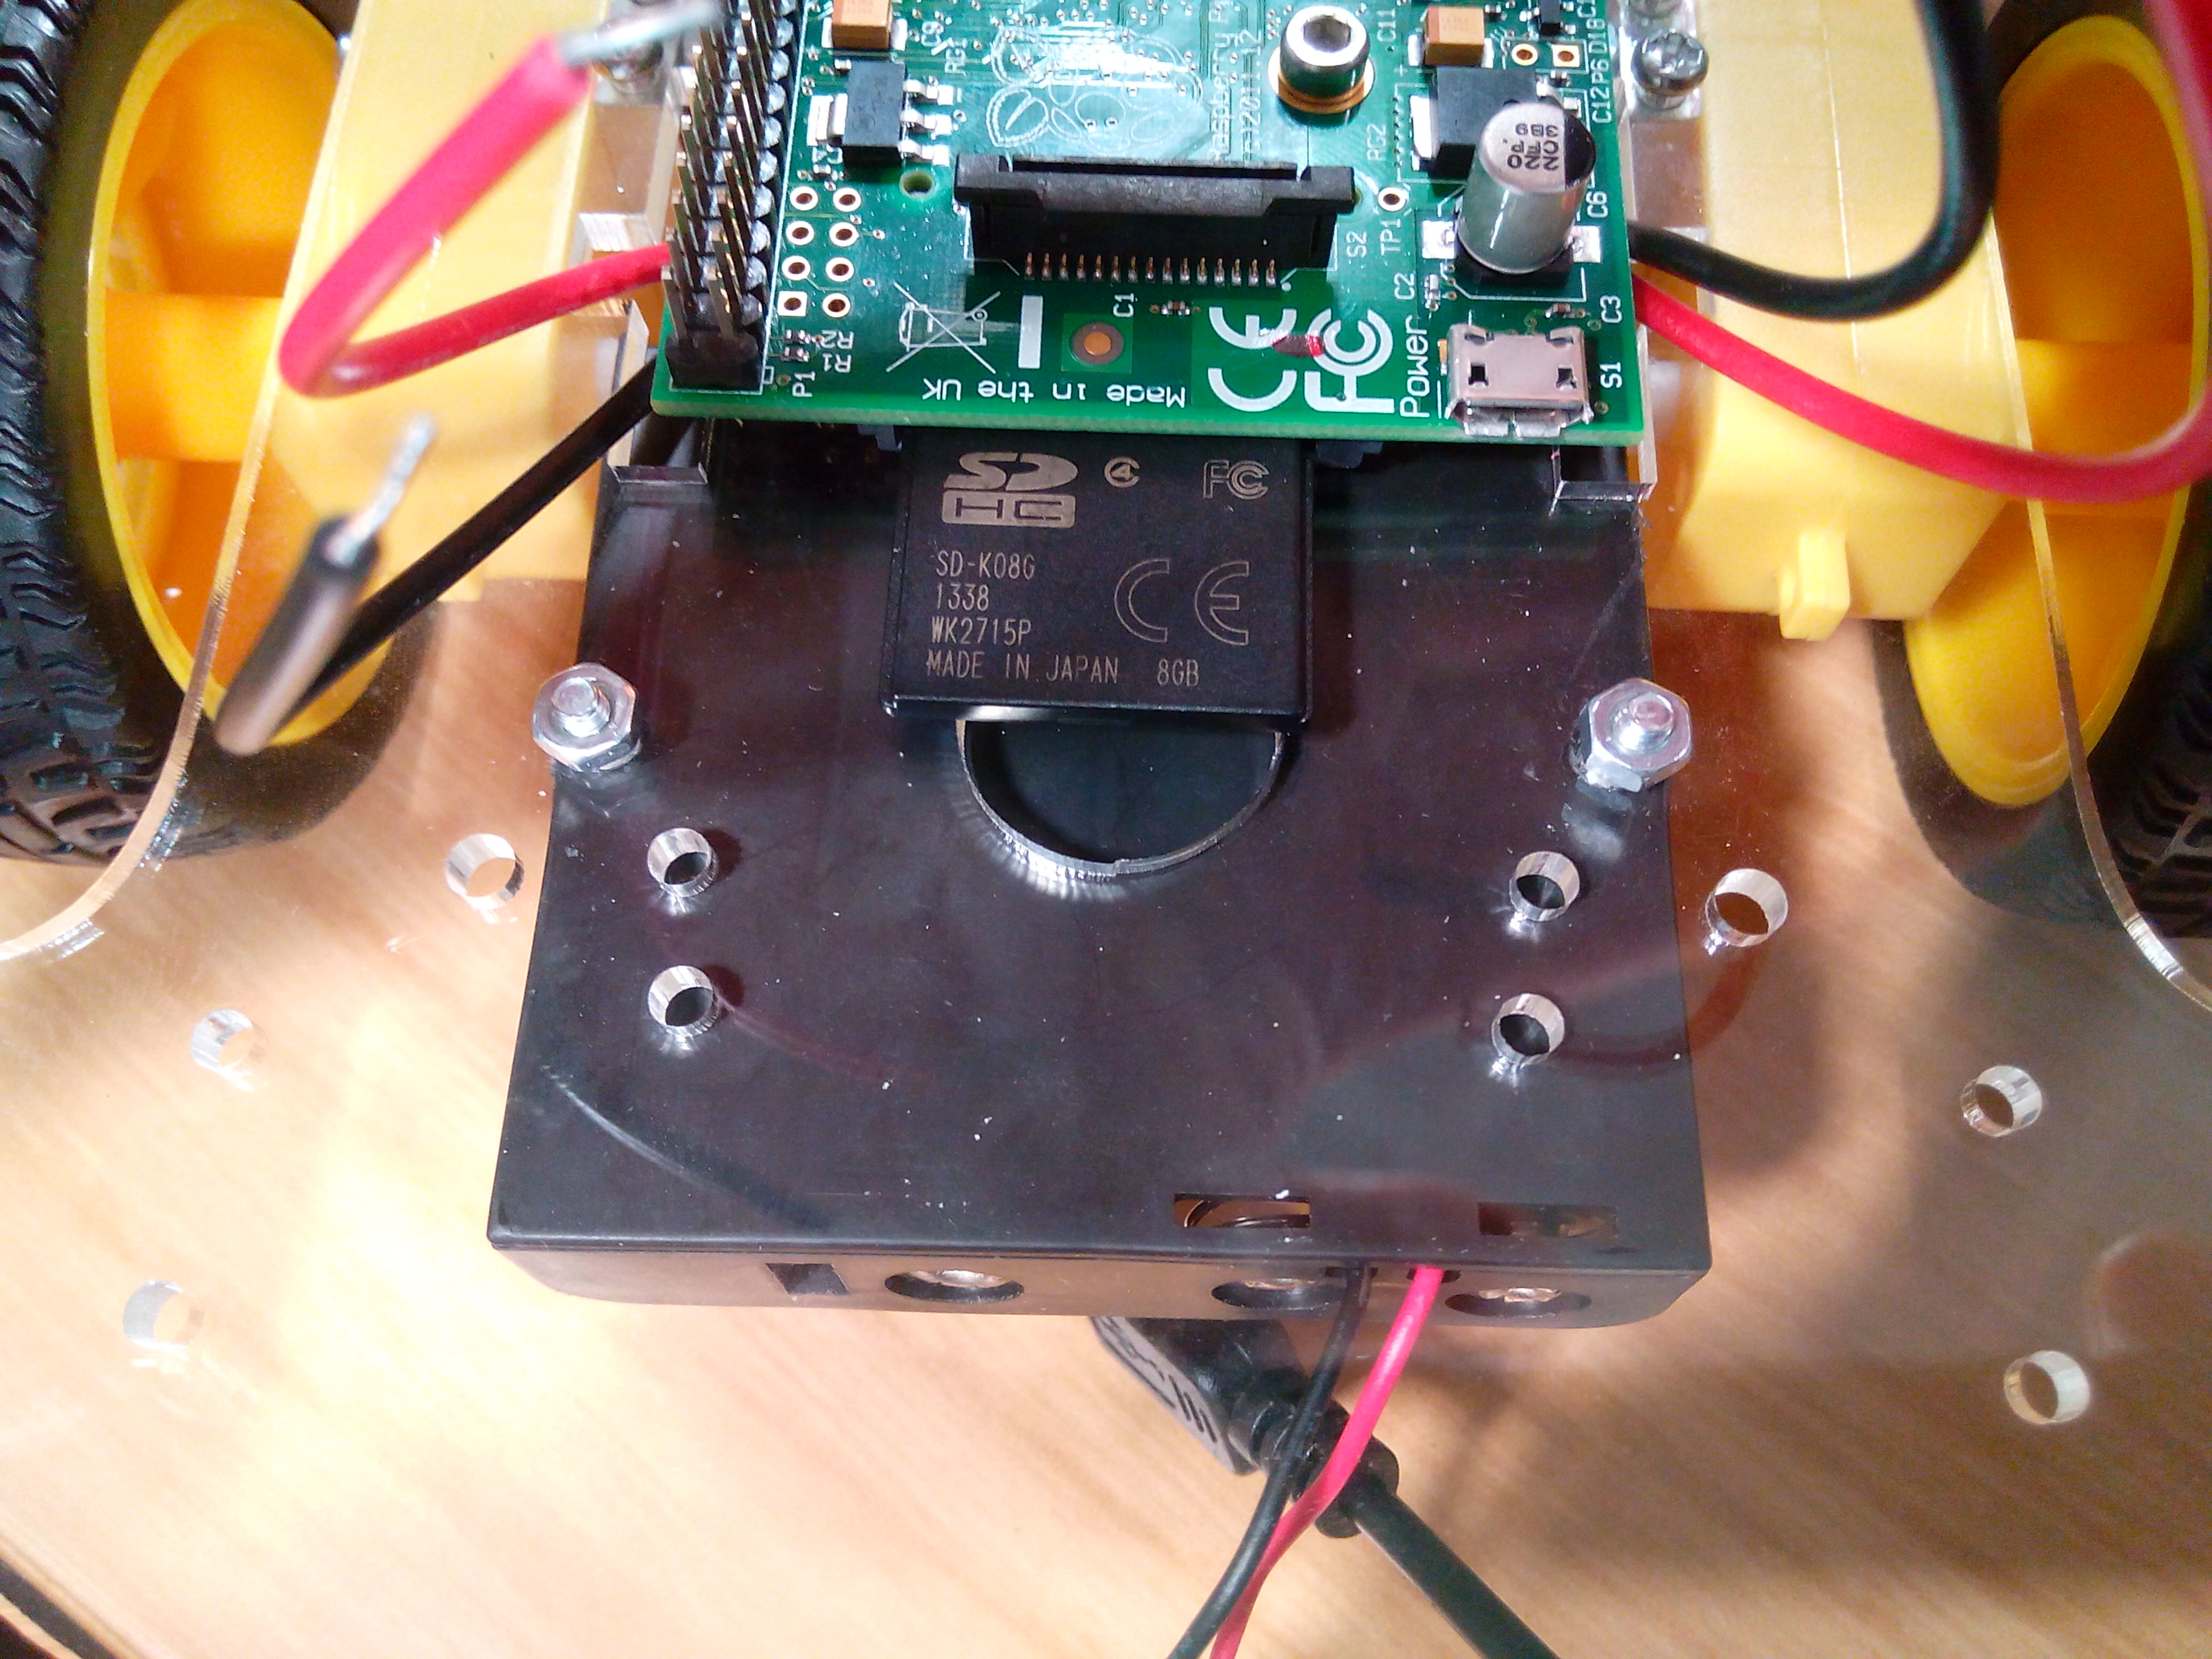
I created two handouts for the club members to use for this kit build during our sessions, one for building and the other for programming. I have written them as if they are working together at the same time, however if you were to follow them I would advise building it then plugging the Pi in whilst its mounted.
(I think I believe that purely because I love the idea of programming the thing on the desk next to you, some childhood fantasy fulfilled there I think)
(The logos I am especially proud of, the one at the top is the club logo and the one at the bottom is the PiCart logo)
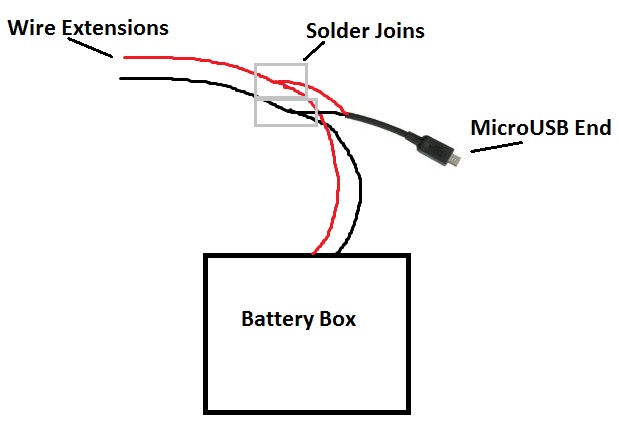
The only bit I didn't document was the soldering of the connector, however I have drawn a simple diagram of the connection to try and make it clearer, and I will explain below.
Roughly size up how much cable you need attached to the micro USB end and then snip the cable, strip about an inch off the end of the outer protective layer, and then separate the black and red from the green and white. Snip the green and white wires as you wont need them (they are data lines). The red is power and the black is ground. Carefully strip the black and red wires, they are thin so be careful not to cut all the way through. Once the copper multi-core is exposed, twist the end together to keep it from splaying out and being difficult to solder.
This is where a helping hands is really useful, solder the micro USB black to the battery box black wire and same with the red wires. Then solder your extension wires to the join. This is the tricky bit as you don't want the first solder to become un-soldered in the process.
If you have them, heat shrink the connections making sure not to let the black and red solder touch. I used some thin ones around each join then a larger one over the top of both, I also used a third piece just down the USB cable slightly to keep everything together.


 DomainRaider


Comments