


Hardware components | ||||||
 |
| × | 1 | |||
 |
| × | 1 | |||
.png?auto=compress%2Cformat&w=48&h=48&fit=fill&bg=ffffff) |
| × | 1 | |||
Software apps and online services | ||||||
 |
| |||||
Hey there!
I've got my girlfriend an Amazon Echo device for Christmas. Some days later I thought that this device on its own, is a little boring. So I promised her to make us a voice controlled smart living room... and this is my way to it.
While there are some opportunities for controlling some devices that make your home "smart"... but then I've only seen light controls for like 150€. That's waaay to expensive for me.
So I thought, let's build a smart, voice controlled device on my own, so I can personalize its features and expand its possibilities.
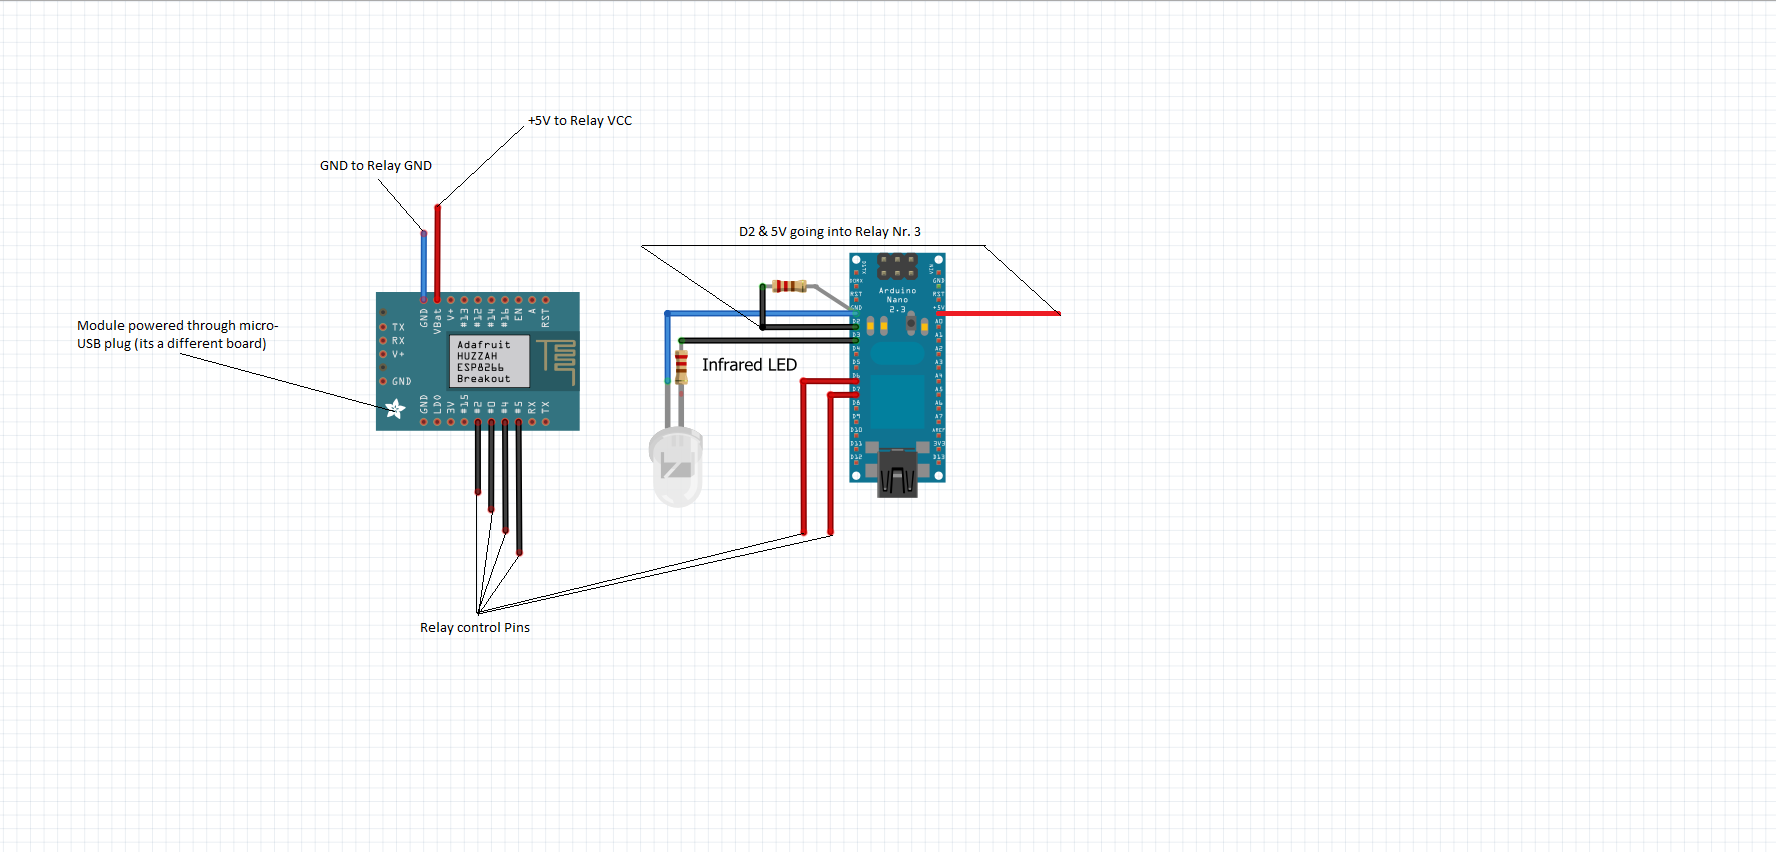
So I searched in the internet for some information, if there is any possibility to make a Board communicate with the amazon echo V.2. I found the ESP8266 board pretty fast with a library called "fauxmo". So I bought myself this board with a 8-Channel Relay Board for controlling nearly everything that is electronical.
I had to read myself into the example code, which took me some time (since i'm not a great programmer). With minor changes in the code I got it working.
After a working communication between the echo and my ESP8266, I hooked up the relay board to the module and tried some switching. After some "debugging" i got it to work.
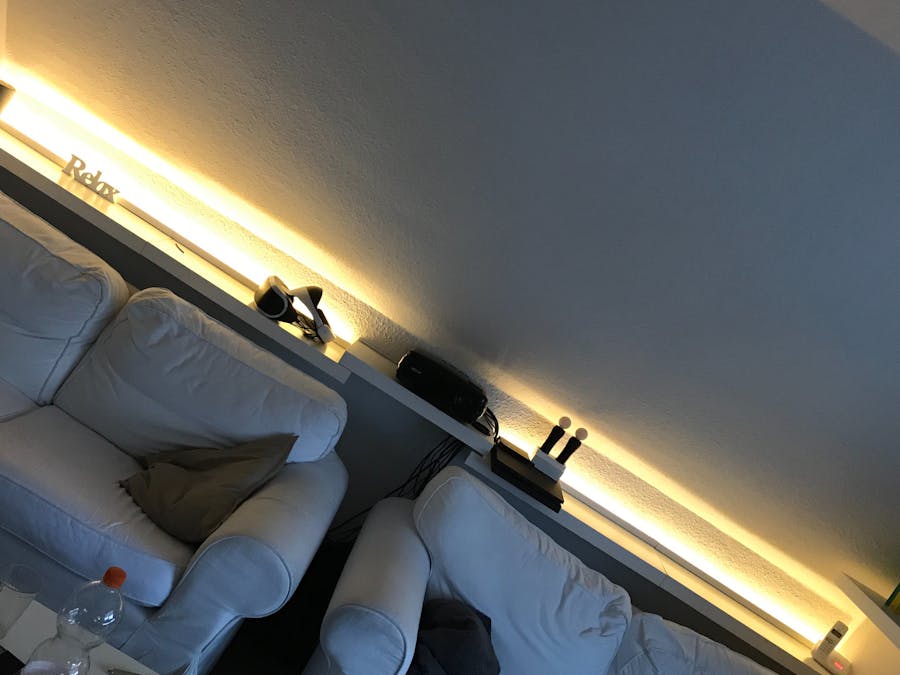
So I hooked up a very cheap warm-light LED strip on the end of our shelves and.... taadaaa!
I looked around and only saw so many possibilites, so I stood up and got back on my computer to program much more devices into the code, that I could control with my voice.
And now I'm capable of driving the projector screen up and down, while this happens the projector gets a infrared signal to turn on/off. Also I can control the background light (seen on the picture) and the lamp on the side. Maybe I'll add some devices in the future.


Comments