

Hardware components | ||||||
 |
| × | 1 | |||
| × | 1 | ||||
 |
| × | 1 | |||
Software apps and online services | ||||||
 |
| |||||
| ||||||
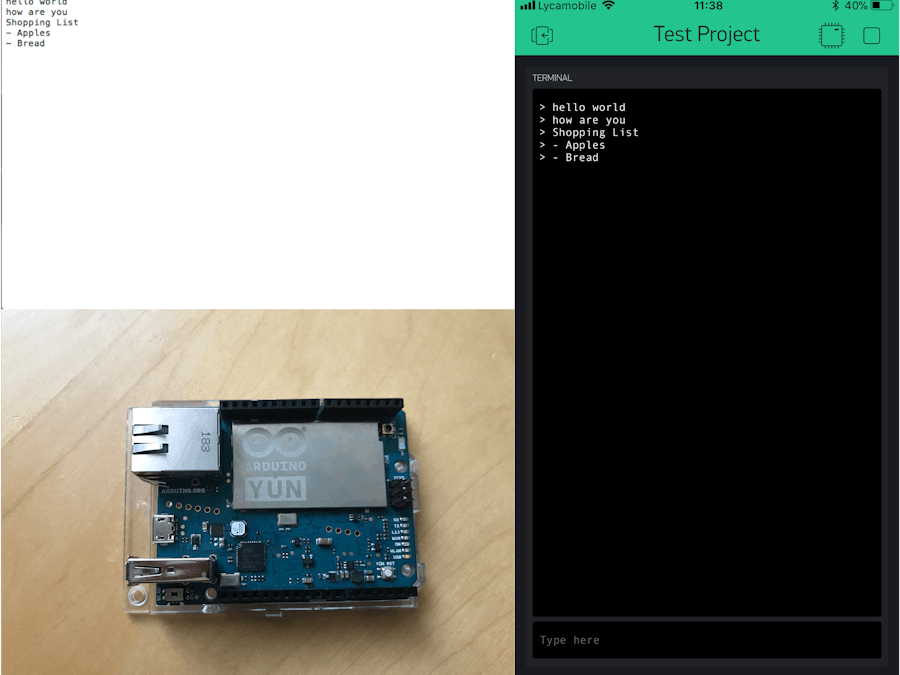
Have you ever wanted to have a smart device that stocks your notes to an SD card in the blink of an eye? Have you ever dreamt of having a smart list that allows you to store all the groceries you need to buy to an SD card in seconds? This device aims to make all of that as easy as pressing a button, wherever the user is located, he/she can simply type something in Blynk's Terminal and the written data will be immediately stocked on an SD card at home. It's as simple as that. But the best part is that you can get this project set up in less than 30 minutes:
This project works using Blynk's Terminal, please note that Wi-Fi or Mobile data is necessary on the smart device(s) to operate this project. Note that a Blynk Account is also needed in this project, instructions on setting up Blynk are in the "Constructing the Project" Section. The Blynk Terminal works by updating a selected virtual pin with the newest inserted value. Therefore the virtual pin will hold the value of the most recent value and will never be null. The Arduino Yun checks if the value of the virtual pin is not equal to its previous value. If the values differ, the micro controller will burn the data to the SD card. Here is an image representing the communication overview.
Here is an image representing the project's code overview.
ReadTerminalwill get the value of the virtual pin linked to the terminal.
if(newText)will check if the received value differs from the previously received value.
ReadTextwill read the new value and note it as the previously received value.
FormatTextwill format the received value as a String.
BurnToSDwill burn the String to the SD card.
This easy procedure will continuously monitor the virtual pin and will burn the data to the SD Card. Note that the SD card can be removed from the Yun after it has been powered off. Do not remove SD Card or power off the Yun when indicated not to by the Serial Monitor. The Serial Monitor must be open for this project to work.
BenefitsThe User operating this project will benefit in:
- Being able to quickly take notes and store them on an SD card anywhere.
- Having the ability to create a smart list.
- Many more ways to use this project.
Step 1: Required Apparatus
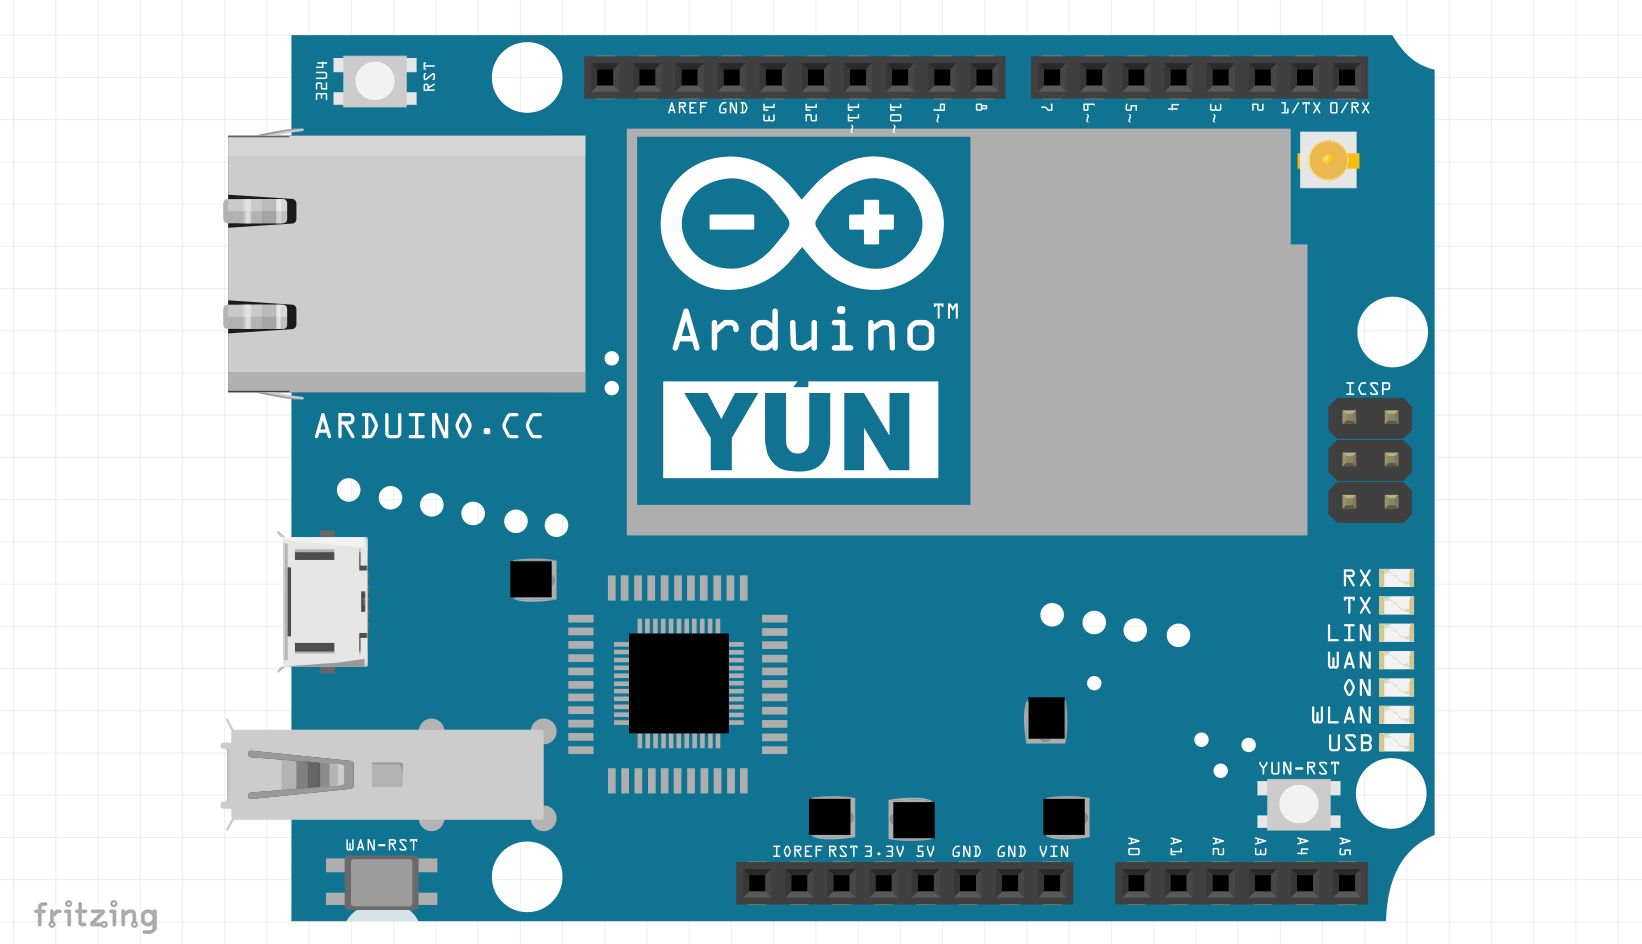
- 1, Arduino Yún
- 1, Smartphone
- 1, Micro SD Card (max 32 GB)
- 1, SD Card Adaptor (Included in above link)
Step 2: Preparing the SD Card
The Arduino Yun needs the SD Card to be formatted as MS-DOS 16 or 32 bit. Here is a guide to formatting and installing the micro SD card for the Yun. This tutorial is designed for an Ap
Step 3: Setting Up Blynk
A Blynk Account is required to run this project, you can create one for free, the fallowing images will guide you through the process of setting up Blynk. You will need to download the app on your phone, click here to download it on the App Store or the Play Store.
Step 4: Acknowledging the Code
The Code is fairly simple, and is made up of the fallowing sections:
- Read Virtual Pin
- Process Data
- Burn to SD Card
Each of these sections will be explained below.
- Read Virtual Pin
BLYNK_WRITE(V0) // read virtual pin 0 and store value
{
 values = param[0].asString();
}
This part of the code will read the virtual pin assigned to the Terminal, and store the value of it to a variable.
- Process Data
if(values == preValues) // check if value changed
 {
   delay(1000);
 }
 else
 {
This block of code will check if the value received from the Terminal is equal to the one received the last time, if it is, the Yun will wait a second before checking again, if the values differ, the micro controller will set the current value to the previous value and burn it to the SD Card.
- Burn To SD Card
File dataFile = FileSystem.open("/mnt/sd/datalog.txt", FILE_APPEND); // create an object of the file
   if(dataFile) // if file is present
   {
     Serial.println("  Success");
     Serial.println("Burning data to SD Card");
     dataFile.println(dataString); // burn value to SD Card
     dataFile.close(); // close the file
     Serial.println("  Success");
     Serial.print("  Printed   ");
     Serial.println(dataString);
     Serial.println("Restarting in 5 seconds");
     Serial.println("  The SD Card may be removed in this period");
   }
This section of the code is the last one, it will take the value and will burn it to the SD Card using a library for communicating with the Yun's SD Card module.
Setting Up The Variables
There is a single variable that requires adjusting; your Blynk AUTH Token, when a new project is created on Blynk, your Auth token will be sent to your email, copy it and paste it into the AUTH variable in the Arduino Code. Now you are ready.
Libraries
- Bridge - copyright (c) Arduino LLC under the GNU Lesser General Public Licence, this library is in the public domain.
- Blynk - Blynk this library is released under The MIT License (MIT)
- File IO - Copyright (c) 2013 Arduino LLC under the GNU Lesser General Public Licence, this library is in the public domain.
Final
Lastly, connect your Arduino Yun to your computer and upload the code, make sure that the SD Card is in the module of the Yun before applying power to it. Don't forget to open the serial monitor.
BackgroundI had this project on the TO MAKE list for a long time but I tried making it using an external SD Module, that did not work so I decided to start interfacing the on-board SD Card Module, and here it is. I think that this is a handy tool for quickly taking notes that save rapidly.


Comments