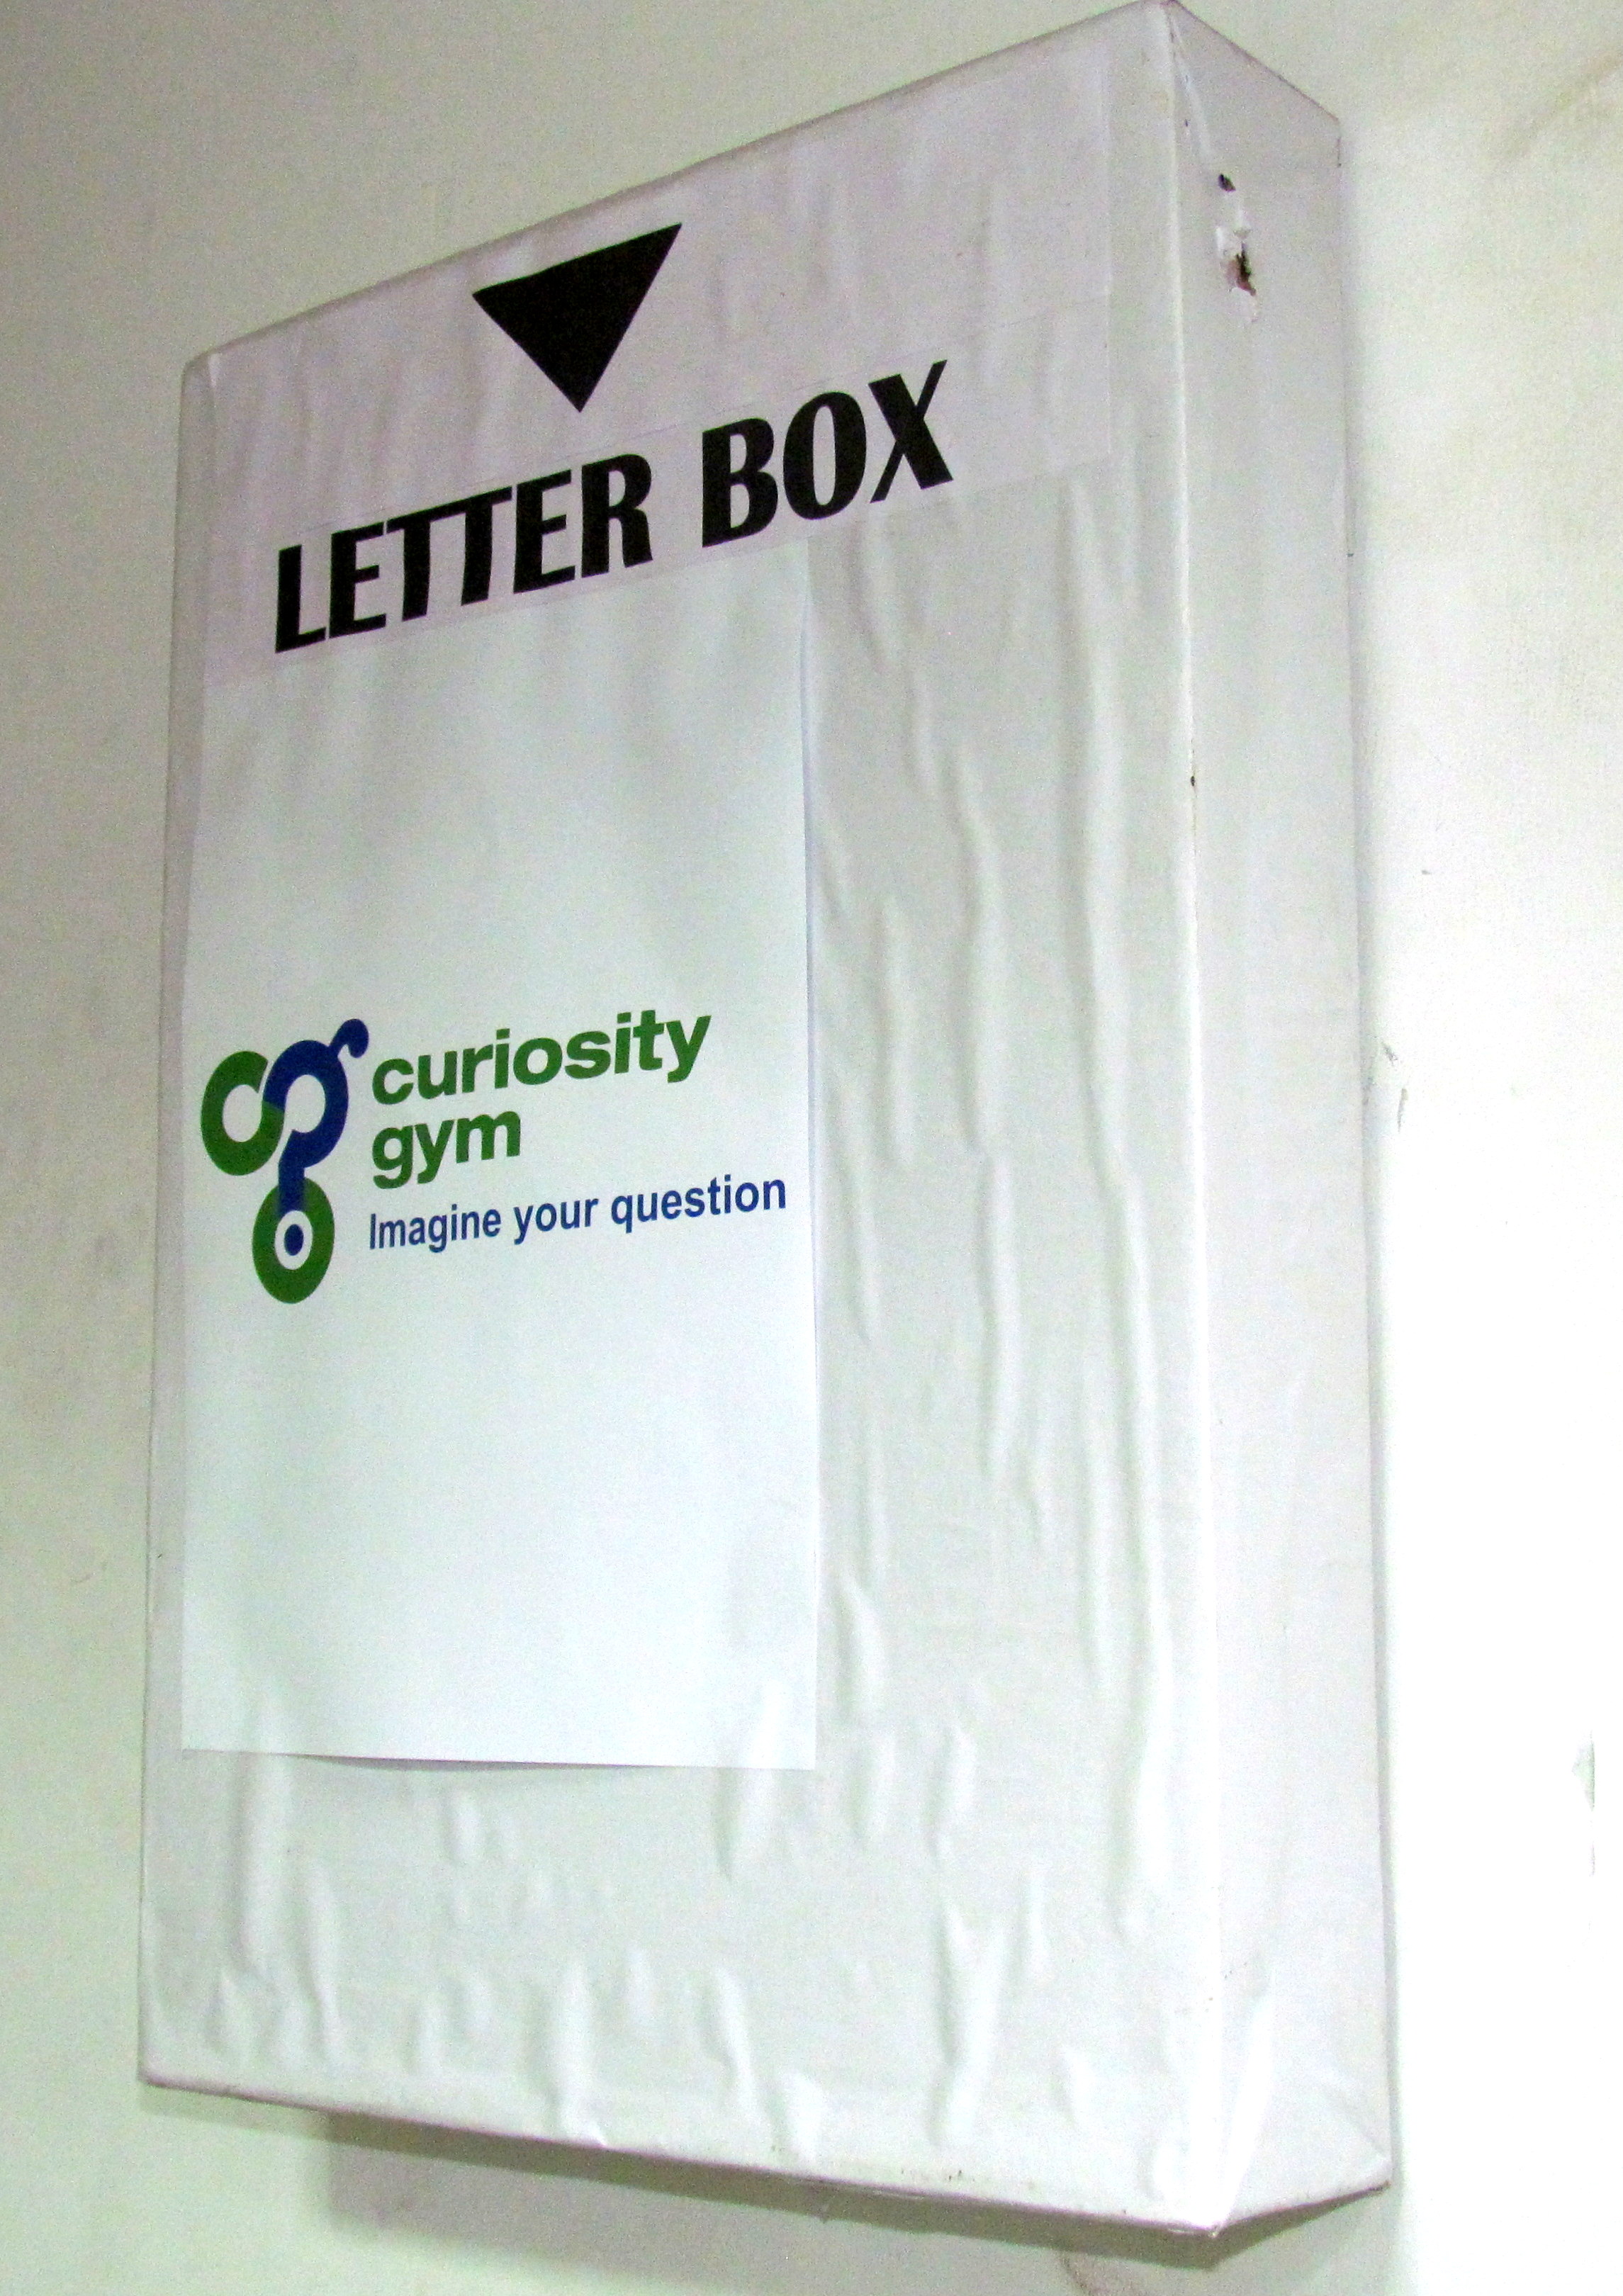
In this project, I am going to demonstrate how to build your own IoT aware Postbox with the help of the idIoTware shield in a few easy steps. This postbox alerts you about new envelopes dropped inside a postbox by the mailman.
WorkingThe LDR ( Light Dependent Resistor) on IdIoTWare shield is used as sensor to detect a letter being dropped into the letterbox. The on board WS2812 Led (addressable RGB LED) on IdIoTWare shield is continuously ON (WHITE Color) which acts as a light source, and reflects light onto the LDR. As soon as a letter is dropped into the postbox, there is an interruption in light - the light intensity on LDR changes due to reflection. The Arduino continuously monitors the change in the value of the LDR and when it notices a change in value, it sends an email. Here we are using IFTTT to send a pre configured email.
So what is IFTTT?IFTTT is a free web-based service that allows users to create chains of simple conditional statements, called "recipes", which are triggered based on changes to other web services such as Gmail, Facebook, Instagram, Twitter and many more. IFTTT is an abbreviation of "If This Then That".
User can use the maker channel to connect there hardware with other services and trigger them according to the recipes.
For example we can make a recipe on IFTTT that would trigger when someone post the letter in the letter box.Here the maker event will get trigger and tell the gmail to send the email.
Steps1. Make an account on https://ifttt.com.
2. Create a New Applet.
3. Search Maker channel.
4. Click on receive a web request.
5. Create trigger.
6. Once Maker channel is setup, it's time to setup Gmail.
7. Search Gmail.
8. Click on send an email. This will send an email whenever the Maker channel is triggered.
9.
10. Enter an email ID with subject and body that you want to mention, when maker event is triggered. Once completed click on create action.
11.
12.
13. You will need the key from maker event. To get the key click on settings.
14.
15. To trigger an event, make a POST or GET web request to: https://maker.ifttt.com/trigger/{event}/with/key/mGgAiLZS1_on-89533ExSCHP5Z2JazeWJF8DclQREOe
16. Once you got the key you need to copy that into Arduino code.
Once the IFTTT is setup you will need to setup the idIoTware shield.
Download the code and upload to Arduino.
Wasn’t that easy??!Without connecting any wires for ESP8266 you got up and running with the internet of things. Now its your turn to experiment it. With the idIoTware shield the sky's the limit.


_ztBMuBhMHo.jpg?auto=compress%2Cformat&w=48&h=48&fit=fill&bg=ffffff)


Comments