


Hardware components | ||||||
_ztBMuBhMHo.jpg?auto=compress%2Cformat&w=48&h=48&fit=fill&bg=ffffff) |
| × | 1 | |||
| × | 1 | ||||
| × | 1 | ||||
 |
| × | 1 | |||
Software apps and online services | ||||||
 |
| |||||
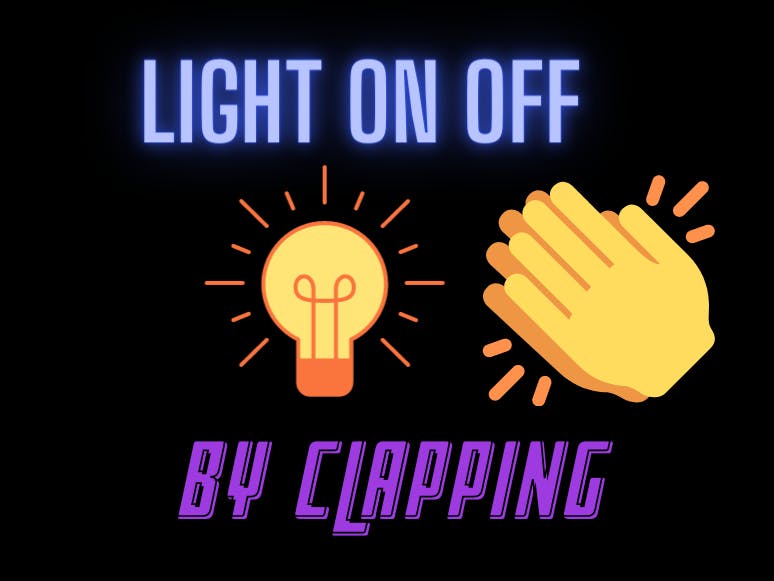
Have you ever wished you could turn your lights on and off with just a clap of your hands? With our DIY electronics project, you can create a sound-activated light switch using an Arduino Uno board, a mic module, and a relay module. Our project harnesses the power of sound to enable you to control your home lighting with ease and convenience, making your daily routines more efficient and seamless. Join us as we explore the process of building and programming a sound-activated light switch and unleash the power of claps to enhance your home environment.
TESTING AND DEBUGGING:- Testing the Mic Module: One of the critical components of the project is the mic module, which is responsible for detecting the claps. To test the mic module, you can use a sound generator or a smartphone app that generates sound at different frequencies and volumes. Connect the mic module to an oscilloscope or a multimeter and check if the voltage changes as the sound frequency and volume varies. This will help you verify that the mic module is working correctly and detecting sound accurately.
- Checking the Relay Module: The relay module is responsible for turning the lights on and off based on the sound detected by the mic module. To test the relay module, connect it to a separate power source, such as a battery, and connect an LED or a light bulb to the output terminals. Then, use the Arduino Uno board to send a signal to the relay module, simulating a clap. If the relay module is working correctly, the LED or light bulb should turn on and off as the Arduino sends the signal.
- Debugging the Code: If you encounter any issues with the code, such as the sound detection not working correctly or the relay module not responding to the signal, you can use the Arduino Serial Monitor to debug the code. Print out the variable values and debug messages to the Serial Monitor, and check if they match the expected output. You can also use the "blink" sketch to verify that the Arduino Uno board is working correctly and communicating with the mic and relay modules.
Gather all the necessary components and tools: Arduino Uno board, mic module, relay module, jumper wires, breadboard, LED, power supply, and clapping hands. - Connect the mic module to the breadboard using jumper wires.
- Connect the relay module to the breadboard using jumper wires.
- Connect the LED to the breadboard using jumper wires.
- Connect the power supply to the breadboard.
- Connect the mic module to the Arduino Uno board using jumper wires.
- Connect the relay module to the Arduino Uno board using jumper wires.
Write the code for the Arduino Uno board to detect claps and turn on/off the LED through the relay module.
Upload the code to the Arduino Uno board.
Test the sound-activated light switch by clapping and observing whether the LED turns on/off in response to the claps.
Make sure to connect the components correctly and securely to avoid loose connections or shorts.
Pay attention to the voltage requirements of the components and the power supply to ensure compatibility.
Test each component individually to ensure that it's working properly before integrating it into the project.
Adjust the sensitivity of the mic module to optimize the responsiveness of the sound-activated light switch.
Debug any issues that arise by checking the wiring, code, and individual component functionality.
Conclusion:In conclusion, our DIY electronics project of creating a sound-activated light switch using an Arduino Uno board, a mic module, and a relay module has allowed us to explore the power of sound to control home lighting. This project offers a unique and convenient way to enhance your daily routines by enabling you to turn your lights on and off with just a clap of your hands.
Through the assembly and testing process, we learned about the key challenges and tips for successful integration of the components. We also discovered how to test and debug the sound-activated light switch to ensure its proper functionality.
We encourage you to try this project yourself and share your own experiences and insights. Not only is this a fun and engaging project to build, but it also offers a practical solution to controlling your home lighting with ease and convenience. Join us in unleashing the power of claps to enhance your home environment today!


Comments