


Hardware components | ||||||
 |
| × | 1 | |||
| × | 1 | ||||
 |
| × | 1 | |||
Software apps and online services | ||||||
 |
| |||||
Hand tools and fabrication machines | ||||||
 |
| |||||
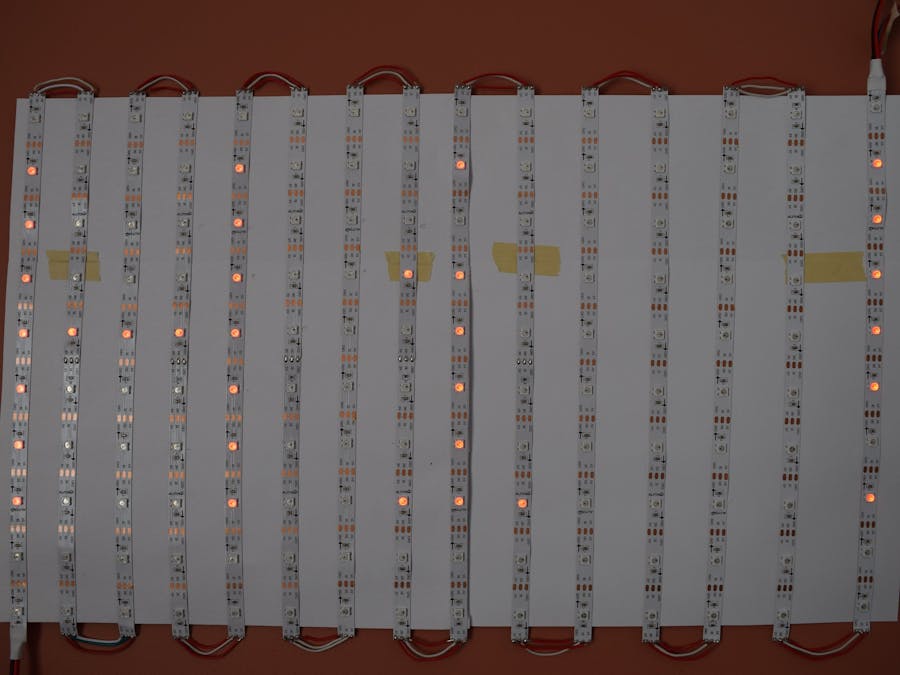
No, not the movie, the NeoPixel matrix! To make a matrix, just buy one strip of individually addressable NeoPixel LEDs. Uncoil the strip, and take note of the arrows on it. You can only attach them in ONE DIRECTION, you could ruin them if the orientation is wrong.
I used a 30 LED/m 5m strip and cut them into strips of ten LEDs each.
I then started laying down the strips on a piece of cardstock, alternating orientations.
I then cut wires to the correct lengths and soldered them to the NeoPixel terminals.
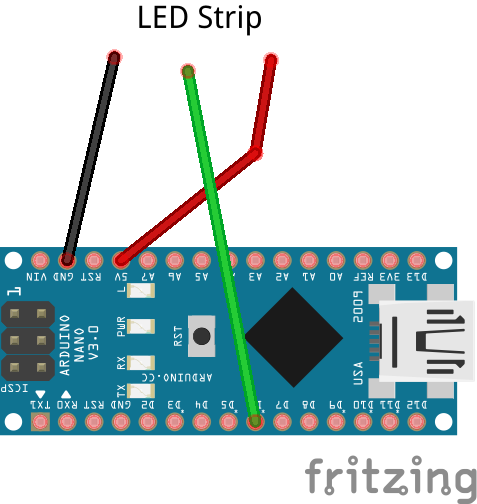
After doing that 14 times, my matrix was finally done! Next, I checked with a multimeter to ensure that there were no short-circuits, as a short-circuit will fry the Nano, the matrix, and maybe your USB port (I know from experience). Upload the neomatrix test sketch with the "NEO_BOTTOM + NEO_LEFT + NEO_COLUMNS + NEO_ZIGZAG" parameters. If it scrolls "howdy" across the display, you're done!
Check out my other projects for more NeoPixel matrix ideas!


Comments