- Photo credit: Migal Vanas
As my very first project I set out to build a mobile RFID reader posting live data to either MySQL, Google Sheets or Ubidots via Webhooks.
Note:This is not a tutorial as such, rather just a showcase of the product. As I have had much help from the Particle Forum, I have deiced to publish my Eagle files and code to make it available to anyone that might want to use it.
I assume you have basic knowledge of the Particle environment, web hooks and have set up your account and devices in Particle Console. If not, please do so before attempting this build.
The brief:Building a truly wireless (mobile) RFID scanner with the purpose of scanning RFID cards, capturing the UIDs off these cards, matching them up with hardcoded names and posting the data to either;
- Google Sheets
- MySQL Database
- Dashboard
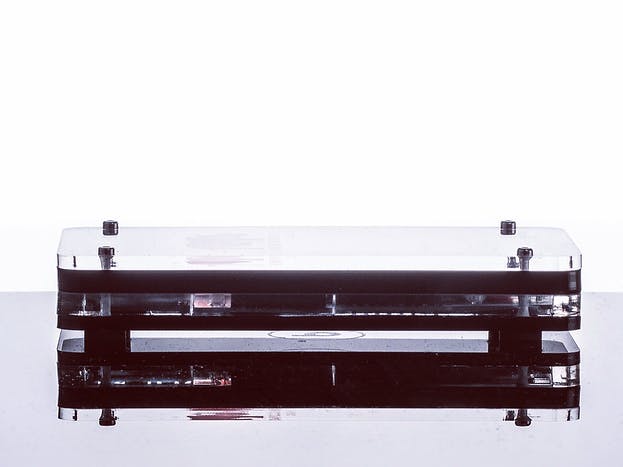
First things first:If you are anything like me, simple generic prototype enclosure will not suffice, so I put a little extra effort in, got to know my way around Rhinoceros and designed a simple, yet elegant (or at least I thought so) enclosure that would showcase the Particle Photon and some other components.
In addition to this, I decided not to opt for a generic proto board as I absolutely HATE wires. I included an image of my initial attempt to make a “pretty” board using proto board and jumper wires, but after couple of hours realised it simply won’t do. Yet another learning curve, Google’d and spent couple of hours on YouTube and managed to find my way around Autodesk Eagle. Worth every minute spent.
I submitted the Gerber files to PCBWAY and in less than a week and In had my brand new custom PCB’s ready for assembly.
Proto board vs Custom PCB with all modules
Indicating the fully assembled PCB with the LM3914N in action indicating ±90% charged battery. (7 of 8 LED’s)
Now the coding, this is the part that I struggle with the most, but thanks to some helpful gentleman in the Particle and Hackster forums, I came up with the code below. Now it probably is not the cleanest code ever written, but it works, so feel free to use and improve if you’d like.
The full code is attached below.
Thanks to the webhook function in the Particle Console, I was able to seamlessly post code to just about anywhere. Now if you know PHP and MySQL quite well, you might be able to write your own server side script, but for those who are new to this like me, I would recommend using service like:
They differ vastly, so you have a look at both to determine which is more suitable for your use. Bottom line, if you want the data to be published live to a location of your choice, Zapier (or something similar) is the way to go. If you do not mind storing data on someone else’s server, Ubidots is a much more cost effective (cost per datapoints) way to go and has the added benefit of some nifty widgets to present your data in a graphical way. I have attached a screen grab of a sample Dashboard I build in Ubidots.
1 / 2 • Ubidots Dashboard - Not yet matching the names, this was added afterwards.
Initially I though building a battery indicator that works outside of the Microcontroller was the best idea as It would function independently and it frees up much needed digital pins, but the trade-off to this is that without an analogue input being sent to the MC, you are not able to display the battery life on a dashboard. The LM3914N also requires some calculations to set reference volutes and to determine which resistors to use depending on your voltage difference between “fully charge” and “depleted” status. Keep in mind that for all praticle reasons you should work with 3.1V on the battery as depleted as most components will not work below 3V or start behaving sporadically. Six of the one I suppose.
I would also not make use of the tilt switch again to trigger the battery indicator as it is to sensitive and causes ‘flicker’. A simple tactile switch seems like a much better idea… just a though.
A must:The biggest learning curve here for me was the effect any metal or circuit will have and a RFID reader. I designed, built and tested the entire unit first connected to a constant PSU. Due to the compact design of the unit, the battery was installed in very close proximity to the RFID reader module. The consequence…. No scans As I temporary measure I wrapped the battery in electrical insulation tape which did an “ok” job. I ordered some Ferrite from Amazon as a Hail Mary and like magic the interference was a thing of the past.
Thank you to everyone that assisted with the project in some way, @ScruffR for understanding we all had to start somewhere and showing extreme patience Also a huge thank you to @Joe at Particle for the awesome Maker Kits. Looking forward to more projects!!!


Comments