


Often when I come home from work, I've already made up my mind about what to do next around the house. But this is not always matching with what my spouse wants me to do most urgently. Furthermore, having horses and other animals around the house, today's priorities may be different from yesterday's. So I wanted to create a common place where we could sync the to-dos and deal quickly with changing priorities. I wanted this also be a thing to touch, something "analog", not digital. This was when I remembered a round tour to air traffic control at an international airport tower in the 90's: The air controllers used metal sliders to keep airplane tags in correct sequence and change sequence quickly if necessary (see an example here https://blogs-images.forbes.com/christinenegroni/files/2017/02/ATC-1.jpg, the ladder like things left and right of the computer keyboards).
Design
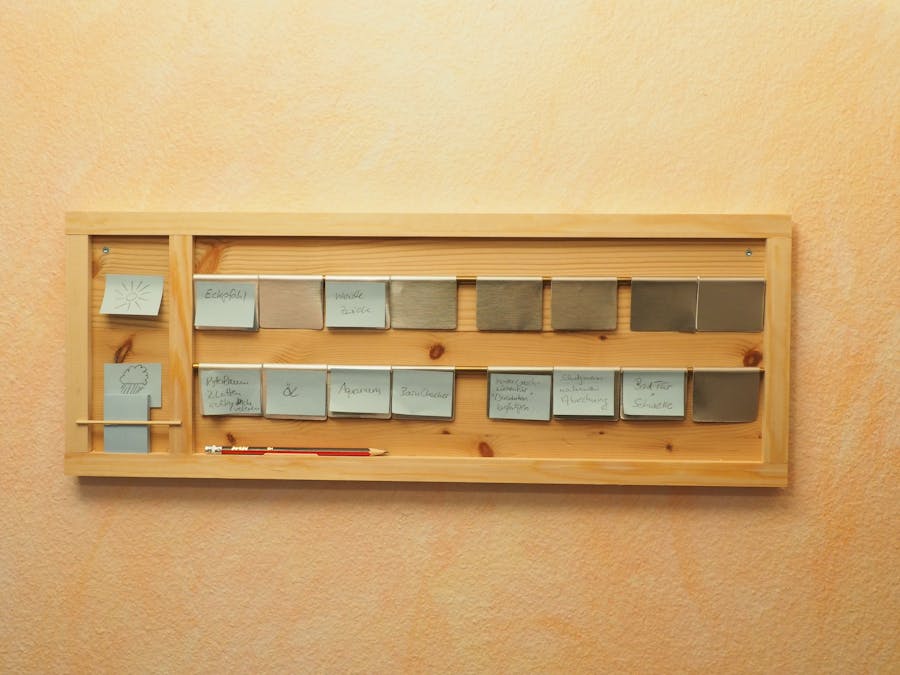
After having sketched a few ideas, I came up with a design using standard Post-It notes on aluminum tags hanging from a brass rod, which would allow quick changes in priority by unhanging a metal tag, shifting the remaining tags, and replace the original tag at the new location, without having to remove and reattach all the other Post-Its in line.
There are two brass rods: one for outside tasks on sunny days and one for rainy days. The most important tasks are the ones to the left, with decreasing priority they are placed further rightward on the rod.
Making the TabsI did start by cutting the aluminum tabs with the metal shears. The tabs should be a little bigger than the Post-Its and have enough height to allow for the half-wrap around the brass rod.
To form that half-wrap, I was lucky to have some scrap hard wood with a groove just a little wider than the thickness of the brass rod. I put the aluminum tab on the groove, placed the brass rod on it and hammered the rod into the groove, forming the U-shaped wrap at the top end of the tab. The picture shows the process with a steel rod instead of the brass rod I used.
I cut the board to size and cut off the wooden bar to the different lengths needed. I drilled blind holes into the two vertical bars holding the brass rods, assembled the bars and rods on the board and glued everything into place. The brass rods are just sitting in the holes, no glue required. The frame was finished by attaching a wooden skewer as a rail to keep the Post-It pad into place. I glued a toothpick on top of the bottom bar to keep the pen from rolling off.
Fix the board to the wall where everybody in the household must pass regularly. Make it your habit to check it every time you pass by - you'll always know what to do next to please your loved ones!

Comments