


Hi there. I have thought about this project ever since Adafruit released their Feather boards 2 years ago. I am just now getting to finishing this up. Sorry for the delay and I know I have talked about this project to many groups online and to friends. So here it is!
This is completely Open Source. I made this in Fusion 360. Special shot out the Noe of Adafruit 3D printing for I took your idea on the snap-in feature - it was a great help!
Now let's start talking about the build. You can use any of the feather boards. I personally chose to get the "Feather M0 Bluefruit LE" but if you want to save some money just a standard feather will do. I wanted features to possibly include bluetooth enabled animations. That part I have not been able to test yet. They do mention that you could have it linked to your very own heartbeat!
Next, as a power source I have chosen the 3.7V 2500 mAh LiPo battery. With these DIMENSIONS! IMPORTANT! 65mm x 38mm x 8.5mm. I found this on eBay from China. With this battery depending on the code it will last 16 hours! (TESTED) So perfect for any event!
Then you can choose any RGB LED setup. I chose the hardest way with more advance soldering to use 144/m RGB LED strips and cut them. Now don't forget that if you do it that way, you have to 'burn' out an LED. Cut out the FULL tab on strip or you will never get a good soldering connection. Or you can choose an easier method that can cost you more if you are to use NeoPixel rings and jewel.
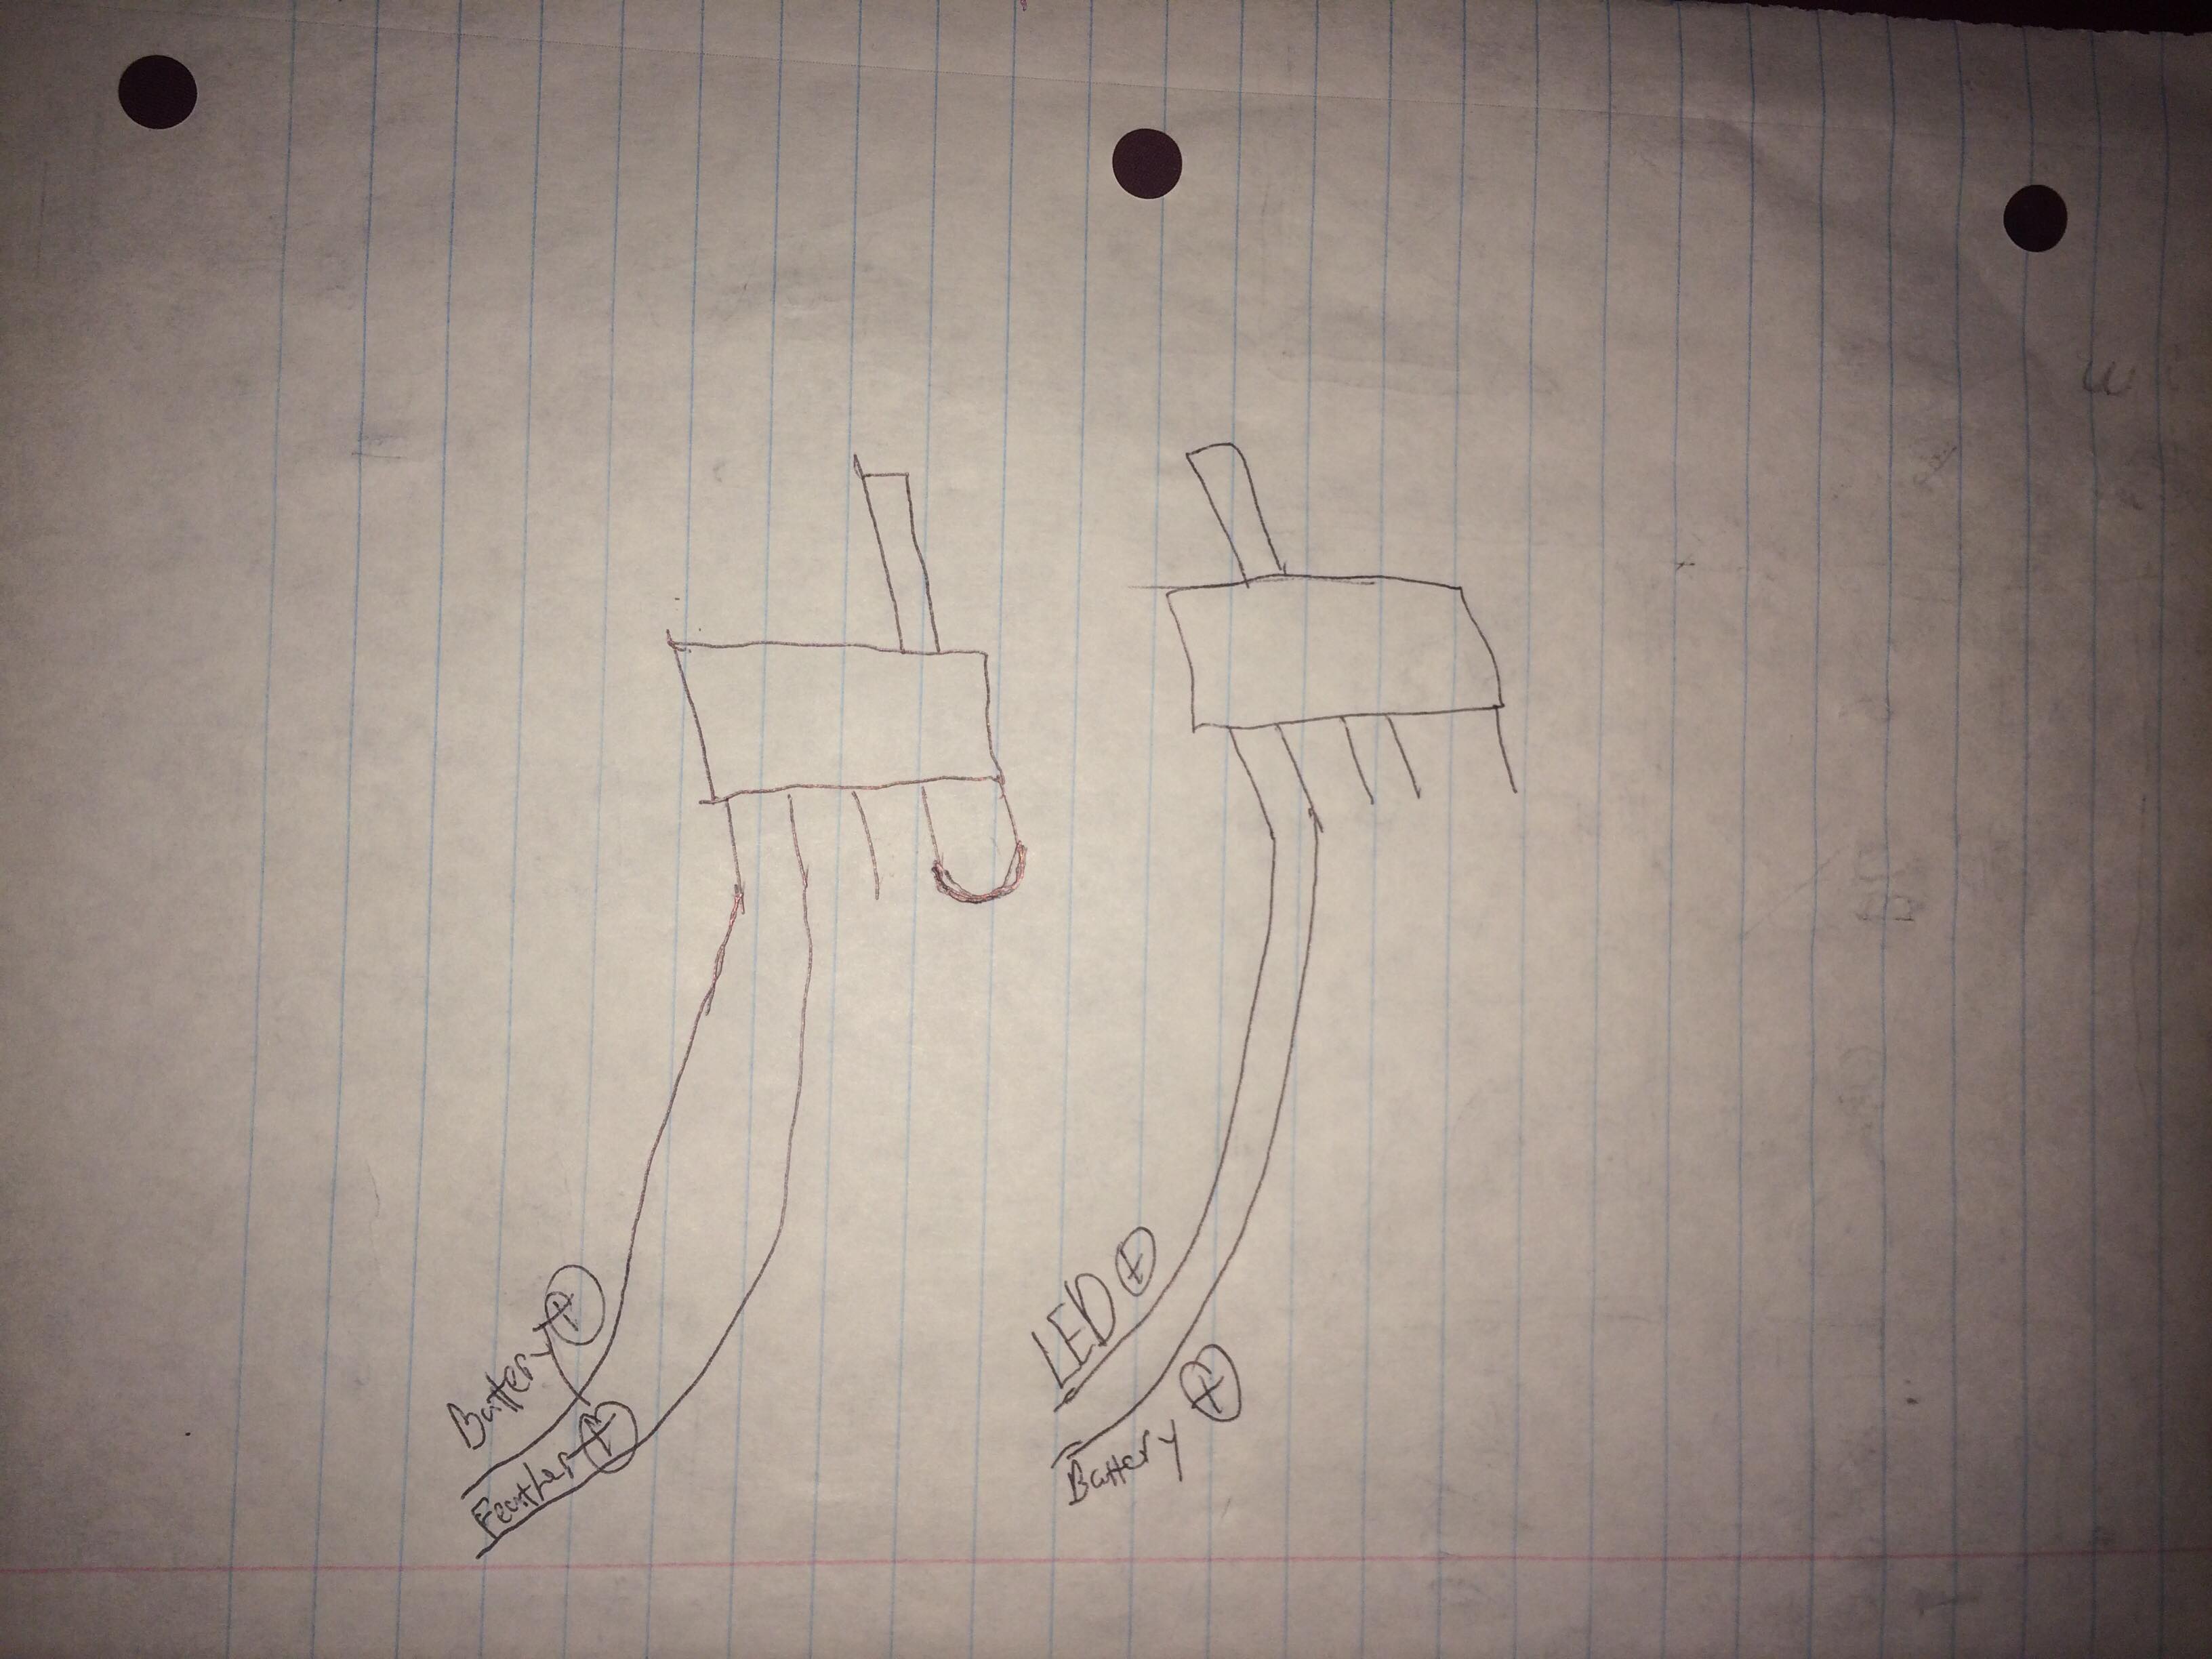
Next I want to talk about the switch. Because Adafruit didn't design switch options you have to make your own. You NEED a 3 position switch DPDT so that you can connect the battery for charging and not have LEDs on and also off in center, then Full ON power to both. You can cheat connections by putting jumpers on the switch. I have 3 wires running to mine. I also provide a picture drawn out that I followed. I found this switch in my "scrap pile" I have no idea where to find this so I can say good luck! Switch Dimensions are 15mm x 8mm x 7mm.
Next, I put the DATA from strip to ~9 on feather. Then I put the button to RESET and GROUND on board. So that's only 3 soldered connections to the board!
Now as an option or upgrade after this, I was told by a lot of people that it was pretty bright! CODE = 255 brightness. Which I don't care, I like it that way! =) But if you wanted to, of course, you can add in a button. Just use a drill and another pin on board to cycle through in order to do it "on the fly".
All you need for mounting in place is some nice and easy hot glue to place the button and switch. Works perfect and easy to pull out to make changes.
Parts List:- Feather, LiPo battery, RGB LEDs, x4 mounting screws, push button, 3 position switch
- Estimated price ~$70
- Estimated Project time ~4 hours
- 3D printing files are on Thingiverse here: https://www.thingiverse.com/thing:2788489

Comments