


Hardware components | ||||||
 |
| × | 1 | |||
Software apps and online services | ||||||
| ||||||
First thing first, Thank you Silicon Labs for providing this great IoT Dev Kit!
check them out https://www.silabs.com/
watch the video -
Thunderboard Sense 2 is a compact, featured-packed development platform. It provides the fastest path to develop and prototype IoT products such as battery-powered wireless sensor nodes. The development platform combines a broad range of sensors with the powerful multi-protocol EFR32 radio and a mobile app offering Bluetooth communication and cloud connectivity
#STEP1
Learn Basic stuff about Thunderboard sense 2
- Wireless SoC with multi-protocol radio
- ARM® Cortex® M4 core with 256 kB RAM and 1024 kB Flash
- Low Energy Consumption
- Flexible MCU peripheral interfaces
- 2.4 GHz radio configuration with on-board antenna
- Segger J-Link Integrated Debugger
- USB CDC virtual serial port
- 8 Mbit SPI ultra-low-power NOR flash for local storage
- Relative Humidity and Temperature Sensor Si7021
- UV and Ambient Light Sensor Si1133
- Pressure Sensor BMP280
- Indoor Air Quality and Gas Sensor CCS811
- 6-axis Inertial Sensor ICM-20648
- Digital Microphone ICS-43434
- High brightness LEDs
- Hall-effect Sensor Si7210
#STEP2 - Setting up its Mobile App
Supply 5V through its MICRO USB and power on the Thunderboard sense 2.
I used a Powerbank as a power source but you can power it via a PC or put a coin cell in its coin cell socket.
Its mobile app is available for Android and IOS Devices.
open up Apple store and search "THUNDERBOARD"
and install the app.
Launch the app to discover your Thunderboard Sense.
Press on the Available device and connect your device with the app.
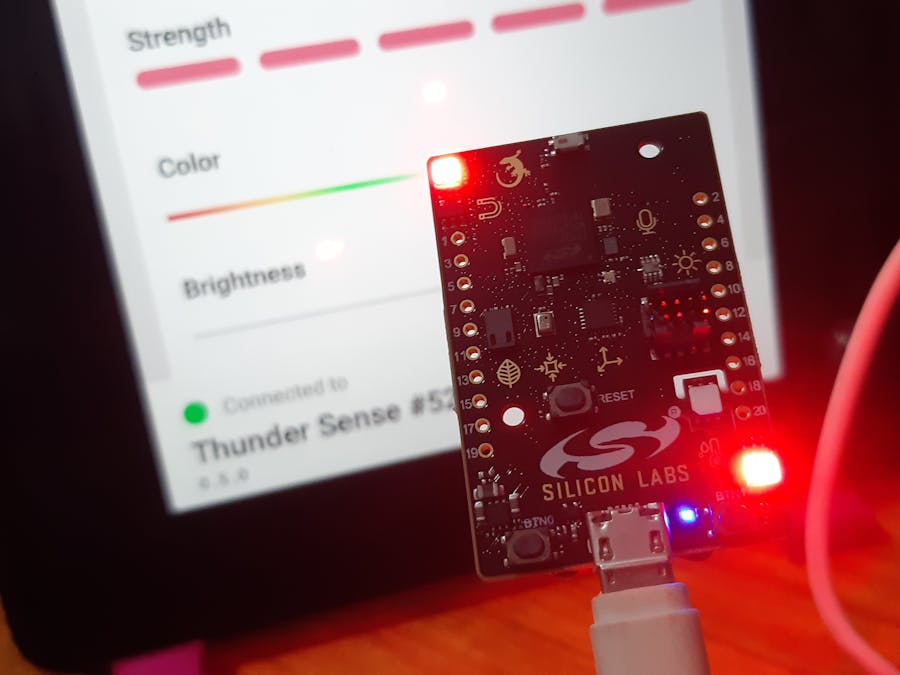
After connecting with the Thunderboard Sense you will be taken to the app dashboard.
using this device with its given app is so easy, for beginners, it's perfect (I'm a beginner myself so this was a very cool thing for me because I was spooked by STM Nucleo board in past)
#STEP3-Using the app
THUNDERBOARD app has three mains options which are-
- MOTION- for observing the gyro and accelerometer sensor with a 3D real-time view of the board
- ENVIRONMENT- which shows the data collected by all sensors
- I/O- which have buttons to toggle onboard LEDs, Buttons and control color and brightness of RGB LED
watch the video for a more thorough explanation


Comments