

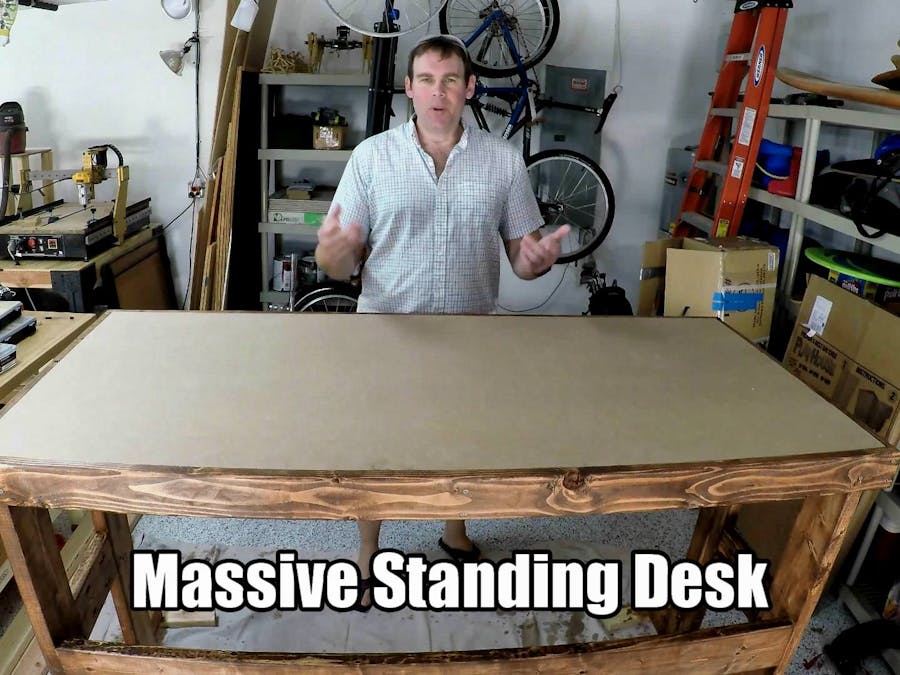
Would you like a standing desk? How about one that is quite large?
This desk is in fact both of those things, and measures in at 71" x 33" x 43" high. You can see me, what many people would consider a massive man at 6'4", 260 lbs standing behind it. The second picture shows just some of the assorted electronics that can be stored on its surface.
Follow along to see how to build this out of 2x4s, MDF, and 2x6s. A video of the whole build is available here, and I'll embed it at the end if you so prefer.
Also, before starting this, measure your doors and hallways to make sure you can get it into your chosen workspace!
Step 1: Parts Needed:You'll need lumber and MDF cut in the following sizes:
- (4) 2x6 43" vertical supports
- (2) 2x4 71" front/back supports
- (7) 2x4 30" side supports and bottom feet*
- (1) 2x6 65" back support
- (1) 1/2" MDF 31" x 69" main surface
- (2) 2x6 10" mid supports
Additionally:
- Wood screws 2 1/2" lg
- stain/urethane
*6 noted in the drawing, had to add another later.
Step 2: Cut 2x4 and 2x6sCut as noted in the previous step. Shoes recommended throughout the build process, btw.
Step 3: Route and SandRoute a radius on edges as desired and sand.
Route a 1/2" by 1/2" cavity to the (2) 71" 2x4s and (2) of the 30" 2x4 lengths.
Ideally, leave around 3/4" uncut on either side of the 71" sections.
Step 4: Assemble LegsAssemble the legs as shown here, referring back to the CAD model as needed. Make sure you get the angles right, I checked this over and over. Also note that it's important the side supports are not made identical, but as mirror images of each other.
Step 5: Add Middle Support and Back 2x4Assemble the middle 65" 2x6back support as shown, along with one of the 71" 2x4s with the square cavity facing into the desk and up to accommodate the MDF.
Step 6: Flip and Add MDFNow for the real test! Flip your creation onto it's legs and if it holds up, slide the MDF on top of it.
If it fits, great. If not, check the MDF to make sure you (or the hardware store) cut it correctly - you may have to modify things as needed.
Step 7: Install Front 2x4Use a ratchet strap as needed to keep things together, and install the other long 2x4.
Step 8: Add Middle SupportI wasn't sure if I'd have to, but in order to keep the middle together and further support the MDF surface, install a 30" piece of 2x4 in the middle.
Step 9: Optional: EngravingAs I've got a CNC router, this seemed like an ideal time to add my name/logo.
Technique was to spray paint everything, then remove the non-recessed surface with a sander. Turned out quite nicely!
Step 10: Add Middle Leg SupportEngraved or not, you'll want to add a middle support. I used a pocket hole jig available here on Amazon*, which worked quite well for this simple job.
The jig instructions say not to use angled screws, but I didn't let that piece of paper boss me around, and used the same screws as went elsewhere on the build.
*Affiliate link
Step 11: Stain and UrethaneStain, urethane, urethane. It always seems like such a hassle, but the results are really worth it.
In my limited experience, I prefer actual stain to combo "urestain, " but that would have saved me a step, so do as you will. Or don't stain it at all!
Step 12: Re-install MDF and Cut HolePut the MDF back in. Actually had to sand it to make it fit - apparently it was a little too tight.
Also drilled a hole for my desk lamp and possibly extension cords. The great thing about the surface is that if you screw something up, you can just cut another piece of MDF (or whatever) and replace it will hopefully very little fuss.
Step 13: Enjoy!And here's how it came out.
Step 14: Video:As promised, here's the build video. I make all sorts of things, and as seen in one of the clips, it's already filled with electrical gadgets and the like. If you'd like to see more woodworking and other crazy contraptions, you can check out the rest of on my YouTube channel here.
Comments