/* SparkFun Inventor's Kit
Example sketch 08
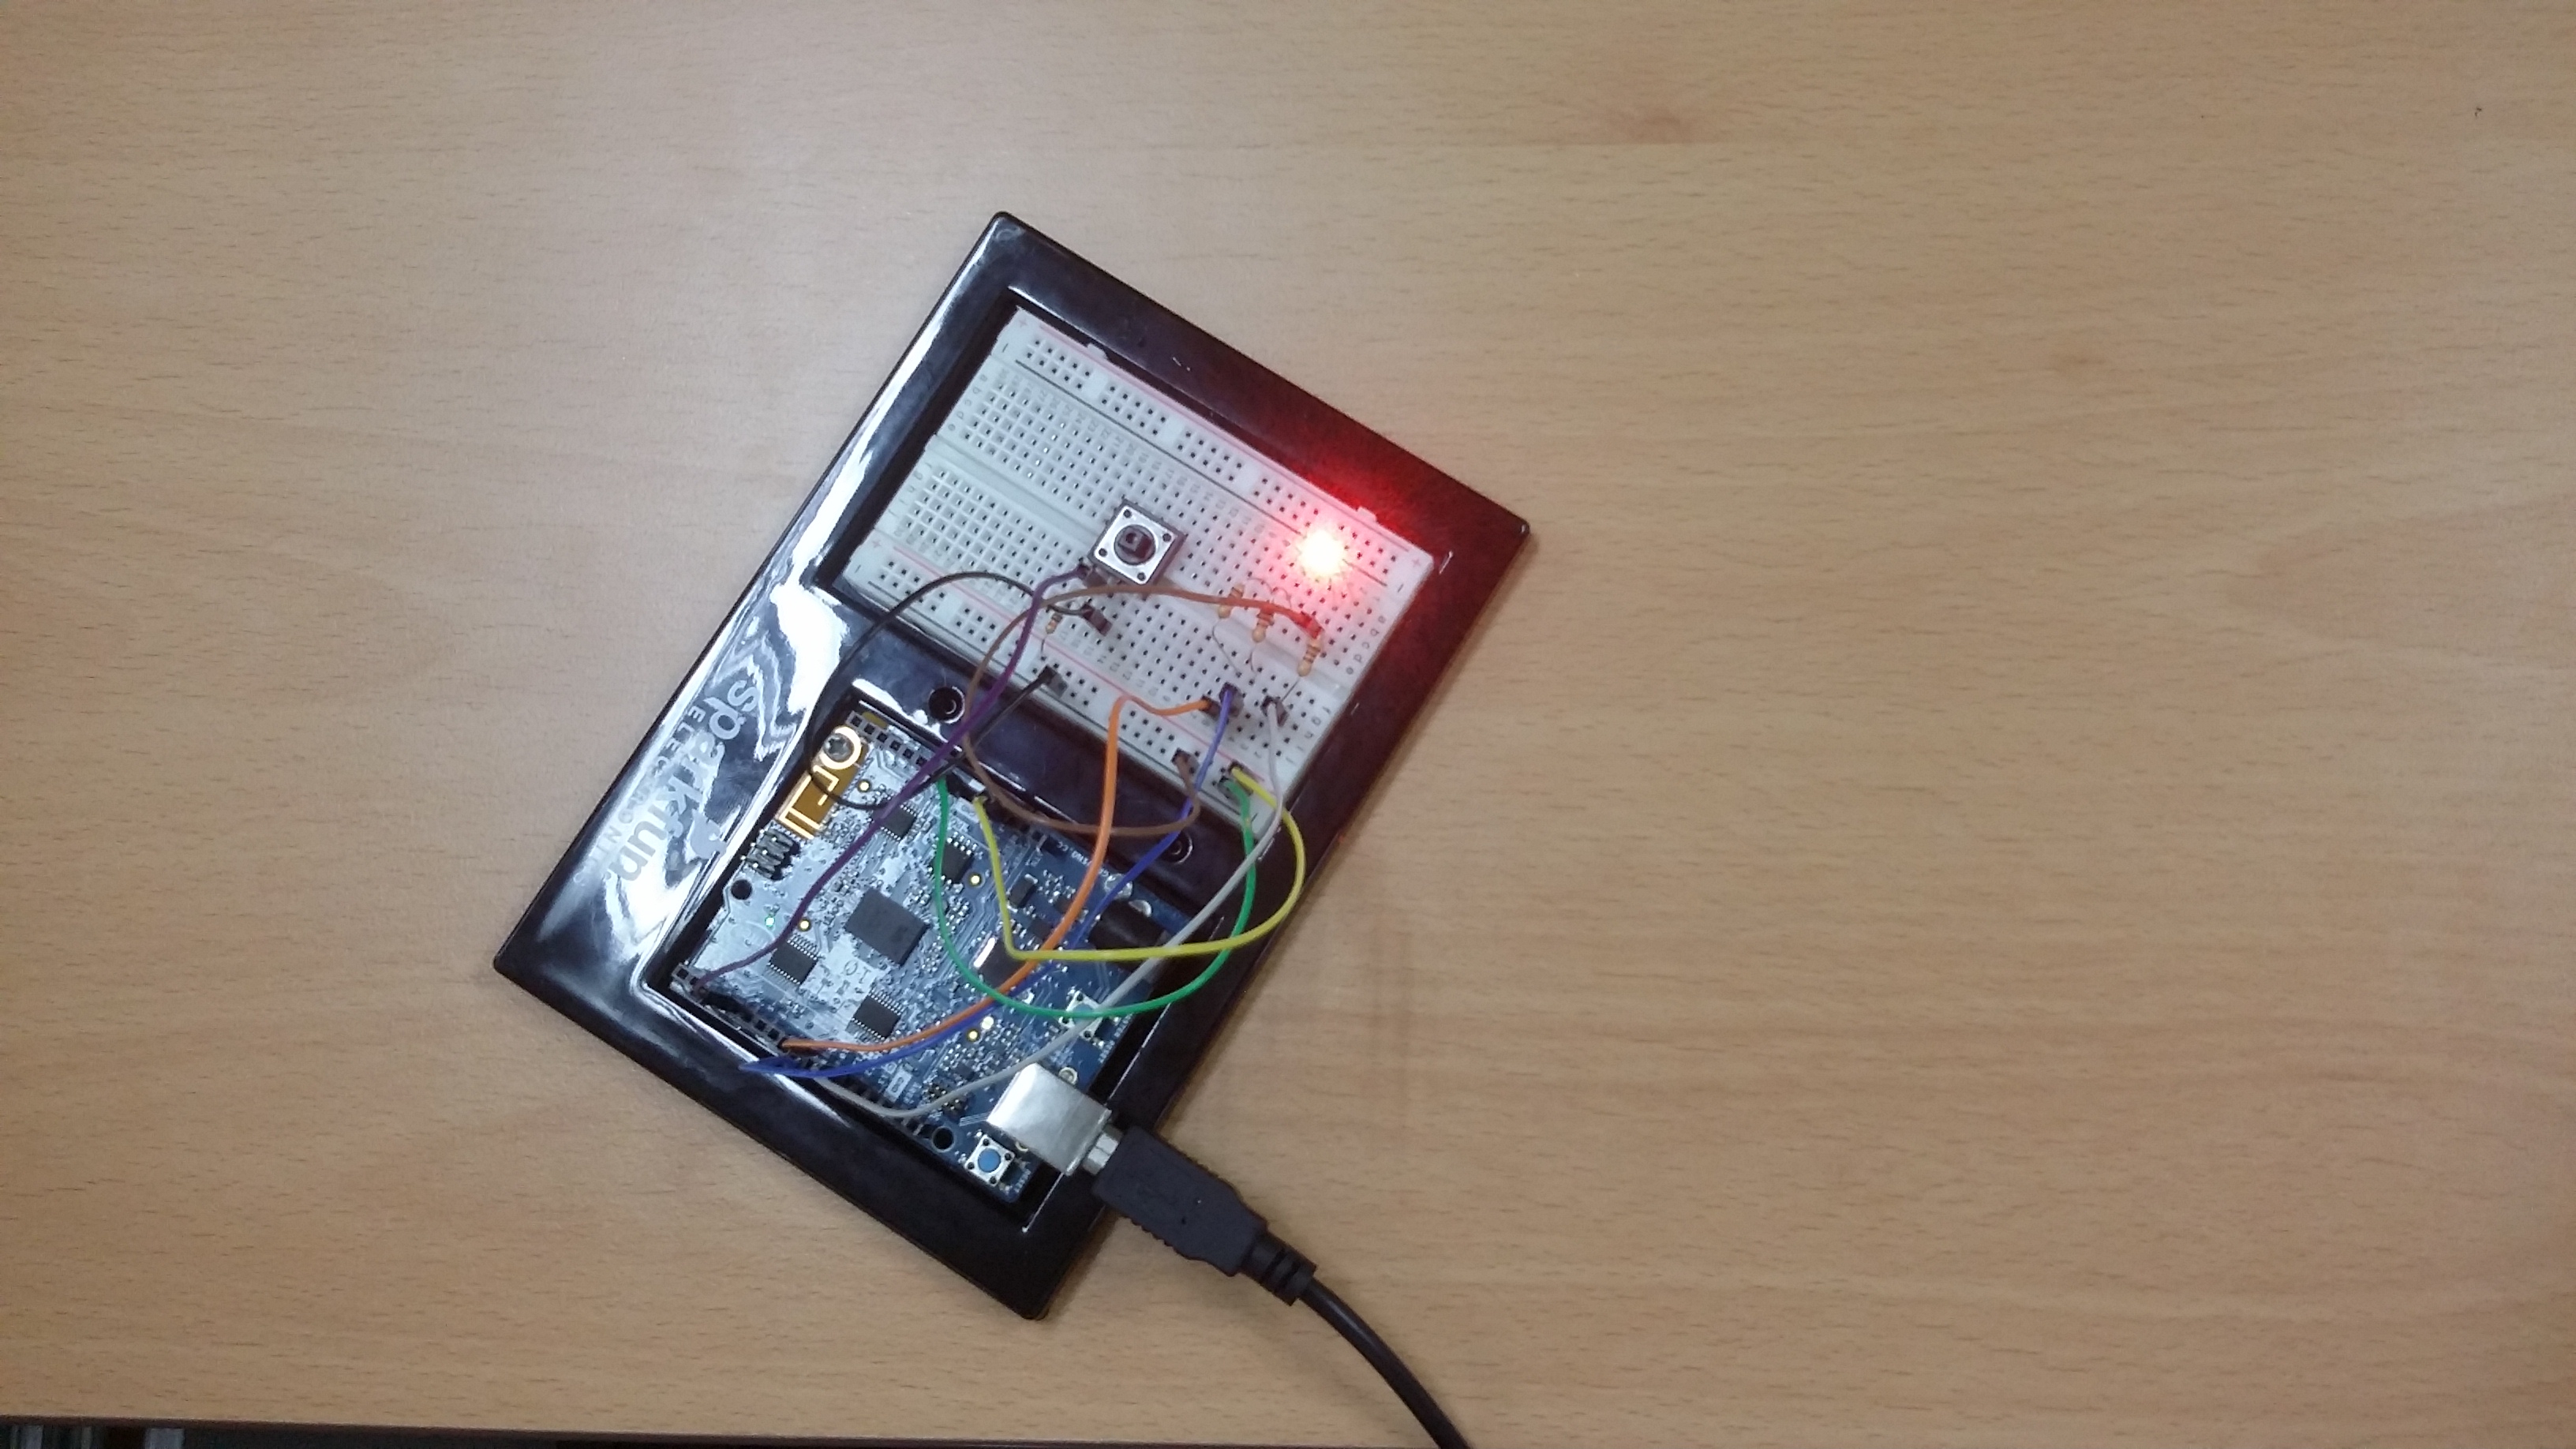
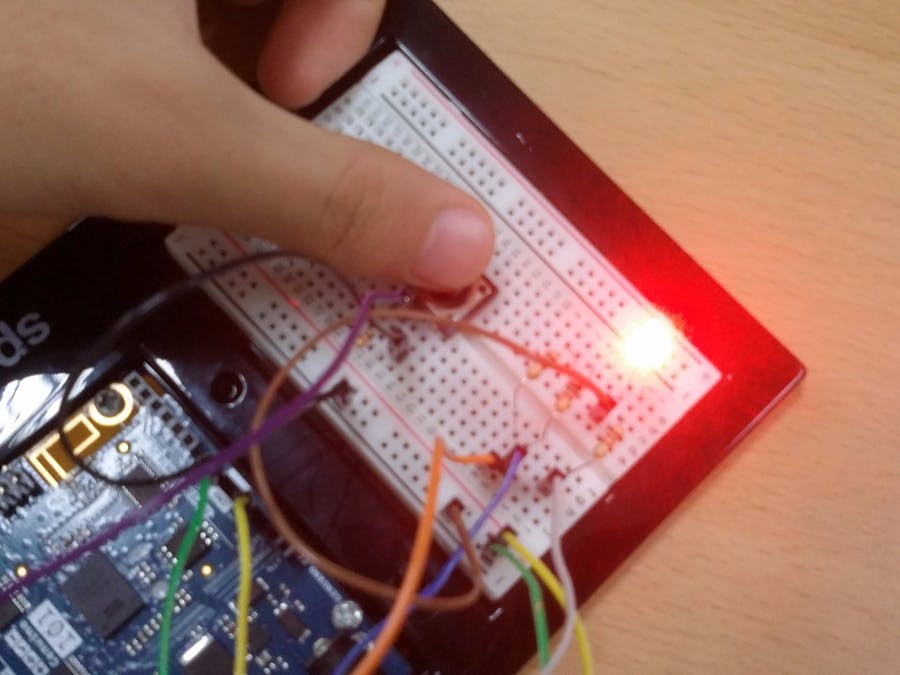
POTENTIOMETER
Measure the position of each potentiometer and map it to
the red, green and blue values! Then write those values to the RGB LED.
This sketch was written by SparkFun Electronics,
with lots of help from the Arduino community.
This code is completely free for any use.
Visit http://learn.sparkfun.com/products/2 for SIK information.
Visit http://www.arduino.cc to learn more about Arduino.
*/
//create constants for the three analog input pins
const int redPot = 0;
const int greenPot = 1;
const int bluePot = 2;
//create constants for the three RGB pulse width pins
const int redPin = 5;
const int greenPin = 6;
const int bluePin = 9;
//create variables to store the red, green and blue values
int redVal;
int greenVal;
int blueVal;
void setup()
{
//set the RGB pins as outputs
pinMode(redPin, OUTPUT);
pinMode(greenPin, OUTPUT);
pinMode(bluePin, OUTPUT);
}
void loop()
{
//read the three analog input pins and store their value to the color variables
redVal = analogRead(redPot);
greenVal = analogRead(greenPot);
blueVal = analogRead(bluePot);
//use the map() function to scale the 10 bit (0-1023) analog input value to an 8 bit
//(0-255) PWM, or analogWrite() signal. Then store the new mapped value back in the
//color variable
redVal = map(redVal, 0, 1023, 0, 255);
greenVal = map(greenVal, 0, 1023, 0, 255);
blueVal = map(blueVal, 0, 1023, 0, 255);
// use the analogWrite() function to write the color values to their respective
// RGB pins.
analogWrite(redPin, redVal);
analogWrite(greenPin, greenVal);
analogWrite(bluePin, blueVal);
}


Comments