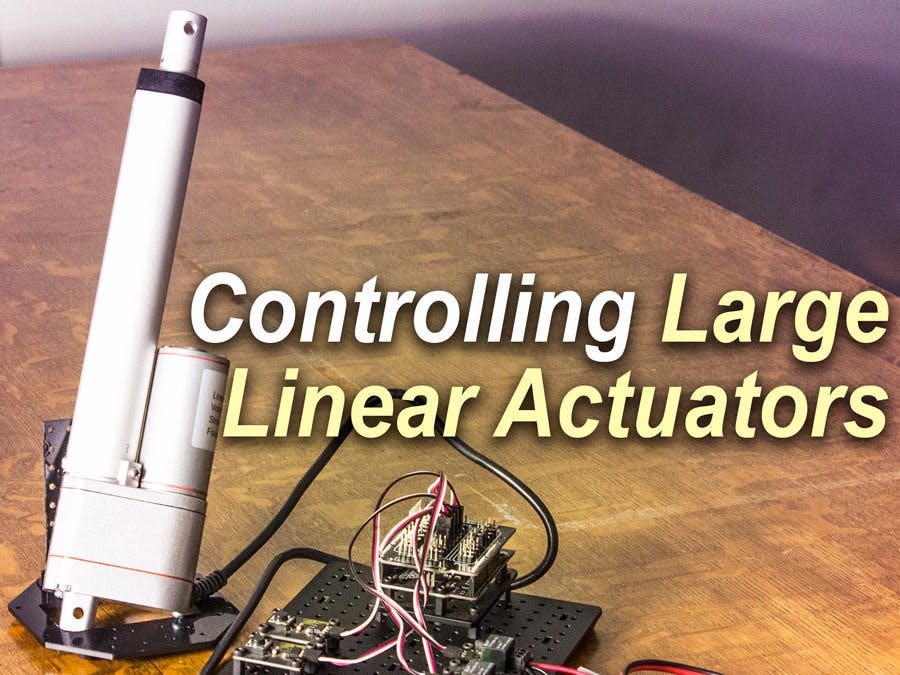
This Arduino Linear Actuator Tutorial shows how to do basic manual control of a large linear actuator using an Arduino and two buttons. In the first set of code, the first button extends the actuator and the second button retracts the actuator. In the second set of code, the two buttons move the linear actuator to preset positions.
Large linear actuators traditionally have five wires. Two wires are for powering the motor and three wires go the internal potentiometer for reading position. The two relays are used to toggle the positive and negative power to the motor in order to determine the direction of piston travel. The first bit of code doesn't use this, and the second uses this to reach a goal position. Let's get started.
Step 1: Wiring
Step 2: Code 1 - Manual ControlThis code shows how to do basic manual control of a large linear actuator using an Arduino and two buttons. The first button extends the actuator and the second retracts the actuator.
You can download the code sketch here:
/*
Manual Linear Actuator Control using an Arduino and two pushbuttons
This demo shows how to do basic manual control of a large linear
actuator using an Arduino and two buttons. The first button extends
the actuator and the second retracts the actuator.
 The circuit:
 * RobotGeek Pushbutton - Digital Pin 2
 * RobotGeek Pushbutton - Digital Pin 4
 * RobotGeek Relay - Digital Pin 7
 * RobotGeek Relay - Digital Pin 8
Products Used in this demo:
 - http://www.robotgeek.com/linear-actuators
 - http://www.robotgeek.com/robotgeek-geekduino-sensor-kit
 - http://www.robotgeek.com/robotGeek-pushbutton
 - http://www.robotgeek.com/robotgeek-relay
 */
// constants won't change. They're used here to set pin numbers:
const int button1Pin = 2;     // the number of the pushbutton1 pin
const int button2Pin = 4;     // the number of the pushbutton2 pin
const int relay1Pin =  7;      // the number of the Realy1 pin
const int relay2Pin =  8;      // the number of the Relay2 pin
// variables will change:
int button1State = 0;         // variable for reading the pushbutton status
int button2State = 0;         // variable for reading the pushbutton status
const int sensorPin = 0;    // select the input pin for the potentiometer
int sensorValue = 0;  // variable to store the value coming from the sensor
void setup() {


  //start serial connection
  Serial.begin(9600);

  // initialize the pushbutton pin as an input:
  pinMode(button1Pin, INPUT);
  pinMode(button2Pin, INPUT);
  // initialize the relay pin as an output:
  pinMode(relay1Pin, OUTPUT);
  pinMode(relay2Pin, OUTPUT);
}
void loop(){


  // read the value from the sensor:
  sensorValue = analogRead(sensorPin);
  //print out the value of the pushbutton
  Serial.println(sensorValue);

  // read the state of the pushbutton values:
  button1State = digitalRead(button1Pin);
  button2State = digitalRead(button2Pin);
  // check if the pushbutton1 is pressed.
  // if it is, the buttonState is HIGH:
  // we also ensure tha the other button is not pushed to avoid conflict
  if (button1State == HIGH && button2State == LOW) {
    // turn relay1 on:
    digitalWrite(relay1Pin, HIGH);
  }
  // When we let go of the button, turn off the relay
  else if (digitalRead(relay1Pin) == HIGH) {
    // turn relay1 off:
    digitalWrite(relay1Pin, LOW);
  }

  // repeat the same procedure for the second pushbutton
  if (button1State == LOW && button2State == HIGH) {
    // turn relay2 on:
    digitalWrite(relay2Pin, HIGH);
  }
  // When we let go of the button, turn off the relay
  else if (digitalRead(relay2Pin) == HIGH) {
    // turn relay2 off:
    digitalWrite(relay2Pin, LOW);
  }
}
Step 3: Code 2 - Preset Position using Positional FeedbackThis code shows how to do basic control of a large linear actuator using an Arduino and two buttons with each button preset to a position.
You can download the code sketch here:
/*
Linear Actuator Control using preset position
This demo shows how to do basic control of a large linear
actuator using an Arduino and two buttons. Each button is hard
coded with a preset position. Pressing a button will move
the actuator to that position.
 The circuit:
 * RobotGeek Pushbutton - Digital Pin 1
 * RobotGeek Pushbutton - Digital Pin 2
 * RobotGeek Relay - Digital Pin 4
 * RobotGeek Relay - Digital Pin 7
Products Used in this demo:
 - http://www.robotgeek.com/linear-actuators
 - http://www.robotgeek.com/robotgeek-geekduino-sensor-kit
 - http://www.robotgeek.com/robotGeek-pushbutton
 - http://www.robotgeek.com/robotgeek-relay
 */
// constants won't change. They're used here to set pin numbers:
const int button1Pin = 2;     // the number of the pushbutton1 pin
const int button2Pin = 4;     // the number of the pushbutton2 pin
const int relay1Pin =  7;      // the number of the Realy1 pin
const int relay2Pin =  8;      // the number of the Relay2 pin
const int sensorPin = 0;    // select the input pin for the potentiometer
// variables will change:
int button1State = 0;         // variable for reading the pushbutton status
int button2State = 0;         // variable for reading the pushbutton status
int sensorValue = 0;  // variable to store the value coming from the sensor
int goalPosition = 350;
int CurrentPosition = 0;
boolean Extending = false;
boolean Retracting = false;
void setup() {
  //start serial connection
  Serial.begin(9600);
  // initialize the pushbutton pin as an input:
  pinMode(button1Pin, INPUT);
  pinMode(button2Pin, INPUT);
  // initialize the relay pin as an output:
  pinMode(relay1Pin, OUTPUT);
  pinMode(relay2Pin, OUTPUT);

  //preset the relays to LOW
  digitalWrite(relay1Pin, LOW);
  digitalWrite(relay2Pin, LOW);

}
void loop(){

  // read the value from the sensor:
  CurrentPosition = analogRead(sensorPin);

  // print the results to the serial monitor:
  Serial.print("Current = " );
  Serial.print(CurrentPosition);
  Serial.print("\t Goal = ");
  Serial.println(goalPosition);

  // read the state of the pushbutton values:
  button1State = digitalRead(button1Pin);
  button2State = digitalRead(button2Pin);
  if (button1State == HIGH) {
    // set new goal position
    goalPosition = 300;

    if (goalPosition > CurrentPosition) {
        Retracting = false;
        Extending = true;
        digitalWrite(relay1Pin, HIGH);
        digitalWrite(relay2Pin, LOW);
        Serial.println("Extending");
    }
    else if (goalPosition < CurrentPosition) {
        Retracting = true;
        Extending = false;
        digitalWrite(relay1Pin, LOW);
        digitalWrite(relay2Pin, HIGH);
        Serial.println("Retracting");
    }
  }
  if (button2State == HIGH) {
    // set new goal position
    goalPosition = 500;

    if (goalPosition > CurrentPosition) {
        Retracting = false;
        Extending = true;
        digitalWrite(relay1Pin, HIGH);
        digitalWrite(relay2Pin, LOW);
        Serial.println("Extending");
    }
    else if (goalPosition < CurrentPosition) {
        Retracting = true;
        Extending = false;
        digitalWrite(relay1Pin, LOW);
        digitalWrite(relay2Pin, HIGH);
        Serial.println("Retracting");
    }
  }
  if (Extending = true && CurrentPosition > goalPosition) {
    //we have reached our goal, shut the relay off
    digitalWrite(relay1Pin, LOW);
    boolean Extending = false;
    Serial.println("IDLE");
  }

  if (Retracting = true && CurrentPosition < goalPosition){
    //we have reached our goal, shut the relay off
    digitalWrite(relay2Pin, LOW);
    boolean Retracting = false;
    Serial.println("IDLE");
  }


}
Step 4: You're done!Now that you can control a large linear actuator, what are you going to do with it? You could make a desk that transforms to allow a sitting or standing position. With a few light sensors, you could make a solar panel that tracks the sun. Dream up some ideas and let us know, we'd love to hear about it!


_ztBMuBhMHo.jpg?auto=compress%2Cformat&w=48&h=48&fit=fill&bg=ffffff)


Comments