


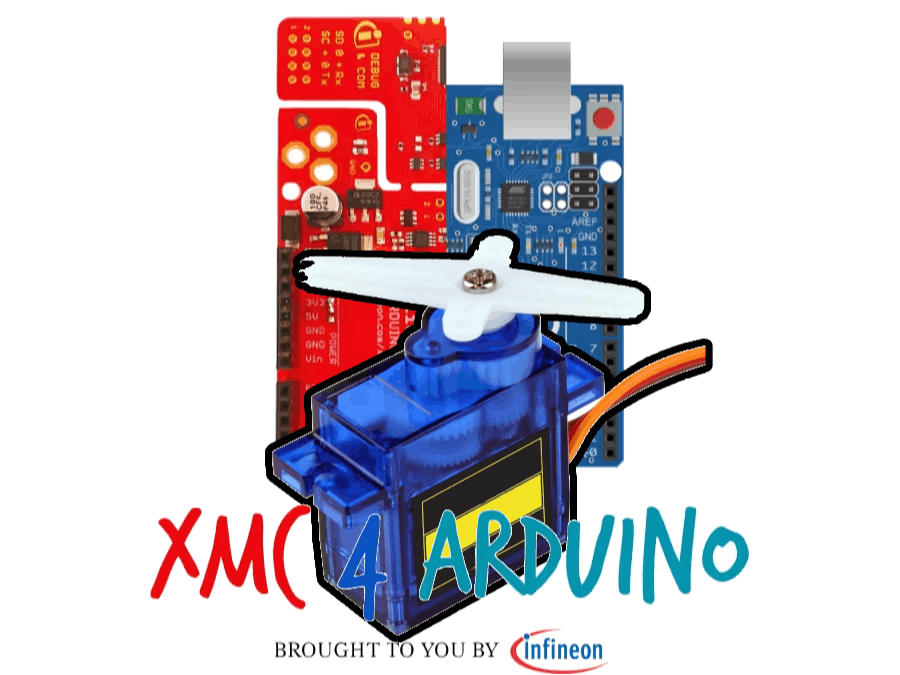
Hardware components | ||||||
 |
| × | 1 | |||
 |
| × | 1 | |||
Software apps and online services | ||||||
 |
| |||||
The Servo Arduino library is a great way to control servo motors with an Infineon XMC microcontroller. Servo motors are often used in robotics and other applications where precise movement control is required. With the Servo library, you can easily control the position of the servo motor using an XMC microcontroller.
Installing the Servo LibraryThe process of installing any external Arduino is fairly simple: All you have to do is simply download it as a.zip file and manually install it through the Arduino IDE.
Let's take a look at the process through some screenshots, shall we :)
To download the newest version of the zip file of the library head to this GitHub link (Click here).
Press the green button "Code" and click on the "Download ZIP" button, which should trigger a download request on your web browser.
The next step is fairly simple: open your Arduino IDE, click on Sketch and hover over "Include Library". This will show another menu right next to it. Click on "Add.ZIP Library...".
Next, a browse window will appear, prompting you to select the ZIP file containing the library. Choose the ZIP file you just downloaded from wherever the download destination you set.
Thats all! You just installed the Servo Library and are now ready to start your programming.
In the near future, the library will also be incorporated into the official Arduino Servo library, including the ZIP file will then be unnecessary.Functions and Code
If you're not familiar with XMC-for-Arduino and how to set up an XMC Board to work with the Arduino IDE, check out this article before reading on!
Once the Servo library is installed and the Servo motor is physically attached to a pin on the XMC microcontroller you are ready to start. To begin with you'll have to include the library by using:
#include <Servo.h>Then proceed by creating a Servo object in your sketch and selecting the pin in your code with the attach() function. Here's a quick overview of all the main functions:
#include <Servo.h>
Servo myservo;  //create servo object to control a servo
void setup()
{
myservo.attach(9);  // attaches the servo on pin 9 to the servo object
}
void loop()
{
myservo.write(90);  // sets the servo position to 90 degrees
delay(1000);        // waits for a second
myservo.read();     // reads position in degrees
myservo.write(180); // sets the servo position to 180 degrees
delay(1000);        // waits for a second
myservo.readMicroseconds(); // reads position pulsewidth in µs
}
In this example, we've created a Servo object named myservo and attached it to pin 9 on the XMC microcontroller. Following that, we utilize the write() function to adjust the position of the servo motor to 90 and 180 degrees, pausing for one second between each movement.
The Servo library also provides other functions to control the servo motor. For example, you can use read() to get the current position of the servo motor, or writeMicroseconds() to set the position of the servo motor based on a pulse width in microseconds.
One could also get back the position that was last written to the servo with:
read(): This function returns the current angle of the servo as an integer between 0 and 180 degrees.
or with
readMicroseconds(): This function returns the current pulse width in microseconds for this servo.
With the help of the Servo library, ou can control the position of the servo motor with precision and accuracy, making it ideal for applications such as robotics and automation. As an example, check out the Happy New Year mechanical 7-segment display project on Hackster, where 35 servo motors are controlled by an Infineon XMC microcontroller to display the 3D printed segments.


Comments